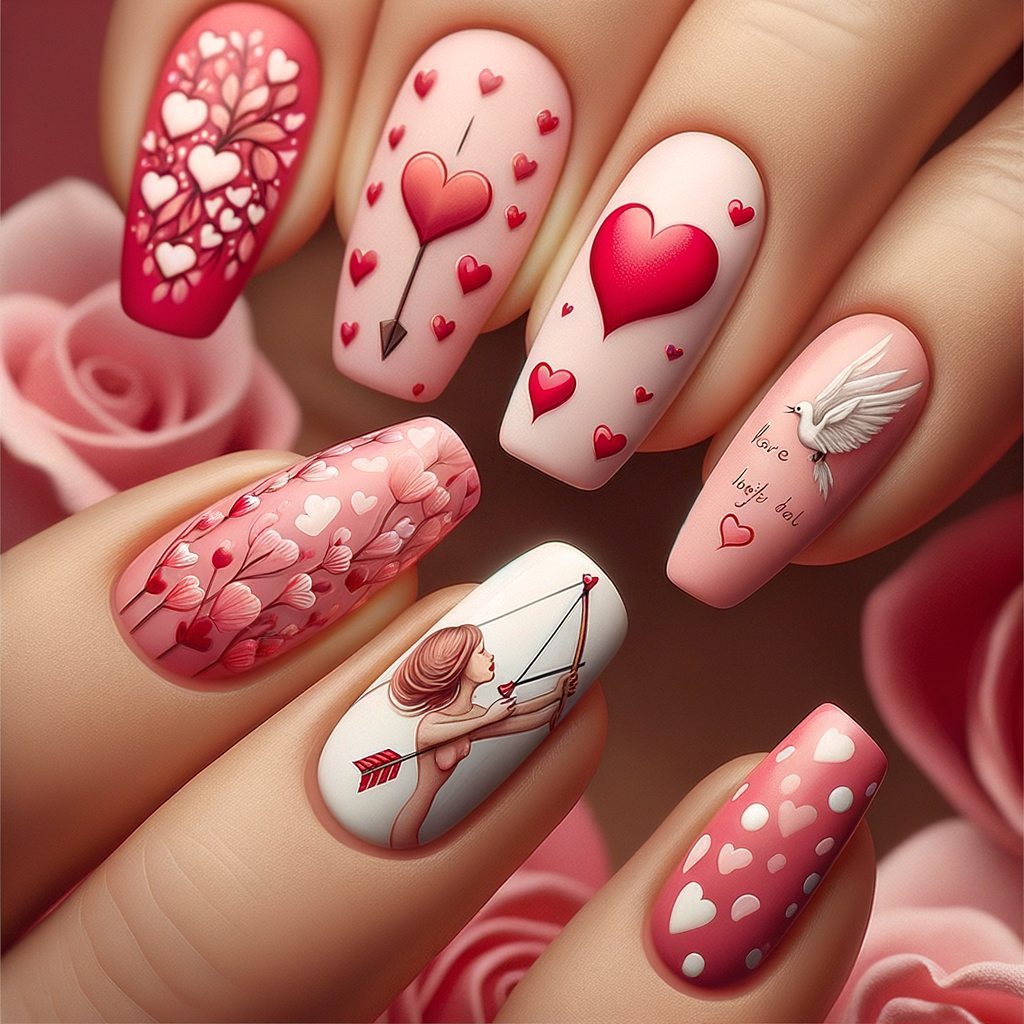
Valentine’s Day is just around the bend and ya know what that means – time to hook your nails up with something cute!
I’m all about switching up my nails for the holidays.
It’s just one more way to spread the love and celebrate, am I right?
This year I’m going all kinds of extra with a funky V-Day manicure.
I want red and pink polish, rhinestones, hearts – the whole shebang!
I did some diggin’ online to find the most adorbs Valentine’s nail ideas, and dude, there are some real stunners out there.
I’m talking 39+ swoon-worthy nail ideas that’ll having you saying “Be Mine” to your nail tech:
Pretty in Pink

Nothing says romance like pink!
A feminine polish in a soft shade of blush, rose or baby pink is ideal for V-Day.
Try a pearly shimmer finish to make your nails look extra girly and sweet.
Pink is totally on-theme but still soft enough for everyday wear.
It’s the perfect polish for expressing your romantic side!
When choosing a pink for Valentine’s Day, go for a lighter, brighter tone rather than something deeper.
Pale pinks like ballet slipper are playful and fun.
They have a youthful, flirty vibe perfect for a date.
I like Essie’s “Hi Maintenance” for a foolproof baby pink polish.
For added glam, look for a pearly or iridescent shimmer finish.
This gives your pink mani lots of depth and dimension.
Make sure to finish with a top coat so the shimmer really pops.
If you want to enhance the pink further, get a manicure with acrylics dipped in powder.
This extends the color and adds strength to prevent tip wear and chips.
Pretty in pink nails are a classic way to get in a romantic mood for Valentine’s Day!
Classic Red

Red nails are a Valentine’s Day staple for a reason – this bold, passionate shade never fails to make a statement!
For date night, go for a true red creme polish with blue undertones.
It looks classy and elegant.
Add a layer of top coat for extra shine.
Red nails complement any outfit and let your SO know you’re ready to celebrate love in style!
When choosing your red polish, look for one with cool, blue undertones rather than an orange-y red.
Blue-based reds have a richer, deeper look perfect for evenings out.
They glimmer under restaurant lighting in a gorgeous way.
I like to use Essie’s “Forever Yummy” for my Valentine’s red – it’s the perfect blue-toned cherry.
Make sure to paint your nails no more than 12 hours before your date.
This prevents chips and dents so your mani stays pristine all evening.
Always finish with a fast-drying top coat to lock in shine.
Seche Vite and OPI Plumping Top Coat work wonders.
If your red creme polish starts looking dull, refresh it with a new coat rather than removing everything and starting over.
Quick touch ups preserve your base color while reviving shine.
My Favorite: Pink Heart Floral Style
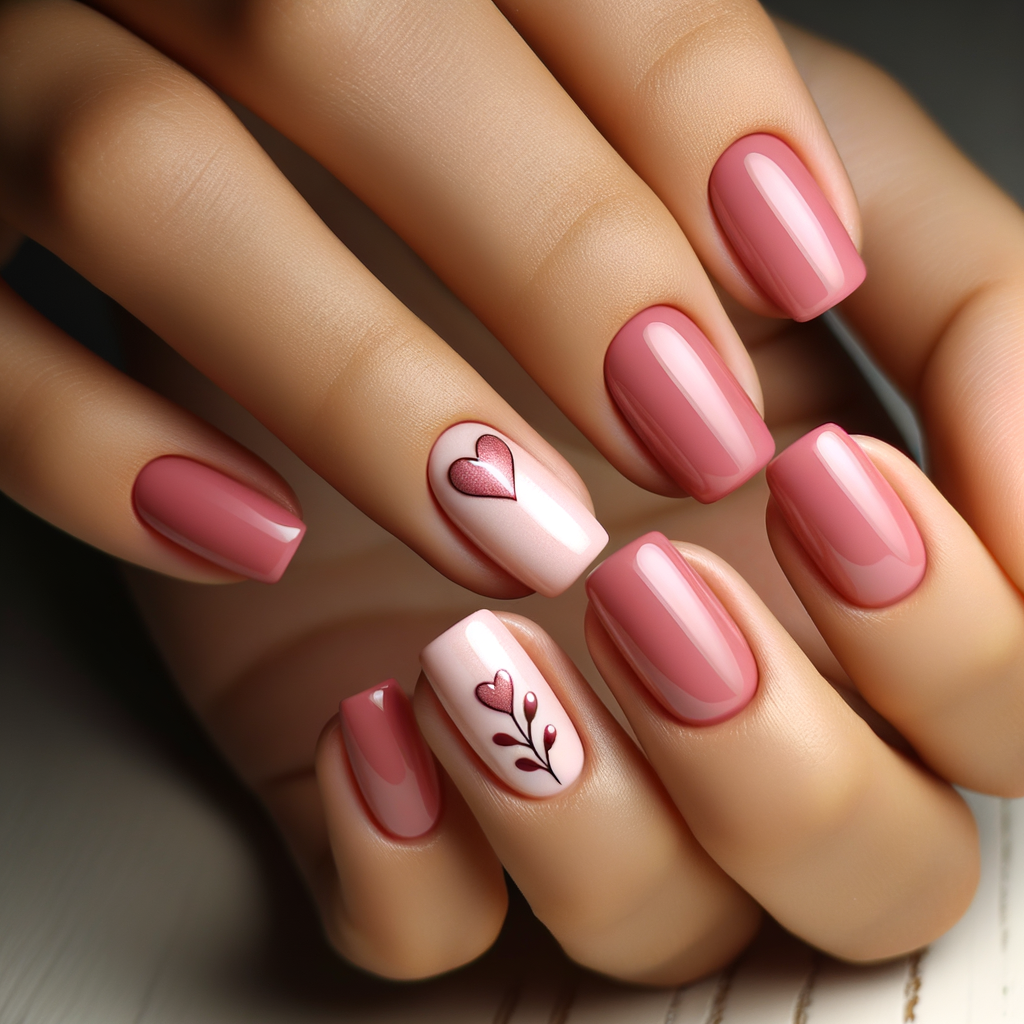
This pink nail art with adorable heart & floral accents is absolutely my favorite:
Let me break down step-by-step how you can DIY that look at home.
[Not your usual pick? take a moment to browse the gallery below, featuring over 25 unique and captivating pink nail designs that might just change your mind!]
Step 1: Prep Your Nails
First things first, start with clean, shaped nails. Push back your cuticles (gently, please!), buff your nails a bit, and swipe them with nail polish remover to get rid of any oils.
Step 2: Base Coat
Apply a base coat to protect your nails and ensure a smooth canvas for your polish.
Try the “OPI Natural Nail Base Coat” for a reliable start.
It’ll help your mani last longer and prevent staining from colored polishes.
Step 3: Pink Polish
Once your base coat is dry, apply a soft pink nail polish as the base color.
The image shows a lovely, creamy pink that’s not too bright but just right. “Essie Nail Polish could be a great match:
Go for two thin coats to get an opaque look.
Remember, thin coats dry faster and are less likely to smudge.
Step 4: The Accent Nails
Choose which nails will feature the cute designs.
The ring finger often works well for a little extra flair.
For the heart and floral design, you’ll need a fine-tip nail art brush and a contrasting color, like a shimmering metallic pink or soft brown for the floral stems.
“Beetles Nail Art Brushes Set” is a solid choice for detailed work.
Step 5: Painting the Heart
For the heart, use a nail art brush dipped in a metallic or shimmering pink, like the “Holographic Nail Polish.”
Start by painting two small dots next to each other.
Then, drag each dot down at an angle to meet at a point, creating the bottom of the heart. Fill it in carefully.
Step 6: The Floral Design
Using a soft brown shade (a polish like “OPI ‘Over the Taupe’” would do the trick):
Use your nail art brush to paint a simple stem with tiny branches. For the flowers, just add small V-shaped marks or dots in a pink shade.
Keep it simple and delicate – less is definitely more here.
Step 7: The Details
You can add some extra dimension to your heart by outlining it with a thin line of a darker pink or even a gentle glitter line using a striping brush.
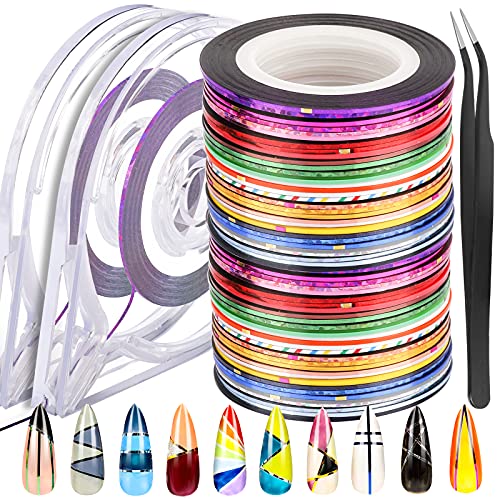
The “Modelones Striping Tape Line” could be a helpful tool for creating straight lines if freehand isn’t your thing:
Step 8: Top Coat
Once your designs are completely dry, seal them in with a clear top coat. This will protect your artwork and add a beautiful shine.
The “Seche Vite Dry Fast Top Nail Coat” is a fan favorite for a glossy finish that dries quickly.
Step 9: Cleanup
If you got a little polish on your skin, don’t stress. Dip a small brush in nail polish remover and carefully clean up around your nails.
Step 10: Moisturize
Finish off your manicure by moisturizing your hands and cuticles. A nice hand cream and cuticle oil will keep your skin soft and your nails healthy.
And voilà! You’re now rocking a sweet and sophisticated nail art that’s sure to turn heads.
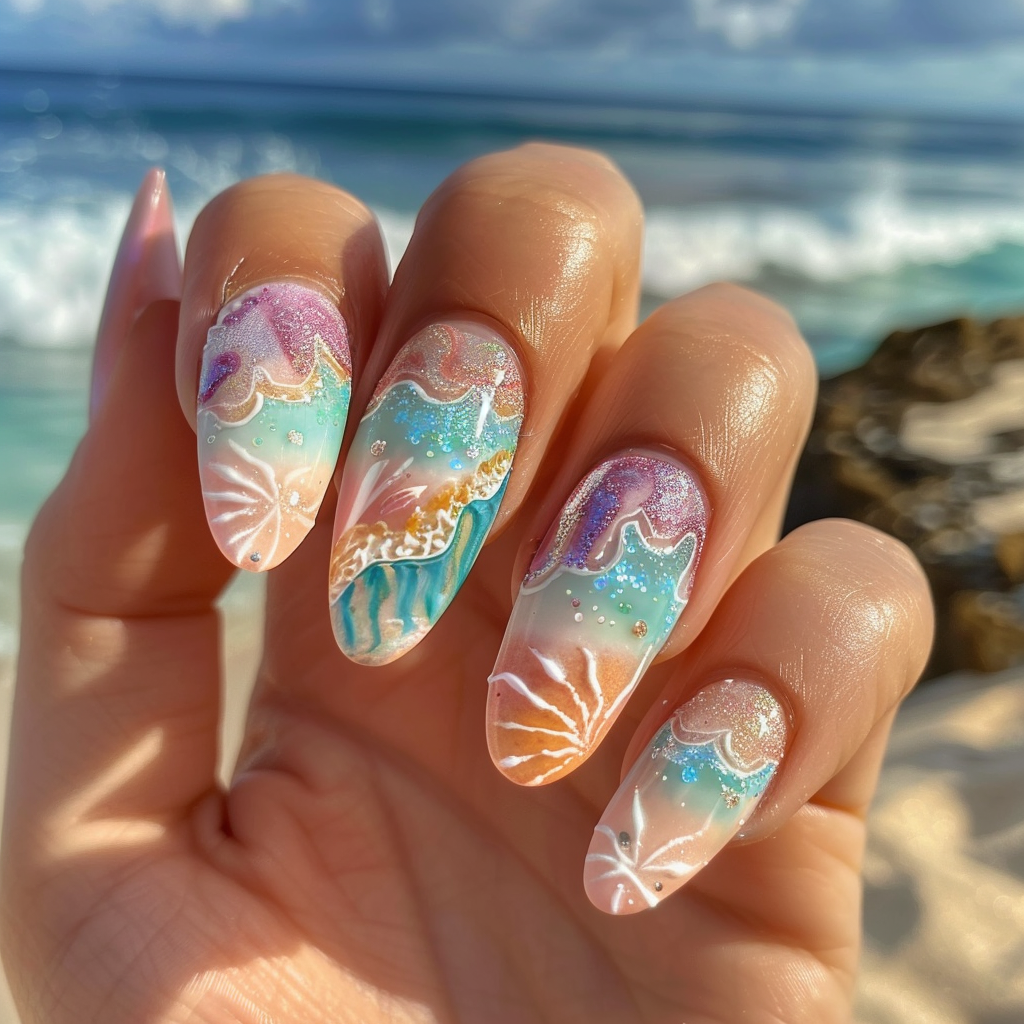
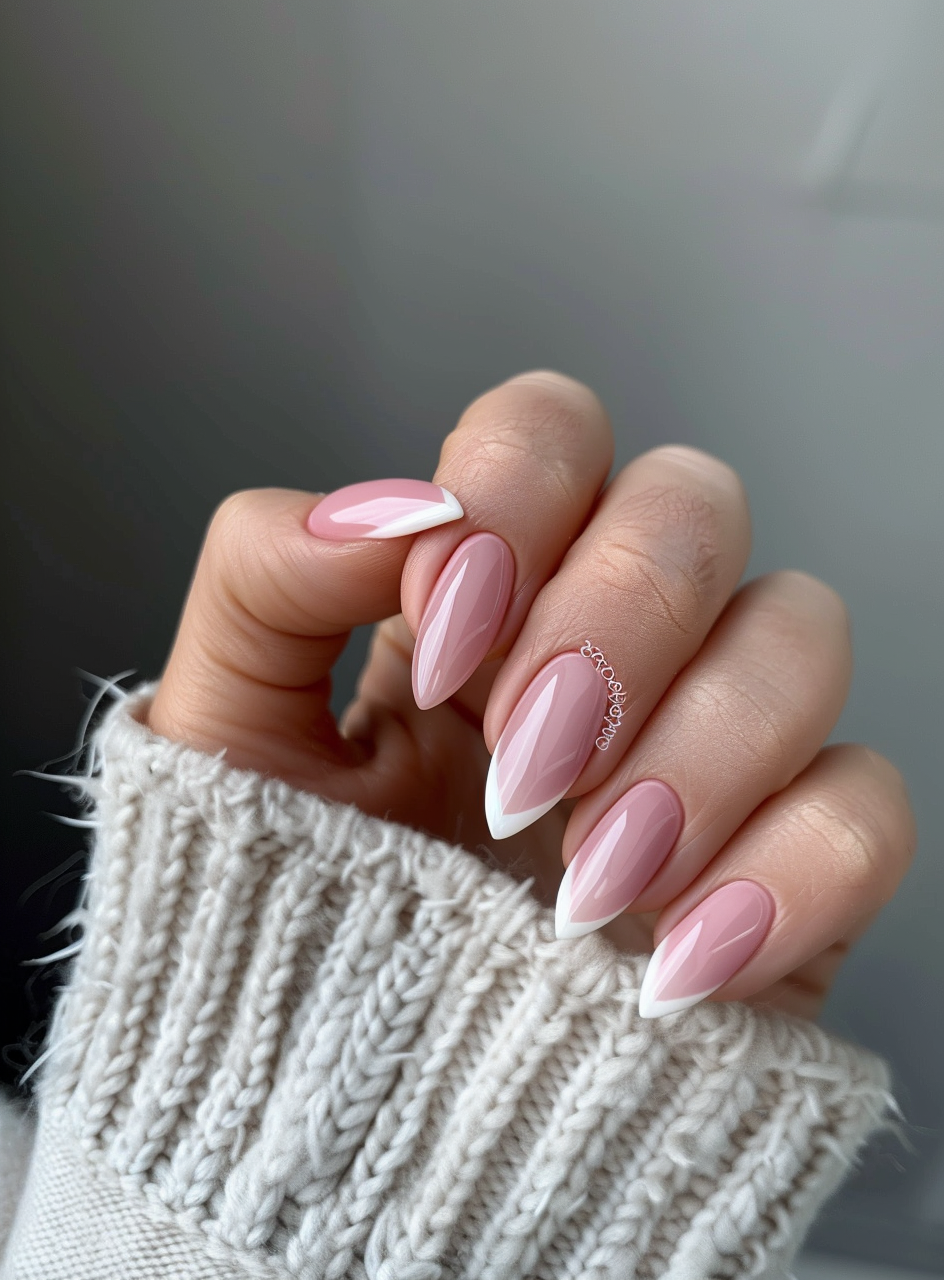
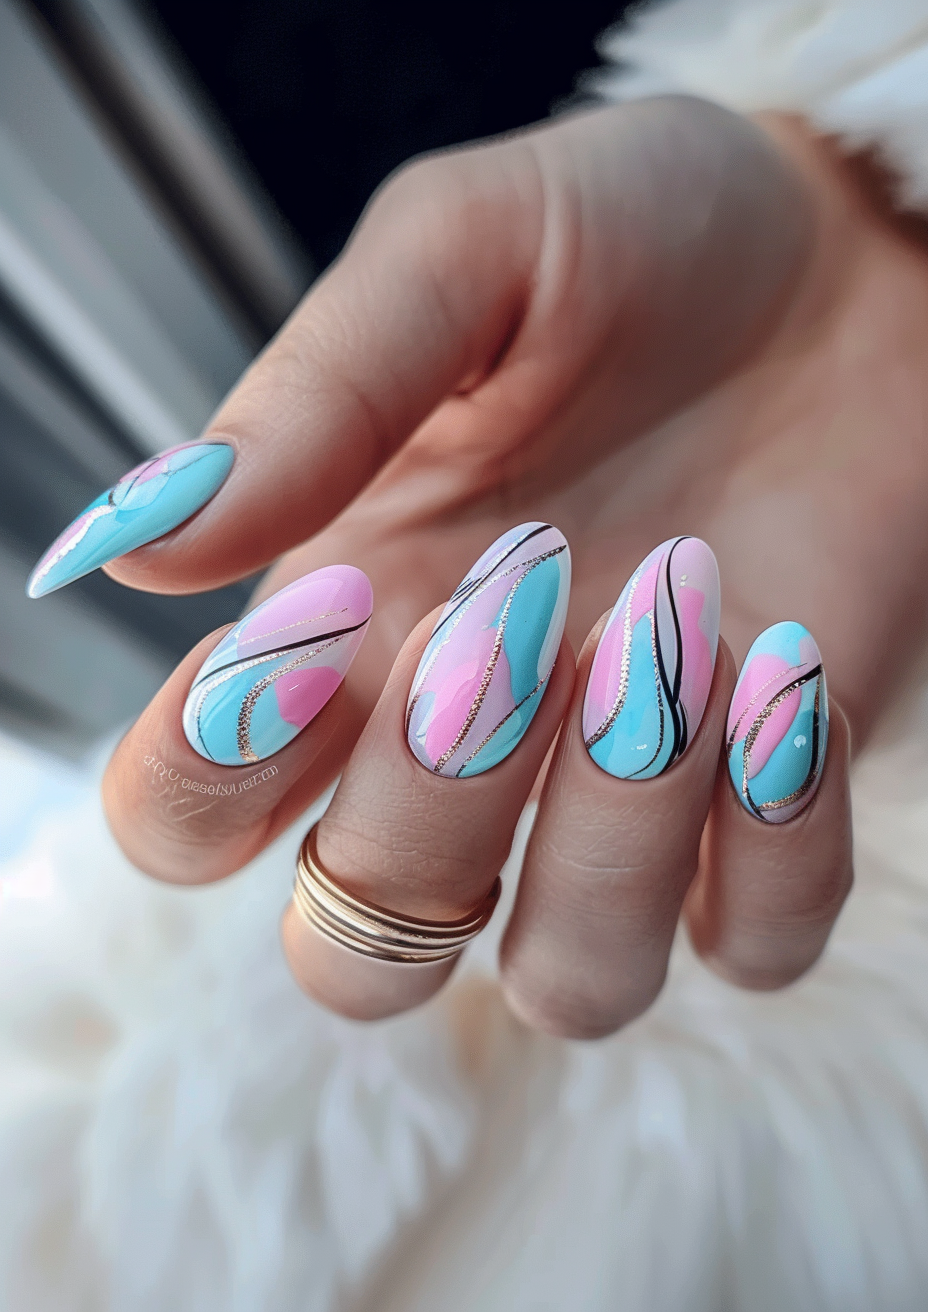
55+ Unique Valentine Nails Photo Gallery



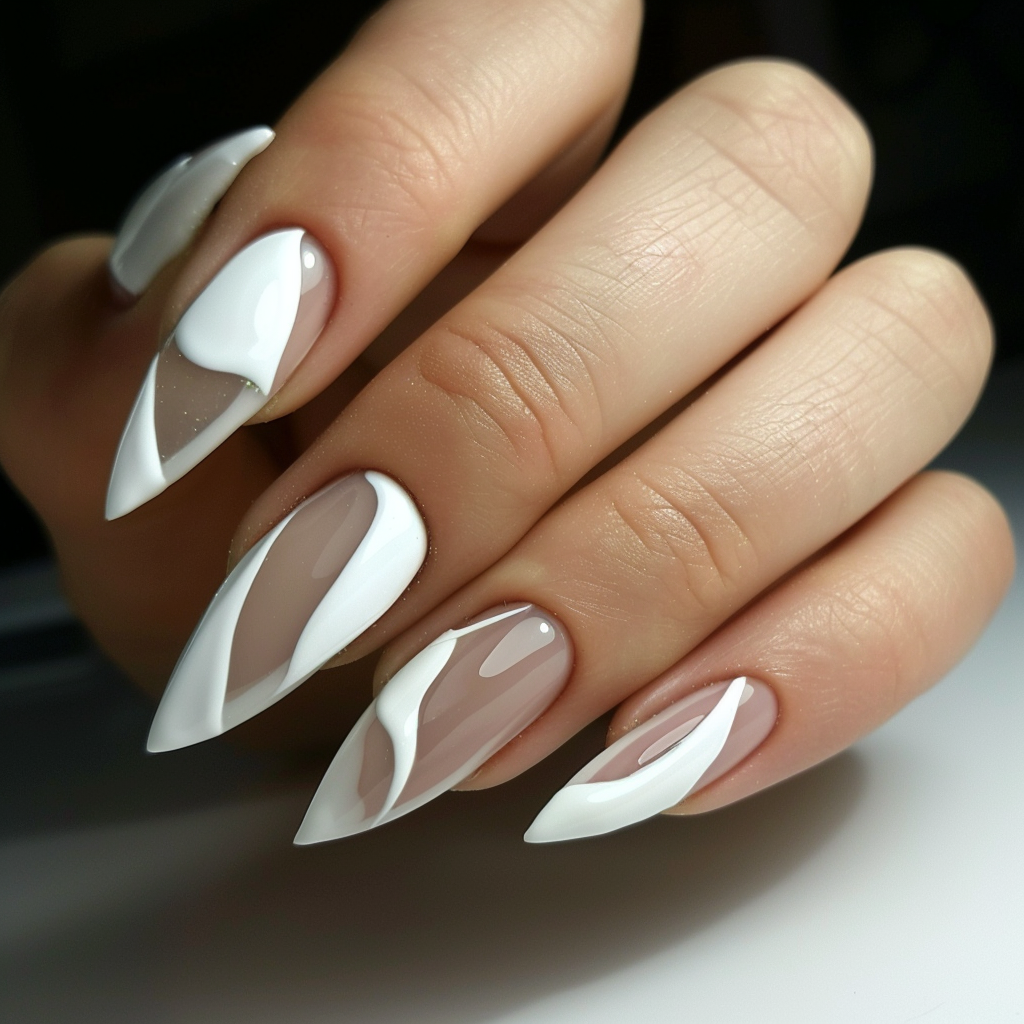


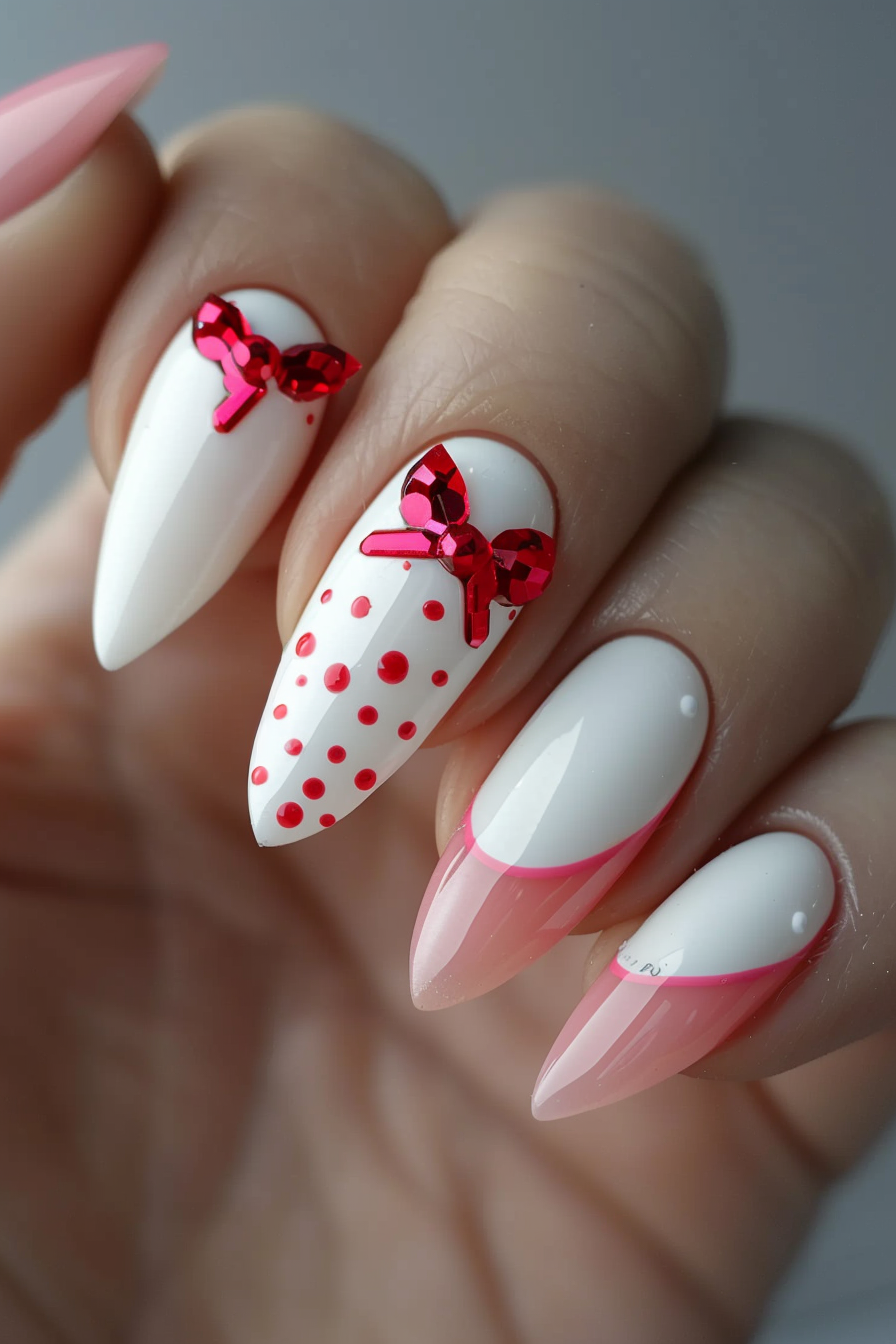


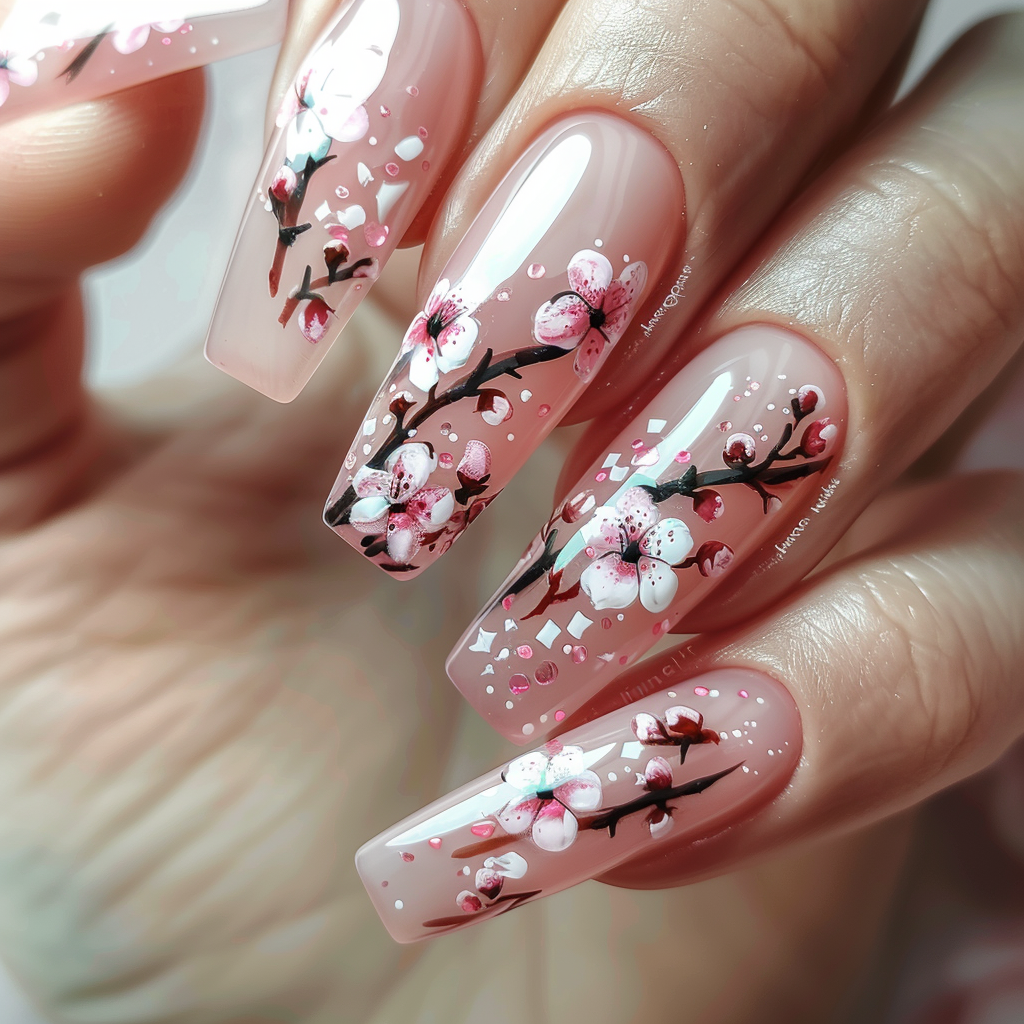


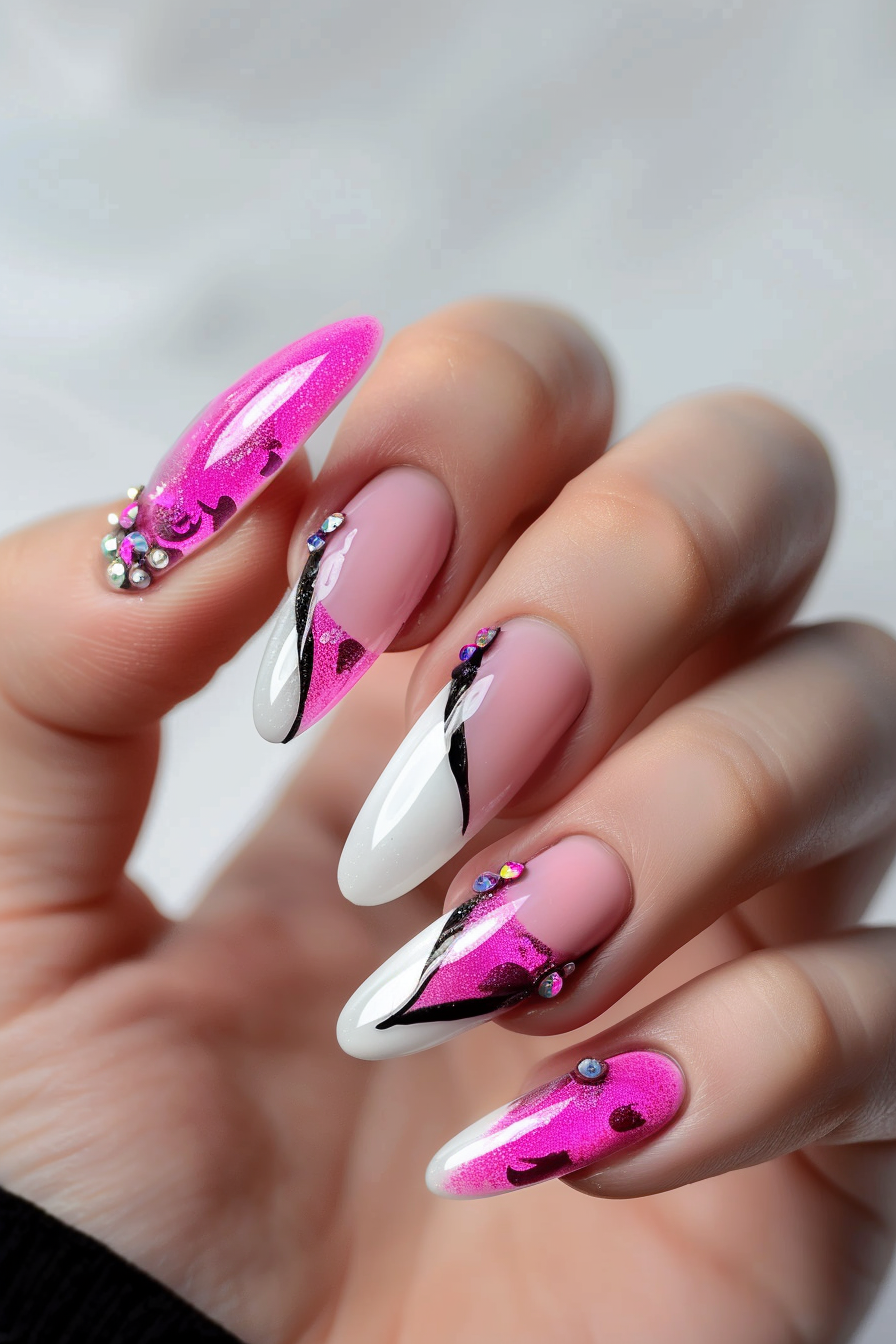
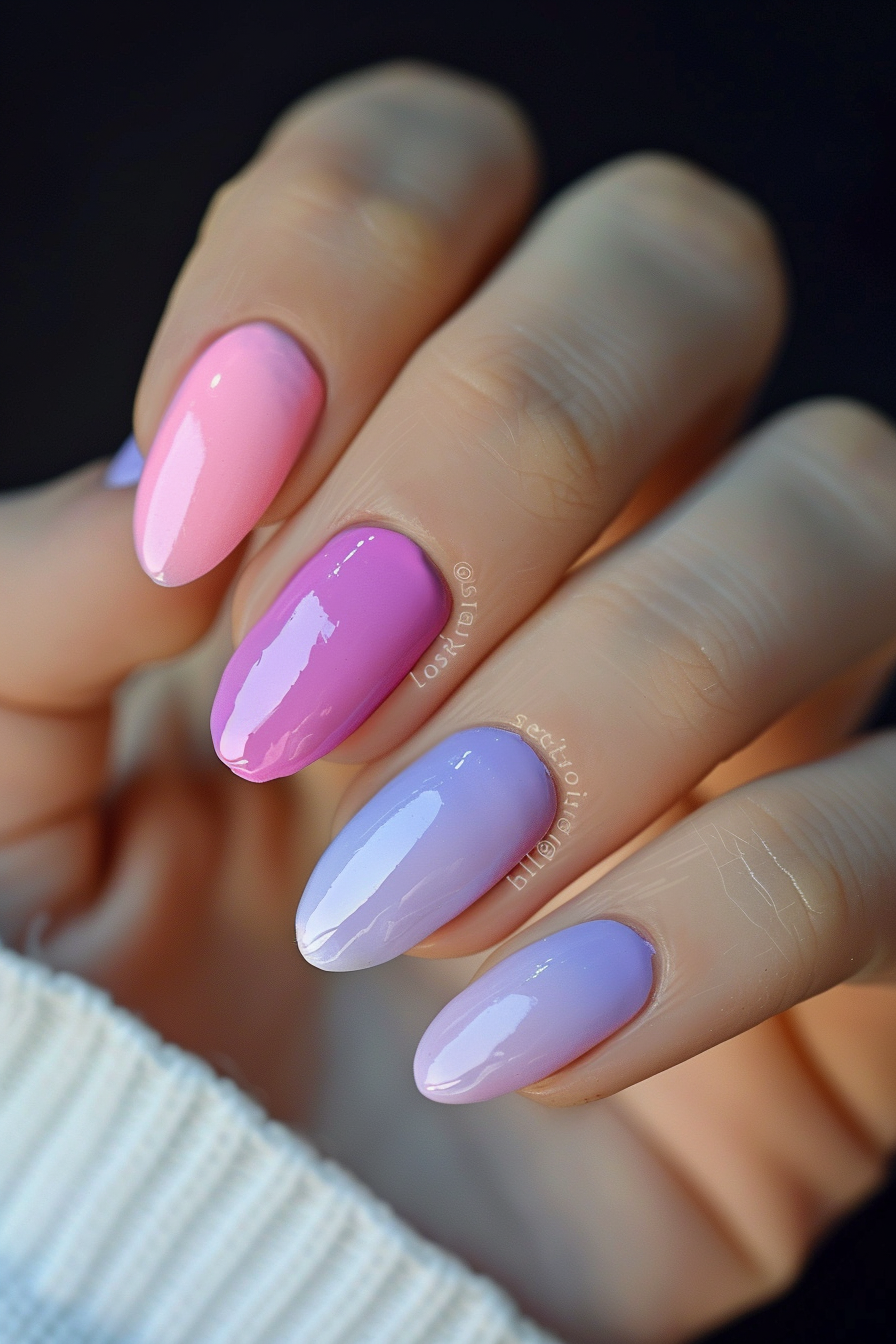





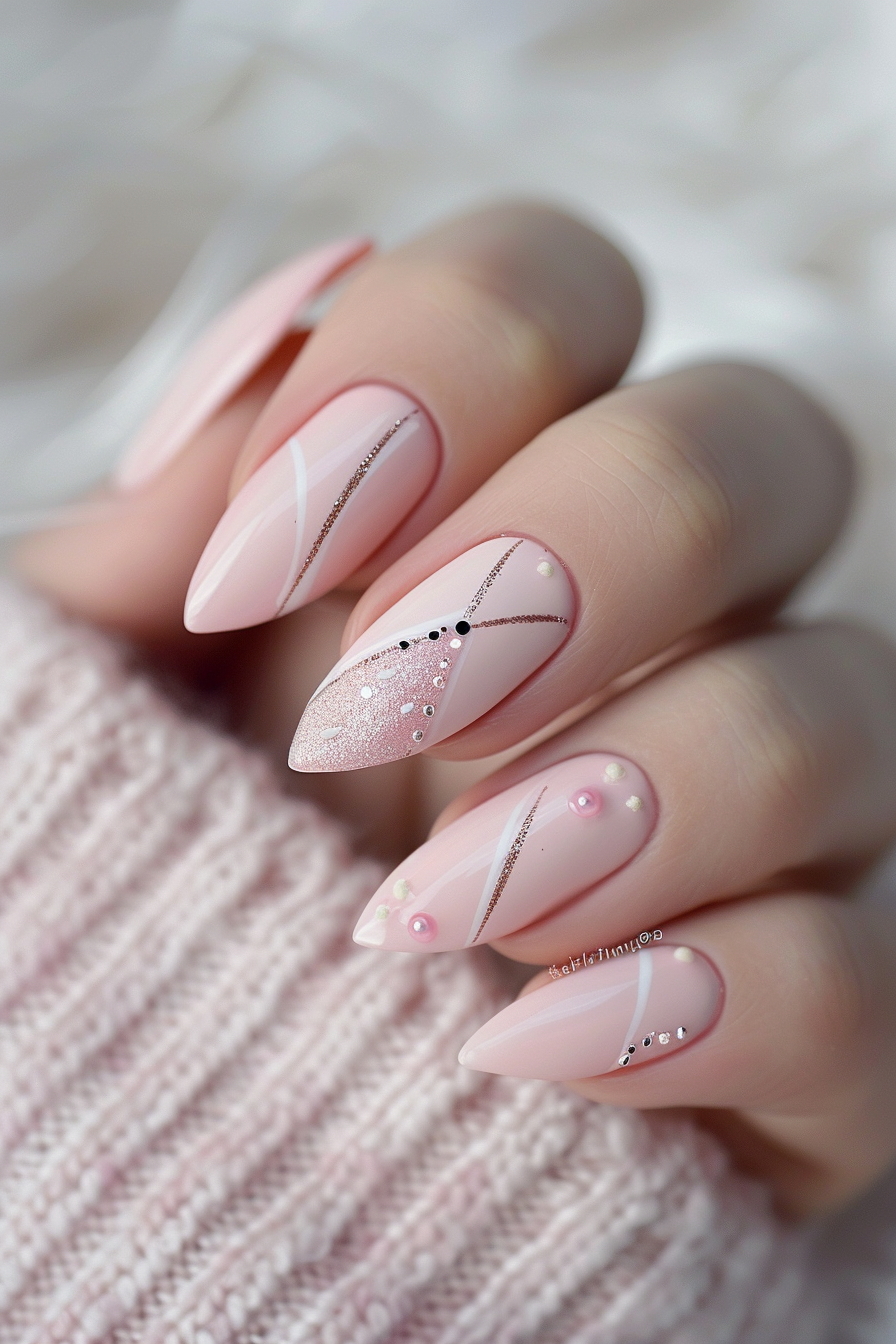
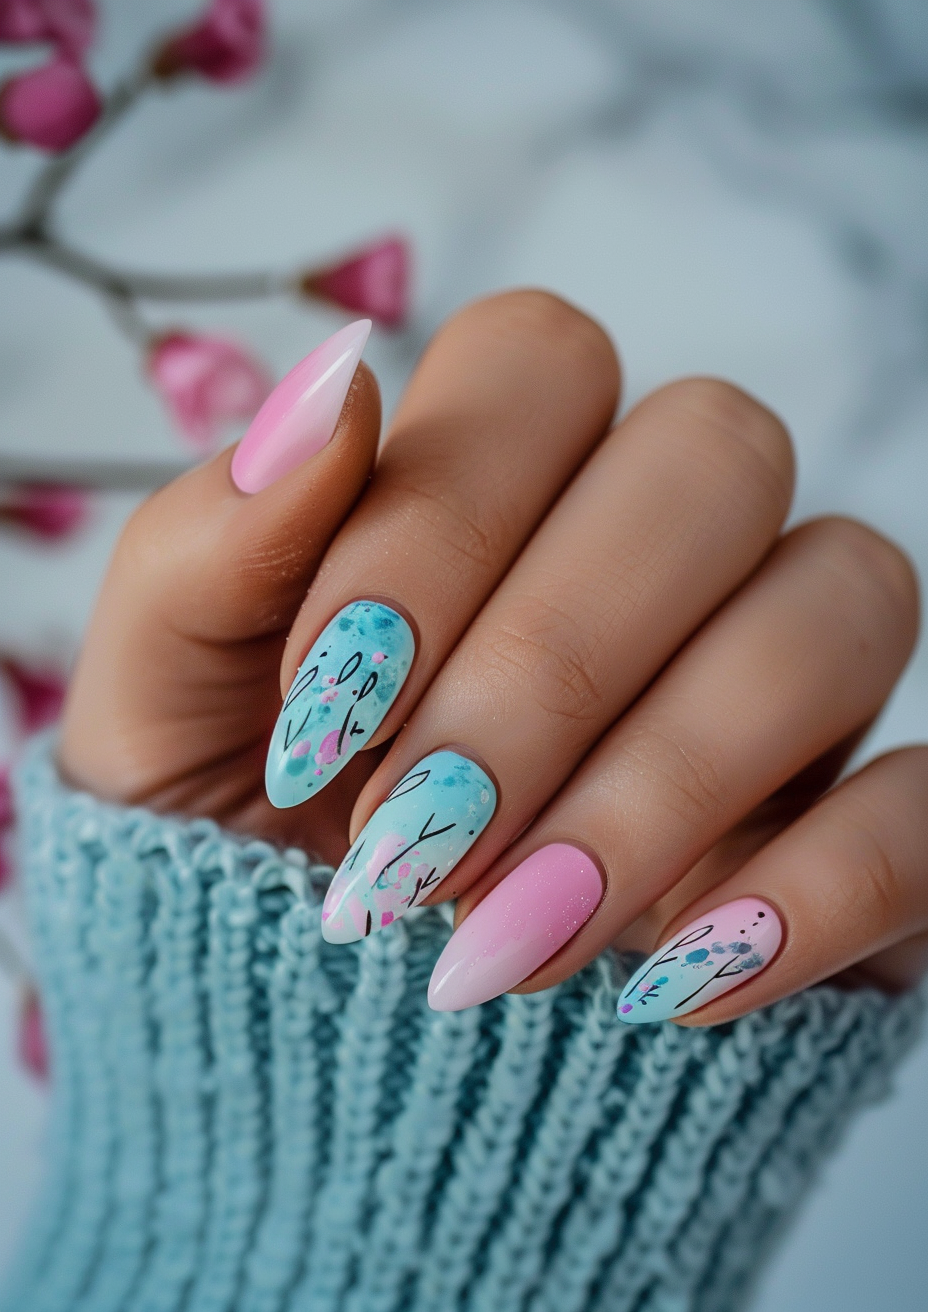


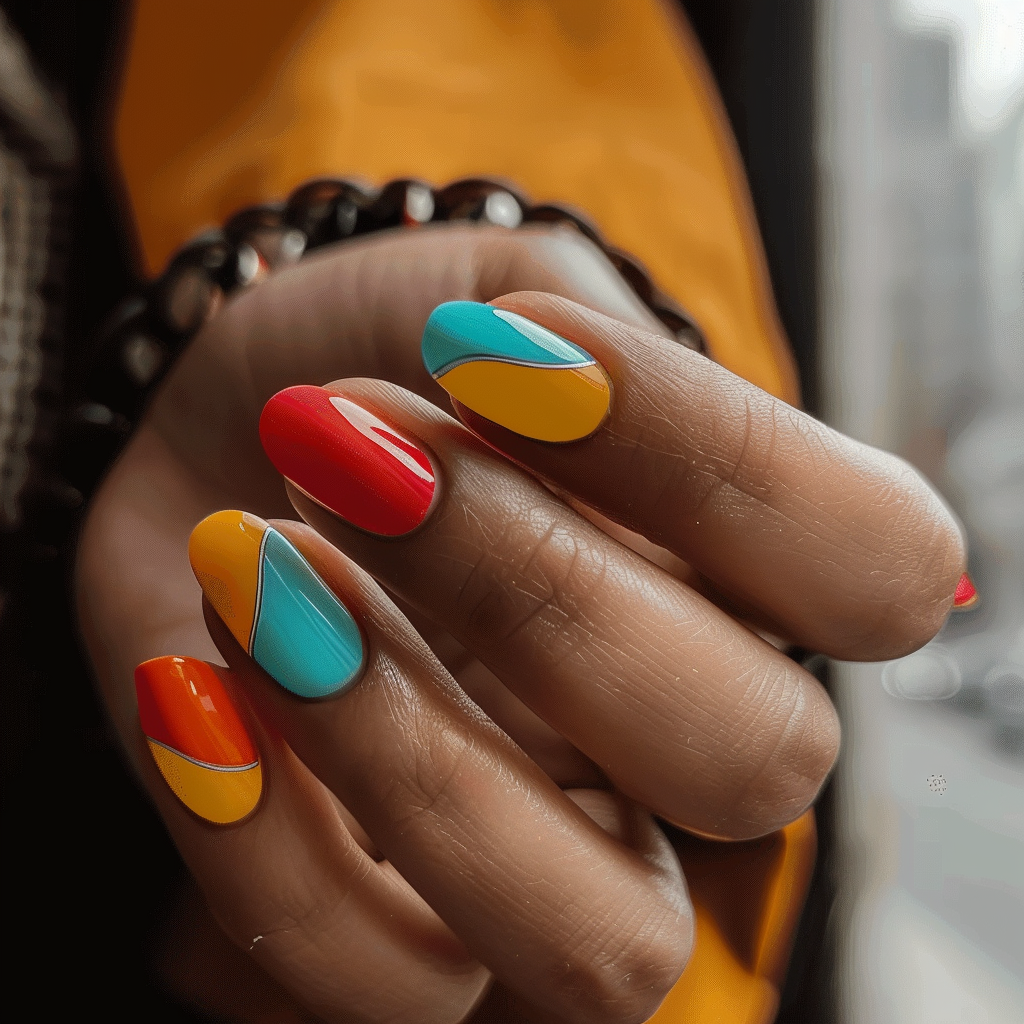

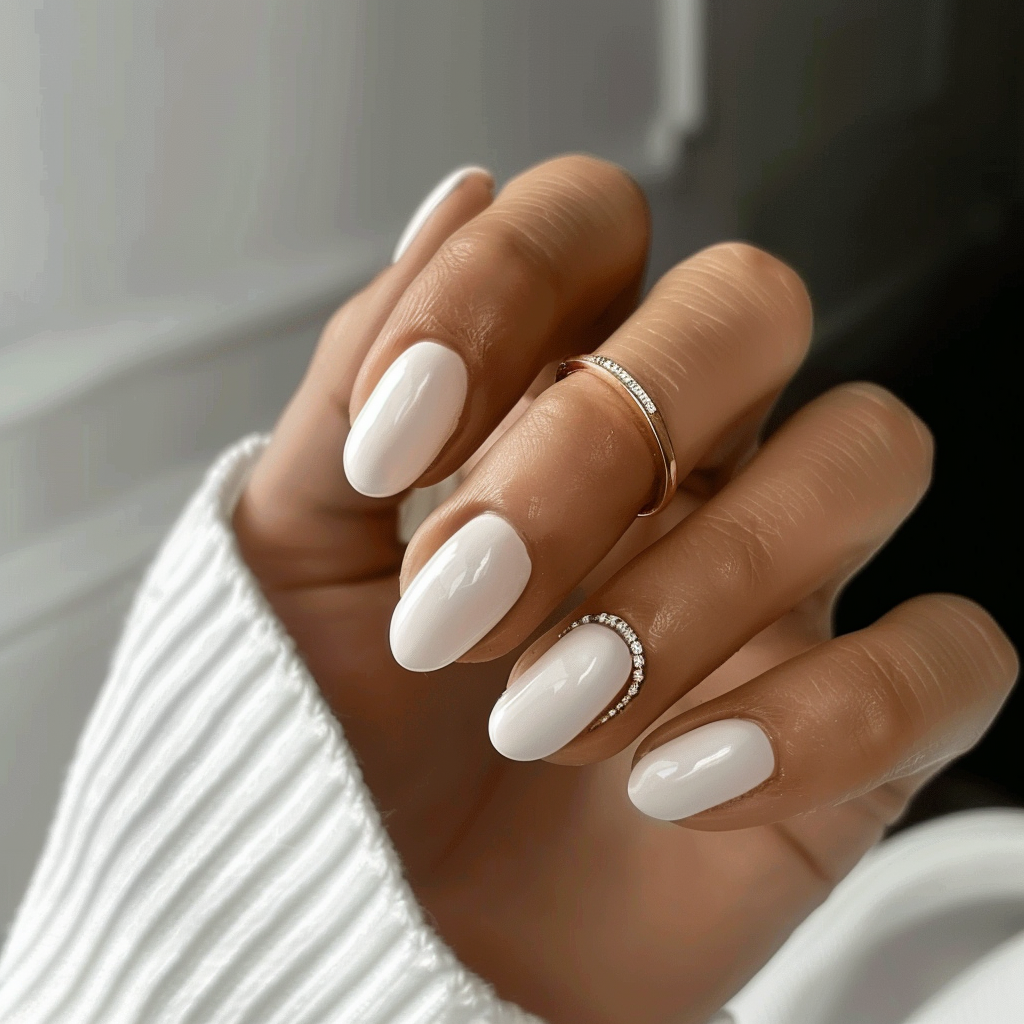
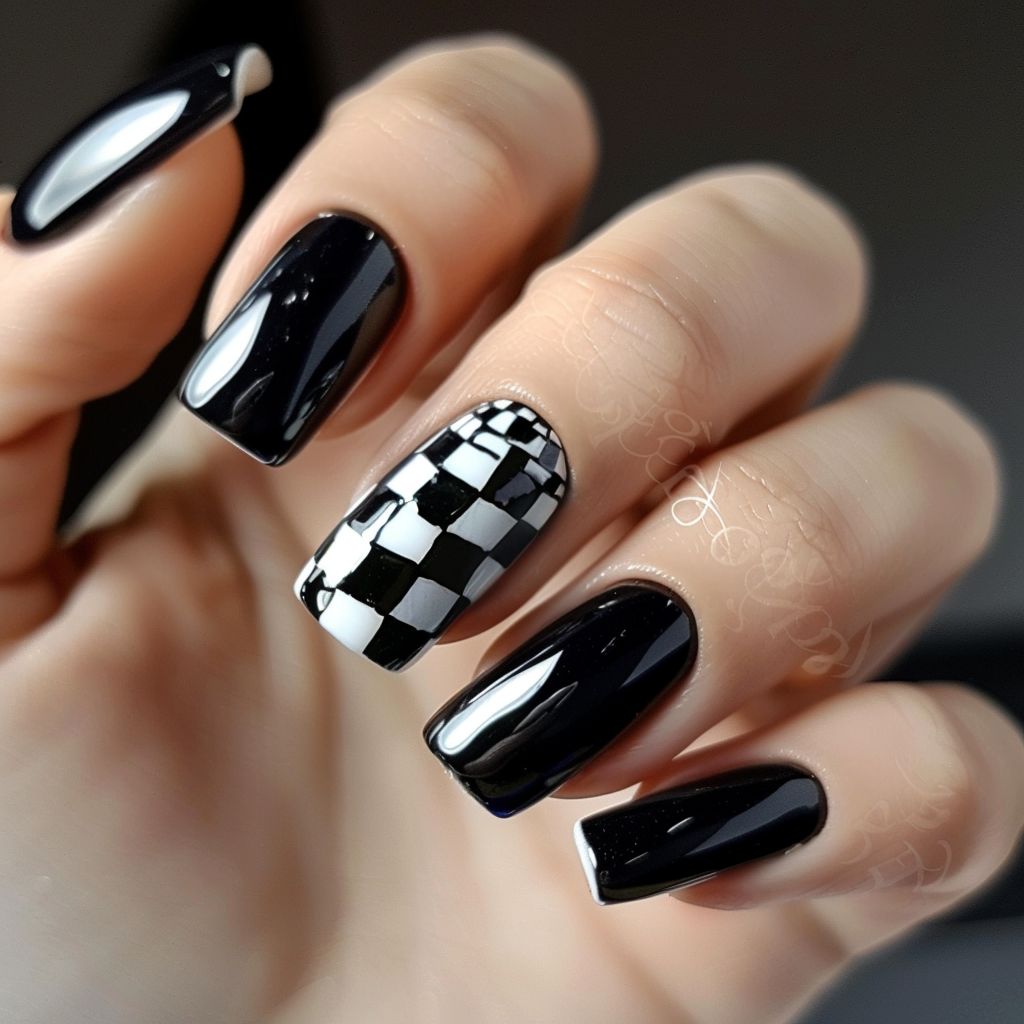

Pretty Pastels
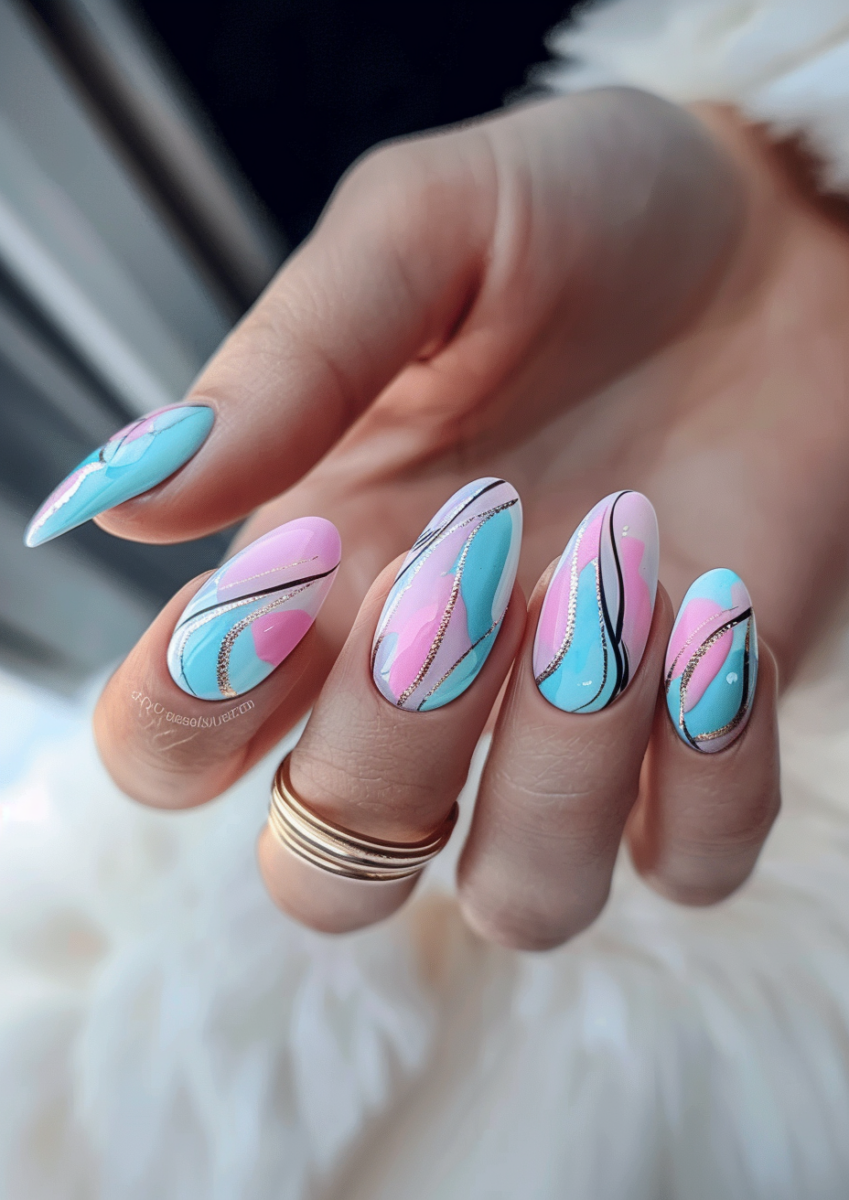
Soft pastel nails feel totally fresh for Valentine’s Day!
Try a buttery yellow, iridescent lilac or baby blue crème polish.
Pastels add a sweet pop of color while still feeling laid-back enough for daytime.
They’re easy to wear but still have that dreamy, romantic vibe perfect for V-Day!
Pastels like mint, lavender and peach feel sweet and playful.
They have a whimsical, spring-like vibe.
I love China Glaze’s “Blue Bells Ring” for a pretty baby blue.
The trick is finding a pastel polish with good opacity.
Sheer, watery formulas can require 4-5 coats.
Make sure to apply thin, even layers and let them dry completely between coats.
Finish with a glossy top coat to really make the pastel shade pop.
You can even decorate with tiny heart decals or pearls.
Pastel nails are a cute way to get in the Valentine’s spirit while still looking fresh and youthful.
Bold Berry
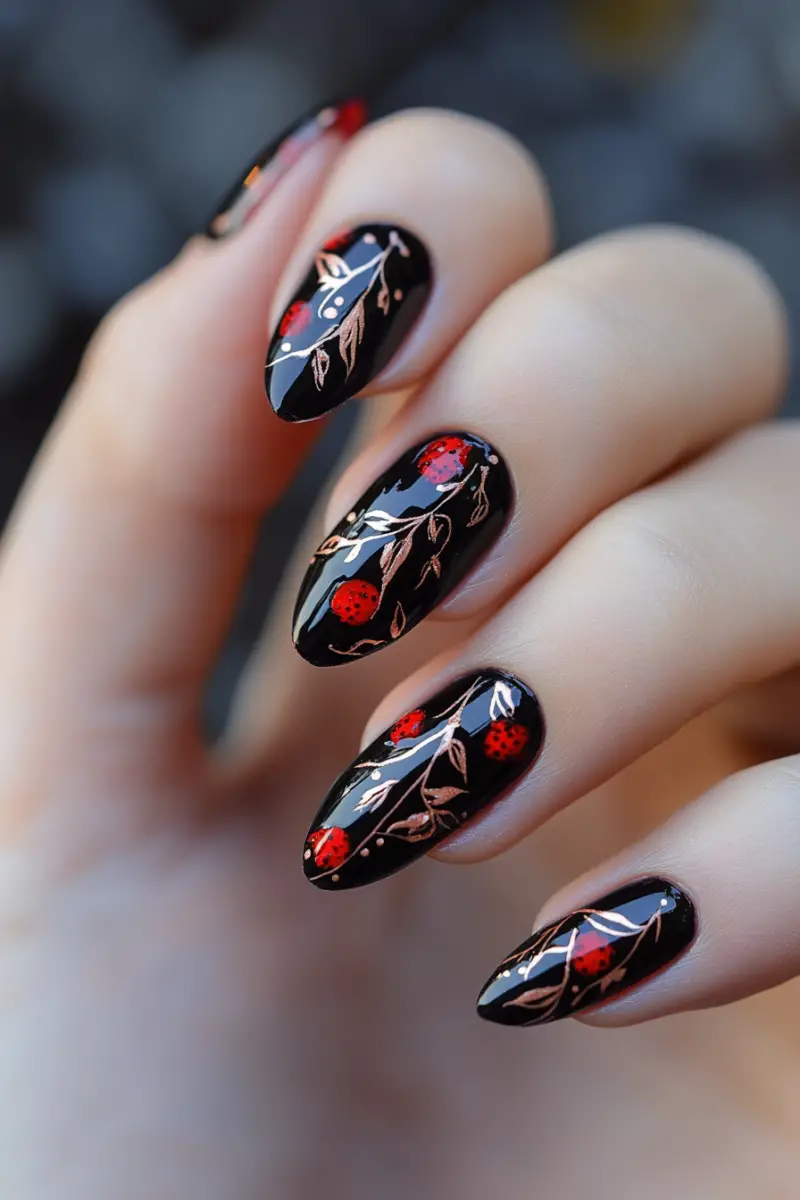
Vamp it up for date night with a bold berry shade!
Deep wines, plums and black cherries feel romantic with a seriously sexy edge.
Go for a crème finish for maximum impact.
Add a layer of top coat for major depth and dimension.
Bold berry nails are perfect when you want to turn up the heat and unleash your inner temptress!
Rich berry tones are sexy, sophisticated and striking for an evening out.
They definitely make a bold statement if you’re feeling dramatic.
Deeper shades like black cherry and bordeaux work beautifully for Valentine’s.
I like using OPI’s “Big Apple Red” – it’s the perfect deep crimson.
Go for a smooth, creamy lacquer rather than a shimmery metallic.
This keeps the focus on the rich base color.
Make sure to use thin coats and let them dry completely to prevent streaks.
Finish with a fast-drying top coat for super shiny, mirrored depth.
Bold berries look amazing with little black dresses if you’re going out.
For daytime, balance the drama with neutral makeup and outfit.
No matter when you rock them, these sexy nails will make your date weak in the knees!
Mauve It
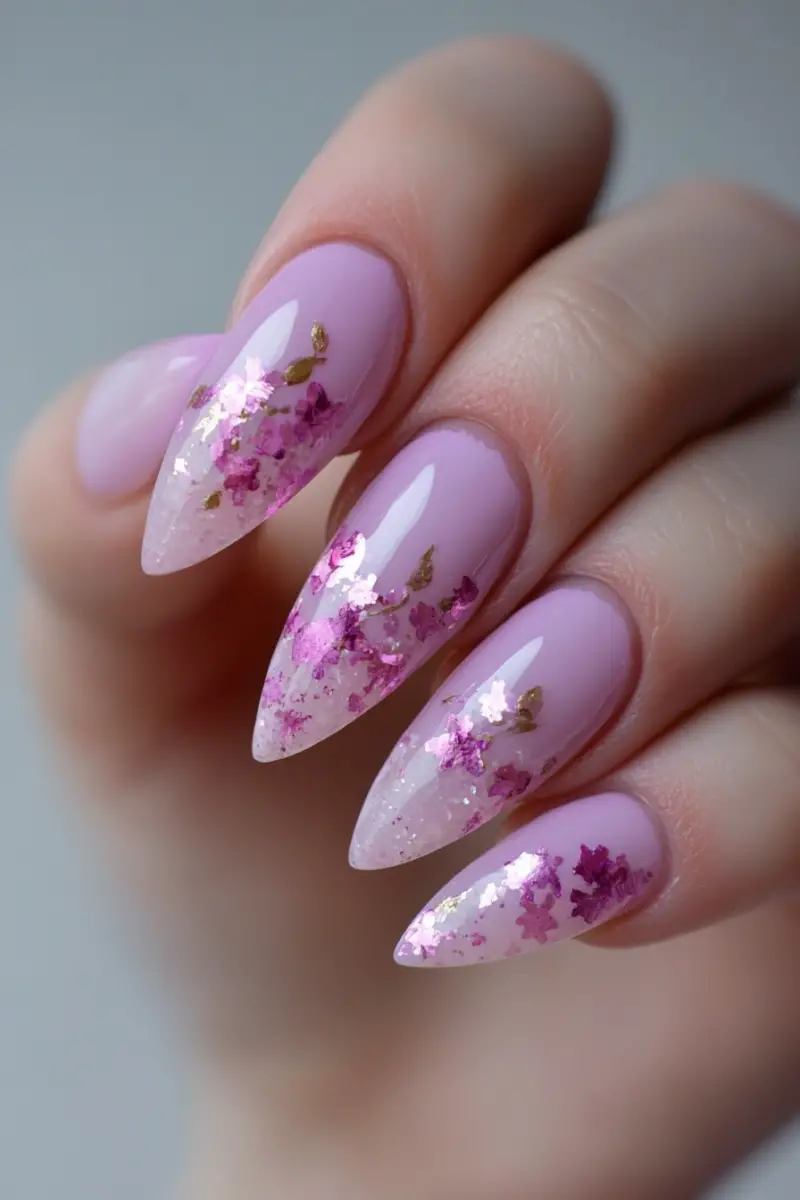
Mauve is the new pink when it comes to pretty Valentine’s nails!
A soft purple polish with pink undertones is right on trend.
Try a semi-sheer texture with just a hint of iridescence for a glam effect.
Mauve makes nails look freshly-manicured and oh-so romantic.
It’s the perfect modern neutral for your V-Day look!
Mauve nails have a feminine yet edgy vibe perfect for Valentine’s Day.
The purple hue feels flirty and fun but still sophisticated.
Shades like lilac, lavender and rose quartz work beautifully.
Essie’s “Mademoiselle” is one of my fave mauve polishes – it’s a light dusty rose.
Sheer, semi-translucent textures allow your natural nails to peek through.
This creates depth and a clean, modern look.
Be sure to finish with a shiny top coat to show off the iridescence.
You can even add pearls or glitter to the wet top coat for extra pops of glam.
Mauve nails are a trendy upgrade from classic pink.
They bring romantic charm to any Valentine’s Day look.
Shimmery Nudes
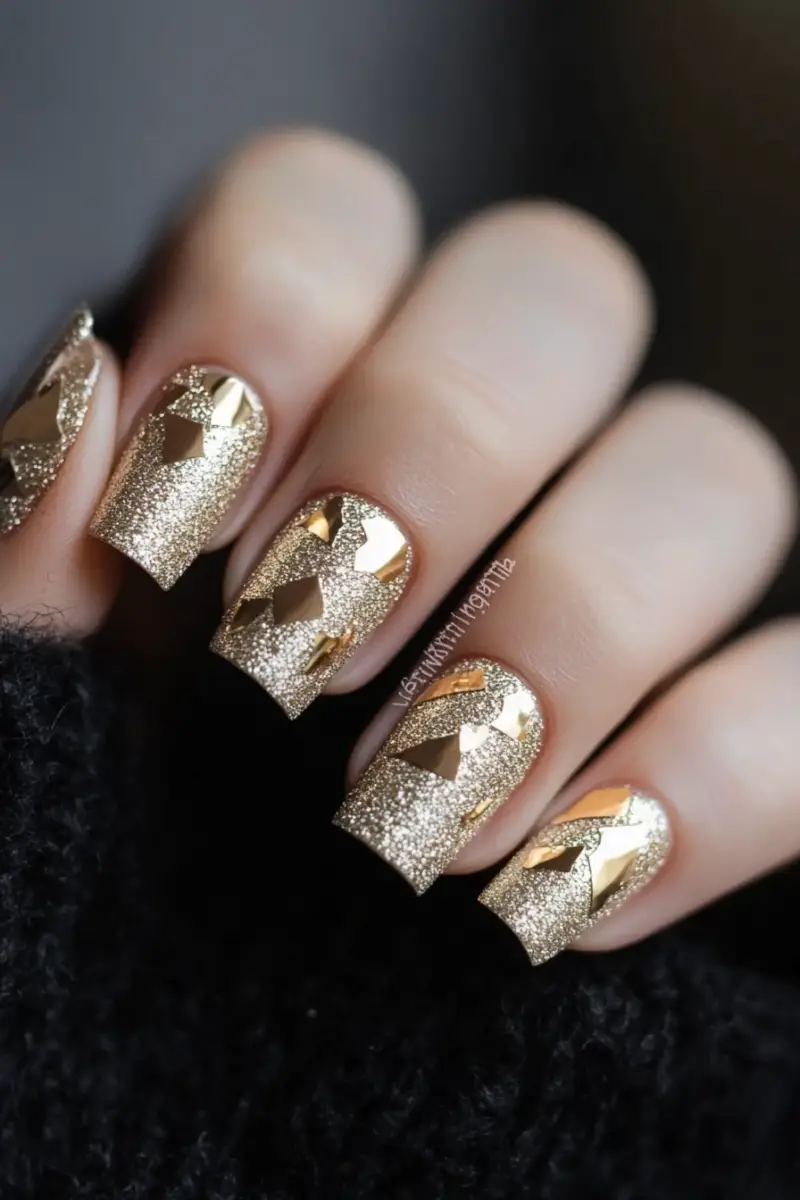
Nude nails don’t have to be boring for date night!
A shimmery champagne, rose gold or blush polish adds warmth and intrigue.
Buff your tips and finish with a layer of iridescent top coat for major glam factor.
Nude nails feel fresh and feminine – plus they allow you to amp up the drama with your makeup instead!
Shimmery nudes are super versatile for Valentine’s Day.
They have a modern, minimalist vibe with a hint of glitz.
Champagne and rose gold metallics look gorgeous and luxe.
Essie’s “Penny Talk” is a beautiful sheer rose gold polish.
Make sure to buff and file your nails first so the color really shines.
Use thin coats, allowing 2 minutes to dry between each.
Finish with a fast-drying top coat for glossy shine that gleams.
You can even embellish your nude base with pink or red heart decals.
Shimmery nudes let your accessories and makeup pop while keeping nails fresh and modern.
Gilded Glam
Go for full-on glitz and glam this V-Day with gilded nail polish!
Rose gold, champagne gold and copper metallic polishes make your mani shine.
Add sparkling jewels or glitter tips if you’re feeling festive.
Gilded nails are perfect when you want dial up the drama and dazzle your sweetie on date night!
Metallic nail polish adds instant glamour and luxury.
It’s like wearing jewelry right on your fingertips.
I love using L’Oreal’s “Bold Gold” – it’s a showstopping shimmery champagne.
Make sure to prep your nails first so the polish glides on smooth.
Use a base coat and buff away any roughness for best results.
Apply three thin coats, allowing each to dry fully before adding the next.
Finish with a fast-drying top coat for insane gleam.
Feel free to embellish your metal mani with glitzy bits like pearls, rhinestones or gold leaf.
Gilded nails are perfect for a glamorous dinner or night out dancing with your sweetheart!
Moody Vamp
If you want to unleash your inner vamp, go for a moody oxblood, burgundy or plum polish this V-Day!
These deep wine shades have vintage Hollywood glam appeal.
Add a layer of shimmer top coat for luxe dimension.
Just remember – mysterious nails are perfect for stealing hearts after dark!
Dark reddish shades like merlot, oxblood and garnet are so vampy and romantic.
They’re bold without going full-on black.
I like using Essie’s “Wicked” for a rich, dramatic merlot mani.
Make sure to properly prep your nails first before applying color.
Dark polishes show every mistake!
Use a base coat and buff away roughness for flawless application.
Finish with a shiny top coat for major depth and dimension.
A touch of glam never hurts either – add glitter tips or rhinestone accents.
Moody vamp nails are ideal for romantic evenings filled with candles, wine and delicious secrets!
Galentine’s Glitter
Having a Galentine’s Day slumber party?
Treat you and your besties to glitter nails!
A shimmery polish with flecks of pink, red and silver will get everyone in the spirit.
Top it off with heart and lip stickers.
Glitter nails are fun, playful and perfect for celebrating the girls in your life!
Glitter manis feel playful, girly and festive.
They get everyone excited to spend time with friends.
I like using Sally Hansen’s “Commando Glitter” – it has the perfect Valentine’s mix.
Make sure to apply a sheer base color first so the glitter sticks and pops.
Light pink or nude works well.
Use thin coats of glitter polish and let each dry fully before adding more.
Finish up with colorful heart and lip decals from the craft store.
Glitter nails are the perfect activity for getting in the Galentine’s spirit with your BFFs!
Candy Hearts
Nail art takes your V-Day mani to the next level!
Use black and red polish to create miniature candy hearts.
This super cute nail idea feels nostalgic and romantic.
Get creative with shapes and sayings.
Candy heart nails are guaranteed swoon-worthy!
Tiny candy heart art is so nostalgic and adorable.
It shows you put thought into planning your mani.
Use Essie’s “Licorice” for the black outline and “Forever Yummy” red.
Make sure you have a very thin, precise nail art brush.
Test your hand on paper first before attempting the tiny details.
Finish with a fast-drying top coat to seal in your candy heart creations.
Not artistically inclined? Buy heart nail stickers from Etsy to achieve the same effect!
However you make them, candy heart nails are a super romantic way to decorate for V-Day.
Lace Details
Add a touch of delicate romance to your mani with lace details.
Use a sheer polish as your base color.
Then paint on lace patterns with a white striper brush.
Add pearls or glitter to highlight the lace effect.
This elegant nail idea is totally dreamy and romantic for V-Day!
Lace-inspired nails have a gorgeous, intricate look.
The details add interest without being over-the-top.
Use Essie’s “Mademoiselle” as a light pink base.
Take your time making smooth, even strokes to create the lace pattern.
Finish by randomly placing tiny pearls to mimic lace embellishments.
Not comfortable free-handing lace? Use lace press-on nail stickers instead.
However you do it, this mani looks beautifully handmade and romantic.
Lace details bring feminine charm and delicacy to your V-Day nails.
Love Letters
Use your nails as love letters this February 14th!
Paint your ring fingers with a bright red base.
Then use a thin brush to paint a mini love letter on each nail.
Keep the messaging romantic – song lyrics work perfectly!
Love letter nails are such a thoughtful touch he’ll appreciate.
Mini nail art love letters are a thoughtful, personal touch.
Song lyrics, poems or inside jokes work great.
Use a nail art pen or acrylic paint for crisp lettering.
Make sure your nail surface is completely smooth and clean.
Practice your lettering first on paper to perfect the size.
Finish with a fast-drying top coat to prevent smudging.
Tiny love letters take concentration but the personalization is so worth it.
He’ll be touched you put such time into making your mani feel special just for him.
Rose Gold Tips
Metallic tips look seriously luxe and romantic for Valentine’s Day.
Paint your base color nude or pale pink.
Then use a makeup sponge to dab rose gold, copper or champagne polish on the tips.
The contrast is glam and gorgeous!
Don’t forget a shiny top coat to make it really pop.
Metallic ombre tips amp up the glamour factor.
The gradient effect is so fun and eye-catching.
Use Essie’s “Penny Talk” for a true rose gold.
Paint your tips freehand if you’re confident. Use striping tape if not.
With the sponge, lightly dab – don’t swipe – for a diffused effect.
Apply two coats to build up intensity.
Finish with a fast-drying top coat for super high shine.
Rose gold tips are a glitzy upgrade to your Valentine’s mani!
French Fade
The classic French manicure gets a modern update with ombre fading.
Start with a base of nude or pale pink.
Paint your tips white, then use a makeup sponge to fade up into the base color.
The gradient effect is so stylish and pretty for V-Day!
A faded French mani has a glam, updated effect.
The ombre transition modernizes the classic white tip.
Use Essie’s “Mademoiselle” as your base and “Marshmallow” for white tips.
Paint the tips first, then use makeup sponge to blend and fade the middle.
Apply two coats to build up the ombre intensity.
Finish with a shiny top coat for glossy sheen.
A faded French manicure puts a romantic spin on a classic for Valentine’s Day.
Heart Accents
Add cute and playful heart details to your February 14th mani!
Use a toothpick dipped in red or pink polish to dot tiny hearts at the base of your nails.
Or paint a single red heart on your ring finger.
Little heart accents express your love in a simple, delicate way.
Mini heart details are a subtle, sweet way to accessorize your mani.
They show your affection without going overboard.
Use a toothpick for concentrated control.
Let the polish bead on the tip before gently touching to your nail.
Start with bigger hearts, then make tinier ones once you get the hang of it.
Finish with a fast-drying top coat to prevent smudging.
Heart accents elevate any classic mani design with a cute, romantic touch.
XOXO
Go for romantic shorthand with XOXO nail art!
Paint your base color nude, pink or red.
Then use a thin brush to paint X’s and O’s on accent nails.
This hugs-and-kisses nail idea is perfect for showing your affection in a modern way he’ll appreciate.
XOXO nail art puts a modern twist on expressing love.
The hugs and kisses shorthand is playful yet romantic.
Use a nail art detail brush and acrylic paint for crisp lines.
Make sure you let each coat dry fully before adding the next letter.
Finish with a fast-drying top coat to prevent smudging.
Feeling unsteady? Buy pre-made XOXO decals instead of trying freehand.
However you make them, these nails stylishly symbolize hugs and kisses!
Red Roses
Nothing says “Be My Valentine” like classic red roses.
Paint your nails cherry red and use a toothpick to draw on stems, leaves, and roses.
This simple yet elegant look is perfect for a romantic date night.
Go for a deep crimson shade like OPI’s Big Apple Red.
Use a thin brush and black acrylic paint to draw stems going diagonally across each nail.
Paint little leaves coming off the stems with light flicks of the brush.
Draw 3-4 delicate roses clustered together at the tip of the nail.
Outline the roses and fill them in with the red polish to give them shape.
Finish with a shiny topcoat to smooth everything out and help it last.
Red roses say “I Love You” in the floral language of romance.
Pink Hearts

Get your head in the Valentine’s Day game with pretty pink heart nails.
Paint your nails a soft pink hue and use a white polish or acrylic paint to freehand tiny hearts.
Cute and girly!
A pale blush pink like Essie’s Ballet Slippers is the perfect base.
Use a small detail brush dipped in white acrylic paint to draw miniature hearts.
Start with a sideways V shape, then complete the heart.
Place hearts randomly all over the nails, filling in any empty spaces.
You can also just paint a heart on each accent nail for a simpler look.
Finish with a holographic topcoat for some added sparkle.
Hearts represent love and romance, making this a perfect Valentine’s Day mani.
Chocolate Drip
These sweet chocolate drip nails will satisfy your candy cravings!
Start with a brown base color and use a darker brown to create drips down each nail.
Finish it off with a chocolate bar accent nail.
Paint your nails a milk chocolate hue like OPI’s Bogota Brown.
Take a small brush loaded with dark chocolate brown polish.
Lightly touch the brush near the cuticle and let drops fall down the nail.
They don’t have to be perfect, the messier the better!
On your ring finger, use a striping brush and brown polishes to paint a faux chocolate bar.
Add drips coming down off the bar for extra yumminess.
Top with matte topcoat to mimic a velvety chocolate finish.
You’ll have sweet treat right at your fingertips!
Conversation Hearts
Nostalgic neon conversation hearts are a Valentine’s Day staple.
Recreate the look with an ombré background in pastel colors like purple, pink, and blue.
Use nail vinyls or tape to add phrases like “Kiss Me” and “Be Mine.”
Paint an ombré starting with a pale purple at the cuticle and gradually blending up to a bright pink.
On your ring fingers, paint a sky blue ombré faded up from pale blue.
Cut tiny heart shapes out of striping tape and stick them randomly on the ombré nails.
Use a small brush to hand letter conversation heart sayings like “Ur Cute” inside the tape hearts.
Peel off the tape to reveal the fun messages.
Seal it with a fast-drying topcoat so the polish doesn’t smear.
Your sweet and colorful nails will give everyone heart eyes!
Lace Details
Add a touch of romance with pretty lace details on your nails.
Paint them in a solid color like red or nude, then use a fine nail art brush to create lace patterns.
Classy and feminine!
A deep wine red polish like Essie’s Bordeaux is perfect for Valentine’s.
Start with 1-2 coats to ensure full, opaque coverage.
Let dry fully before painting the lace accents.
Use a thin brush dipped in white acrylic paint to paint dainty lace designs.
Try chevrons, flowers, zigzags, or geometric patterns.
Outline the lace shapes, then fill in with white to make them pop.
Top coat with a shiny glossy polish to smooth it out and help it last.
Pretty as a Valentine, you’ll feel oh so glamorous!
Glitter Ombré
up your nails with a fun glitter ombré in Valentine’s Day colors.
Transition from pink at the cuticle to red at the tip and finish with a sparkly topcoat.
Simple but statement-making.
Apply a light pink like OPI’s Tickle My France-y as your base color.
Paint the tips with a bright cherry red like China Glaze’s Long Stem Rose.
While wet, use a makeup sponge to blend the pink and red together.
Brush on a thick coat of glitter topcoat like Essie’s Shine of the Times.
The pink to red ombré glitter gradient nails are party perfect!
Dazzle your date and steal the show with these head-turning nails.
Metallic Tips
Jazz up ordinary nails with rose gold, copper, or silver metallic tips.
They give off major glam vibes.
Pair them with a neutral base color and top coat with glitter for extra pop.
Paint your nails a pretty nude or pale pink to start.
Let dry then paint the tips metallic rose gold, copper, silver, or even blue.
Make sure to seal the edge between the colors with the metallic overlapping the pink a bit.
Finish with a scattered glitter topcoat for a glitzy effect.
Metallic tips are seriously eye-catching and so fun for a night out.
You’ll be shining brighter than a diamond with this mani!
Faux Jewels
Feel like a queen with opulent faux jewel nails.
Place dazzling rhinestones, crystals, or glitter gem decals on accent nails.
Let the sparkle speak for itself by keeping the other nails bare.
Paint your nails a regal red or ladylike nude.
Accent 2 fingers with rows of clear rhinestones for a glam look.
Or use jewel-toned glitter decals like emeralds, rubies and sapphires.
Cluster them towards the tips of the nails for maximum impact.
Finish with a shiny topcoat to really make them shine.
You’ll feel like a million bucks with these gemstone nails!
Valentine’s Florals
What’s more romantic than flowers?
Paint dainty florals like roses, tulips, or cherry blossoms in shades of red, pink, and white.
Outline with black acrylic paint for definition.
Choose 2-3 flower designs you want to feature.
Roses, tulips, lilies, pansies, orchids are all pretty options.
Lightly sketch the flowers on with a pencil first to plan out the design.
Use a small brush and red polish to paint roses with delicate petals.
Paint tulips stems with green polish, then make the blossoms in pink and red.
Cherry blossoms are easy using 5-6 dots of white polish accented with a pink center.
Outline each flower in black to make them pop against the base color.
Clusters of flowers on an accent nail are eye-catching.
Or scatter them singly across different nails for a subtle effect.
Top coat for a smooth finish and long-lasting mani.
Pretty blooms on your nails will make your heart flutter!
Marble
Mesmerizing marble nails are easier to DIY than you think!
Layer red and pink polish, then swirl with a toothpick.
The abstract design looks luxe and expensive.
Start with a base coat to protect your nails.
Apply 1-2 coats of a deep red creme like Essie’s Forever Yummy.
Add a few drops of white near the cuticle and swirl together with a toothpick.
While still wet, drop dots of pink in a few spots and swirl again.
Drag the toothpick up in curves to create marble-like veins.
Finish with a fast-drying glossy topcoat to smooth it out.
Your nails will look like luxurious Italian marble – bellisima!
Geometric Hearts
Put a modern spin on hearts with geometric and abstract heart nail art.
Use tape to create triangular, circular, or deconstructed heart shapes in bright reds and pinks.
Paint your nails white first to make the colors pop.
Place small triangular tape strips pointing down on each nail to make arrow style hearts.
Fill them in with red polish – so clever!
Or use circle hole reinforcers to stamp circular hearts onto accent nails.
Get creative painting hearts in abstract shapes and patterns.
The unfinished look is trendy and cool.
Seal it in with a fast-drying top coat to finish.
These artsy geometric heart nails will win you major points for creativity!
Galaxy
Transport your nails to a romantic galaxy far, far away.
Paint a black base color and sprinkle on reds, pinks, purples, and blues with a makeup sponge.
Out-of-this-world style!
Start by painting your nails black for the night sky.
Dip a makeup sponge into pink, purple and blue polish.
Dab lightly onto the nails to create galaxy cloud effects.
Add tiny red dots for distant stars with the pointy end of a bobby pin.
Use a toothpick to swirl the colors together softly.
Finish with a fast-drying topcoat to seal in the design.
Blast off into a romantic nebula with these stellar cosmic nails!
Chevron
The classic chevron print gets a Valentine’s Day update in pretty shades of pink, red and white.
Use striping tape to create the zigzag pattern against a nude base.
Paint your nails a neutral peach or beige hue.
Place alternating strips of striping tape down at an angle to form chevrons.
Paint every other chevron red and the others white.
Or try shades of pink and coral for a softer look.
Finish with a glossy top coat to smooth it out and help it last.
Chevron nails are both retro and fun – so chic!
Ombré Hearts
Cute ombré hearts are simple but eye-catching.
Paint alternating nails in lighter and darker shades of red or pink, then add tiny heart accents.
Start with a pale blush pink on your ring fingers.
Paint the others in a deeper cherry red fading up into pink.
Use a toothpick to draw X’s in white acrylic paint to make mini hearts.
Place them randomly near the cuticles for a delicate detail.
Finish with a shiny topcoat to smooth and protect the design.
This sweet ombré heart nail idea is perfect for your Valentine!
Minimalist French
A minimalist French manicure with a Valentine’s Day twist is chic and sophisticated.
Paint your tips red or pink instead of white.
Trés romantique!
Start by painting your nails a sheer pink or beige base color.
Let dry before painting the french tips.
In a bright cherry red, neatly paint a thin line on the tips of the nails.
Or try a frosty pink for softer, more natural look.
Finish with a clear glossy topcoat to lock it in.
This classic french mani with a Valentine’s makeover is tres chic!


