I used to think winter nails had to be dark colors or just red and green for the holidays.
But this year, I discovered you can do really creative, eye-catching nail art designs perfect for the cold weather months.
Check out these for example:
My favorite wintry designs are gradients and icy metallic looks that remind me of being outdoors on a cold, sparkling day.
So let’s look at some of the trendiest, coolest winter
nail design ideas
you need on your radar right now:
Winter Nails Photo Gallery











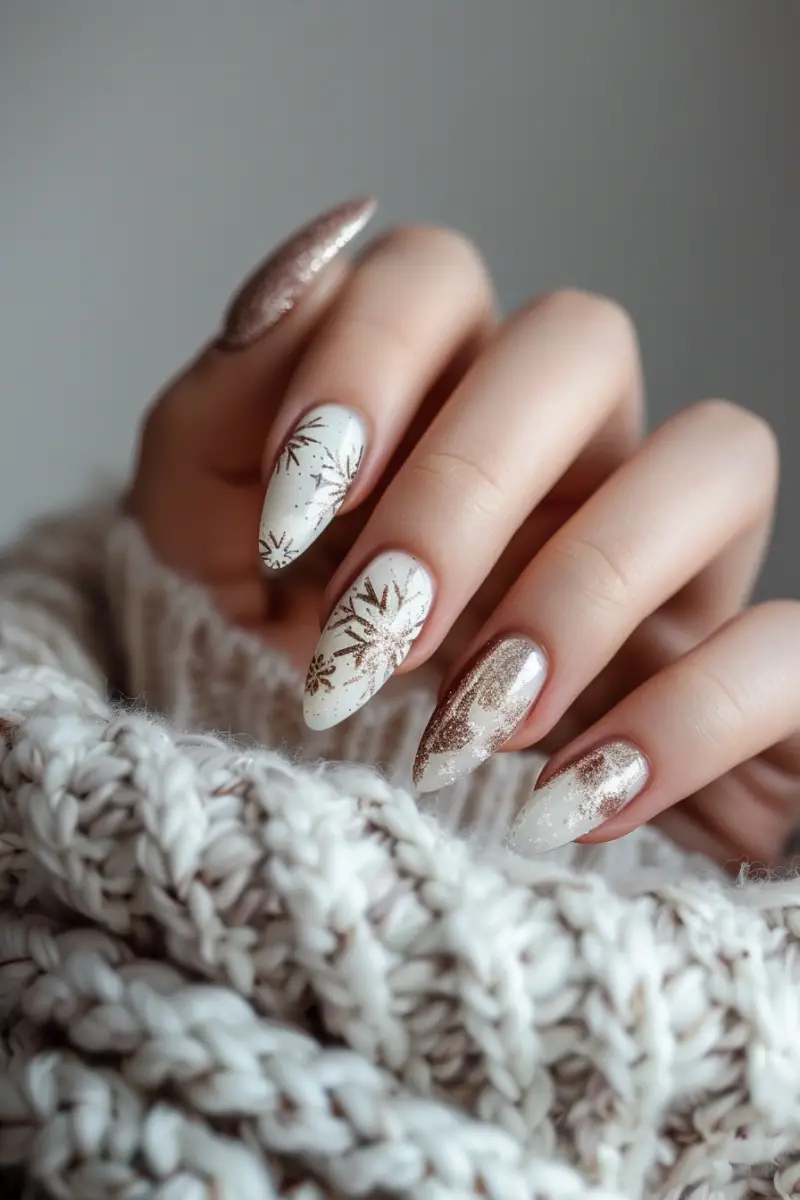
1.
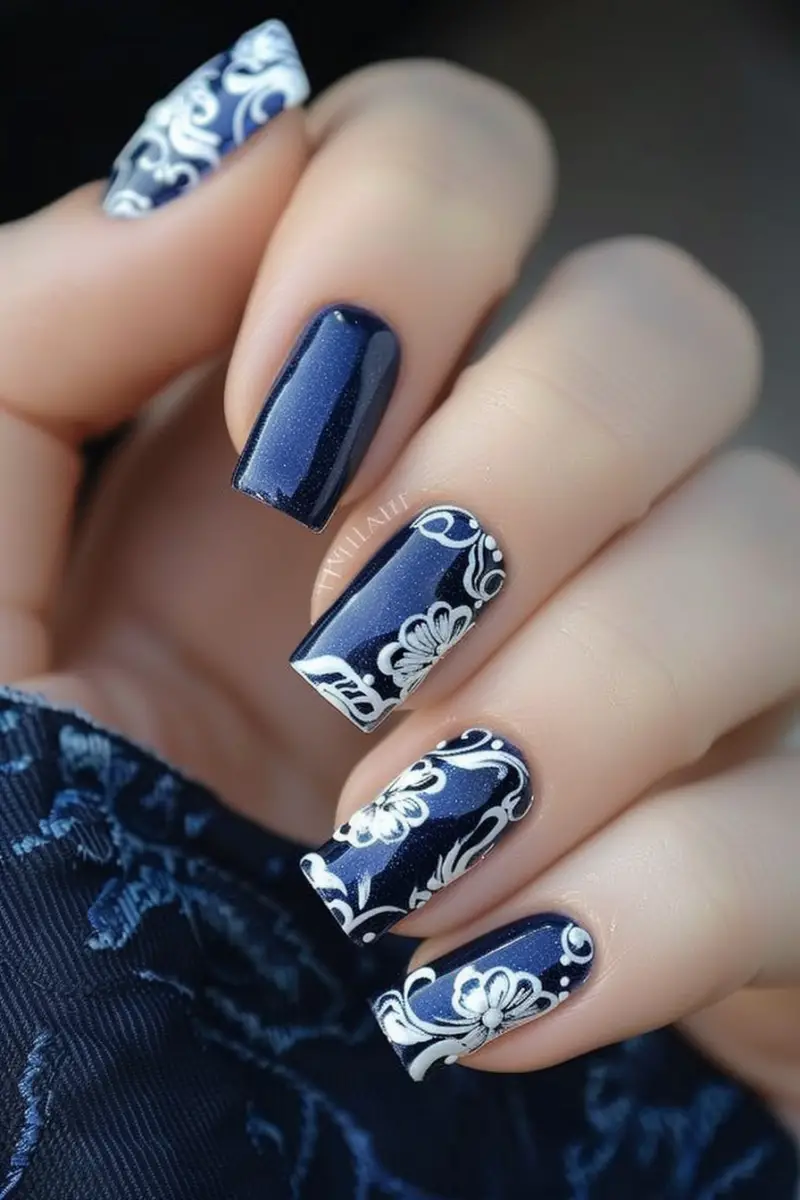
Navy Snowflake Nails

Navy blue is such a chic winter color, and pairing it with delicate white snowflakes is so pretty for the holidays.
Focus the snowflakes on your ring fingers for the perfect accent nail.
I love using a medium blue creme polish first as the base.
Then using a thin nail art brush, carefully paint on snowflakes in bright white acrylic paint.

Start with larger snowflakes toward the tip of the nail and make them gradually smaller as you work back toward the cuticle.
This creates depth and makes the design more interesting.
I like to outline each snowflake first and then fill in the middle so they look full and not hollow.
The crisp white flakes really pop against the rich navy background.
For even more dimension, you can add micro-glitter or holographic flakes over the snowflakes to make them sparkle.

This navy and white combo is perfect for winter parties and holiday gatherings through December.
It’s festive and stylish at the same time.
2.
Embellished Tip Nails
Add some sparkle to your tips!
Use silver, gold, or multi-color jewels to embellish one or two accent nails.
Apply them in varied shapes and sizes for a stylish wintry touch.
I’m obsessed with how gorgeous embellished nails look for winter.
They remind me of glistening ice crystals and falling snow.
My favorite way to do this is to start with a light, icy base color like pale blue or lilac.
Then take mini crystals, pearls, and metallic studs and arrange them on just the tips of 1 or 2 nails.
Use an assortment of circle, rectangle and triangle shaped studs.

Mix silver, icy white, crystal AB and light sapphire colors to tie in the wintry theme.
Apply the embellishments close together at the tips and more spread out toward the cuticle.
This technique makes the nails sparkle with dimension.
For extra bling, you can even glue on larger jewel pieces like marquise-cut crystals on your ring fingers.
The key is creating that graduated look from dense at the tips to more sparse toward the base.
It’s such an easy way to glam up your nails for the holidays or a winter wedding.
3.
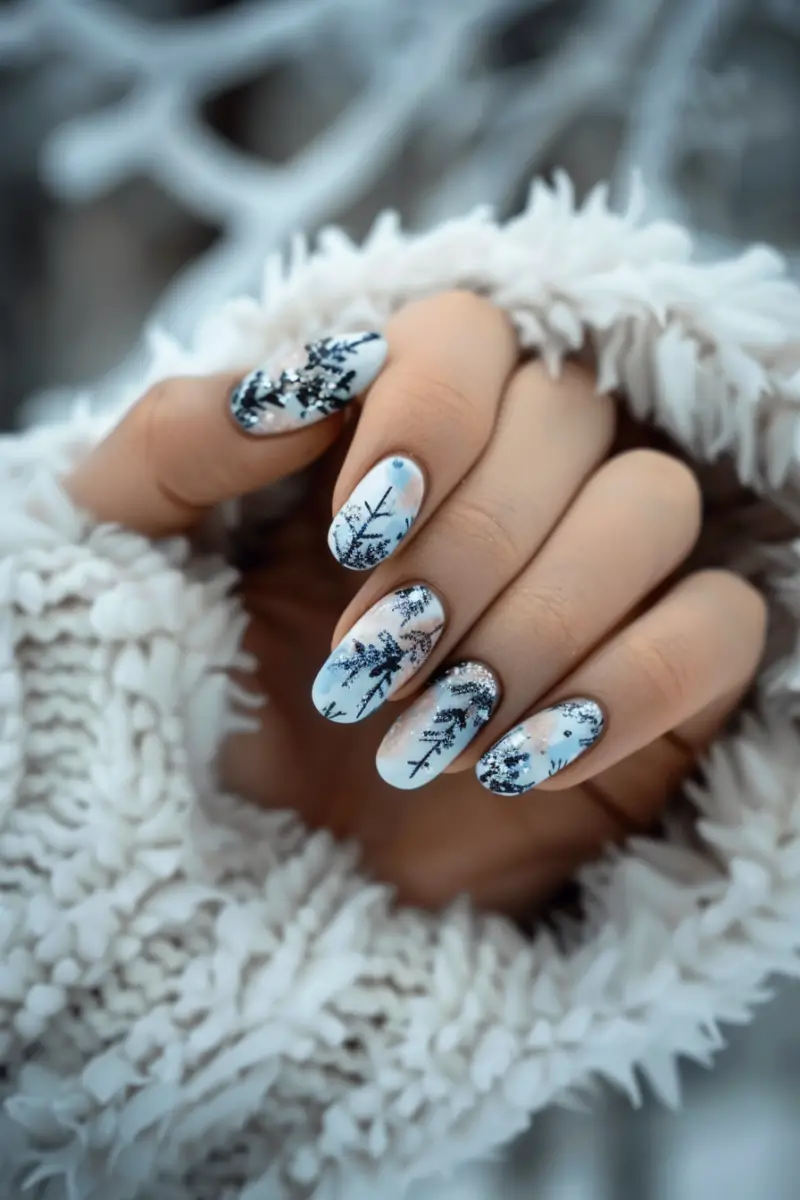
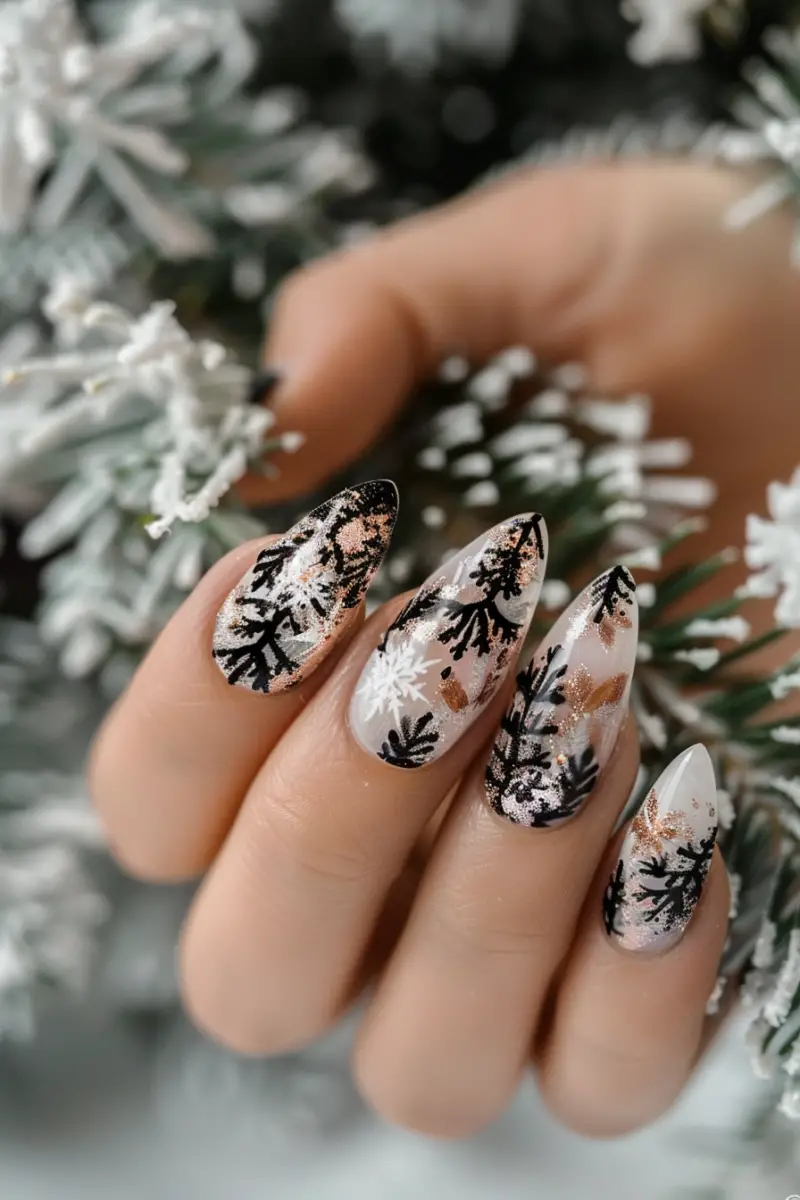
Frosty Glitter Nails
One of my favorite winter
nail ideas
is a frosted look with sheer sparkly glitter.
It reminds me of icy windows and snowy trees glistening in the sunlight.
Use blue, silver, or white glitter for this icy effect.
I like to create a “frosted” ombre starting with a clear base coat to allow the glitter to shine through.

Then I sponge on glitter starting with chunkier silver hexes at the tips that transitions to finer blue and white glitter toward the cuticle area.
The key is gradually layering the glitter so it fades softly at the nail’s base, just like real frost would.
You can also paint on snowflakes or snowy pine trees using white acrylic paint for another dimension.

I prefer brands like Twinkled T with glitters that have a transparent base so the color underneath shows through.
It creates more of a frosty look compared to opaque glitters.
Finish with a fast-dry glossy top coat to seal in the sparkly design.
These icy glitter ombre nails are so elegant yet festive at the same time.
4.
Metallic Chrome Nails

Chrome nails are so on trend and look amazing in icy metallic shades like steel gray, platinum, or silver.
The mirror-like chrome effect will make your nails shine all season long.
I’m obsessed with how edgy and glamorous chrome nails look.
The reflective finish reminds me of sleek sports cars and jewelry.
My go-to technique is to first paint on 2-3 coats of black as the base.
Then apply a metallic chrome powder starting from the tips downward using a dense eyeshadow brush.
Tap the powder on to get an opaque chrome look.
Finish with a layer of fast-dry top coat for smooth nails that dazzle.
You can also buy pre-made chrome
nail polishes
which makes it even easier.
Just paint on 1-2 coats for an instant mirror finish.

I love using shimmering silver, icy blue, and gunmetal gray chrome colors for winter.
The reflective effect reminds me of shining icicles and mirrors.
Chrome nails instantly glam up any
winter outfit
.
5.
Knitted Texture Nails
Get cozy with
this knit-inspired nail idea
!
Use nude and white polish to create a textured knitted pattern on one or two nails.
It’s perfect for sweater weather.
I absolutely love recreating the look of cozy knit textures on my nails.
It instantly makes me think of warm blankets and cable knit sweaters.

Start with a sheer nude base to mimic bare yarn.
Then use a small brush dipped in white polish to paint on crisscrossing lines, zigzags and loops.
Keep the knit pattern small and tight for a knitted texture.
Finish with a matte top coat to dull any shine for a more realistic wooly look.
You can even use tan and brown polishes for a more earthy, rustic vibe.
On the accent nails, try painting actual cable knit stitches in white.
This
cozy winter nail idea
is perfect for staying home and sipping hot chocolate!
6.
Minimalist Snowflake Nails
For a clean and simple design, do a french tip with your base color and paint minimal snowflakes along the tips in white.
The small details still give it that seasonal feel without going overboard.
I adore how chic and subtle these simple snowflake nails look.
They are wintery and stylish at the same time.
Start by painting all your nails with a deep forest green or navy blue creme polish.
Let it dry fully before moving on to the snowflakes.
Then using a thin nail art brush, gently paint tiny snowflakes only along the french tips of each nail.
Keep them miniature in size, clean, and minimalist.
Place 2-3 small snowflakes in the corner of each french tip area, scattered sparsely.
The snowflakes should fade into the background and not steal the show.
This creates a subtle, delicate look that’s just enough of a seasonal touch without overdoing it.
Finish with a fast-drying glossy topcoat to smooth and seal the design.
You can even add a touch of holographic glitter over the snowflakes for a hint of sparkle.
I love how these understated snowflake nails complement winter outfits so nicely.
The green and blue bases are festive yet elegant for this time of year.
7.
Glitter Snow Globe Nails
How cute are these glitter snow globe nails?
Paint your base color first, then apply clear glue in small globs to look like snow globes.
Coat the globs with fine iridescent glitter for a magical wintry effect.
Recreating tiny snow globes on your nails is such a fun, festive winter nail idea.
I like to start with a rich red or green creme base to keep it seasonal.
Then use a toothpick to dot on small globs of clear nail glue in random spots on 1-2 accent nails.
While the glue is still wet, sprinkle fine cosmetic glitter over the globs so they stick.
Use iridescent white and silver glitter to mimic snow inside the globes.
If you want, you can even paint on mini snowmen or trees inside the globs using a tiny brush.
Finish by coating with glossy top coat to seal in the glitter and give it a glassy snow globe effect.
The end result looks so whimsical and reminds me of shaking sparkling snow inside a snow globe!
8.
Buffalo Plaid Nails
What’s more winter-chic than buffalo plaid?
Paint on the classic black-and-white checkered pattern for one or two big, bold buffalo plaid accent nails.
Buffalo plaid is one of my favorite winter prints because it’s so timeless and stylish for the season.
Recreating the graphic black-and-white checkers on your nails is actually pretty easy to DIY.
Start by painting your base color on all nails, either black or white.
Let it dry fully before moving on to the plaid pattern.
Next, use striping tape to mask off squares and rectangles on the accent nails.
Paint the exposed areas with the opposite color polish – white on black or black on white.
Carefully remove the striping tape to reveal crisp checkerboard lines.
Finish with a shiny top coat to smooth and harden the design.
These bold buffalo plaid nails will add the perfect pop of graphic pattern to any winter outfit!
9.
Metallic Reindeer Nails
For a fun, festive look, paint sweet metallic reindeer on accent
nails with gold
, silver, or copper polish.
Just a simple silhouette is all you need to get in the holiday spirit.
How adorable are these minimalist reindeer
nail designs for Christmas
?
They’re so quick and easy to recreate at home.
Start by painting your base color, either black, dark green or navy blue.
Once dry, use a thin brush dipped in metallic polish to paint the reindeer silhouette on 1-2 nails.
Keep them small in scale toward the tips of the nails.
Outline the head, antlers and body shape first, then fill in to complete the deer.
You can add a touch of shimmering white polish for snow under the feet.
Finish with a fast-dry topcoat and you’ve got cheerful holiday reindeer nails in minutes!
It’s such a cute way to get in the festive spirit.
10.
Northern Lights Nails
Recreate the magical northern lights in the night sky on your nails!
Start by painting on bold black polish as the base.
Then use neon greens, blues, and purples to paint the beautiful swirling lights.
These northern lights nail designs are so mesmerizing and colorful.
They remind me of watching the real aurora borealis dance across the winter sky.
Begin with a base of black creme polish to mimic the night sky.
Once dry, use a thin brush dipped in bright neon polishes to hand paint the northern lights.
Sweep wispy curves that fade out toward the tips.
Blend together green, purple and touches of blue for a true aurora look.
You can also stencil on lightning bolts or stars with cosmetic glitter to add extra magic.
Finish with a glossy top coat to really make the colors pop.
People will think you captured the dazzling northern lights right on your nails!
11.
Chic French Ombré Nails
Ombré nails look so chic and winter-ready in frosted shades.
Do a french ombré using gunmetal gray, soft purple or forest green polish and fade it up toward the tips.
So stylish!
I love how elegant and put-together french ombre nails look.
The graduated fade elongates your nails for an ultra-chic look.
For winter, I like to use deep jewel tones that feel festive and luxurious.
Start by painting all your nails with the base color in a rich shade like eggplant, emerald or gunmetal gray.
Once that dries, sponge on the lighter ombré shade in soft gray, icy purple or forest green starting mid-nail and blend up.
Use light, feathered strokes to create a seamless fade.
Finish with a super shiny top coat to make the colors glow.
I love how wintry, sophisticated and runway-worthy these misty ombré nails look!
12.
Sugar Sprinkle Nails
These nails look good enough to eat!
Start with a sheer base, then add various sized white polka dots to look like sprinkles of sugar.
Finally, paint on some red stripes to finish these playful candy cane nails.
How fun are these candy-inspired sugar sprinkle nails?
The polka dots and stripes remind me of decorating holiday cookies.
Start by painting on a sheer pink base to mimic icing.
Let it dry before moving on to the sprinkles.
Then use a dotting tool dipped in white polish to add polka dots ranging from tiny to large.
Apply them randomly like sprinkles tossed on frosting.
Paint some diagonal red stripes on one nail to mimic a candy cane.
Finish up with a shiny top coat to seal in the playful design.
I love wearing these sweet treat nails to get in the festive holiday spirit!
13.
Metallic Snow Capped Nails
This snow-capped nail design is simple but makes such a statement.
Paint your base color, then add a layer of textured metallic silver polish just on the very tips to mimic snow topping the mountains.
I’m obsessed with how cool these faux snow capped nails look!
The metallic tips remind me of glistening snow-covered mountaintops.
Start by painting all your nails with a rich blue or purple creme polish as the base.
Once completely dry, use striping tape to mask off the bottom 2/3 of the nail.
Apply a textured metallic silver polish just on the exposed nail tips.
Try a polish with larger silver glitter or flakes to mimic the look of snow texture.
Carefully remove the striping tape to reveal a crisp snow line.
Finish with a fast-drying glossy top coat to smooth and harden the design.
You can also paint on evergreen trees coming up from the bottom using
dark green polish
.
I love the striking contrast of the warm creme base against the icy metallic silver tips.
It’s such an easy way to recreate snow-capped summits right on your nails!
14.
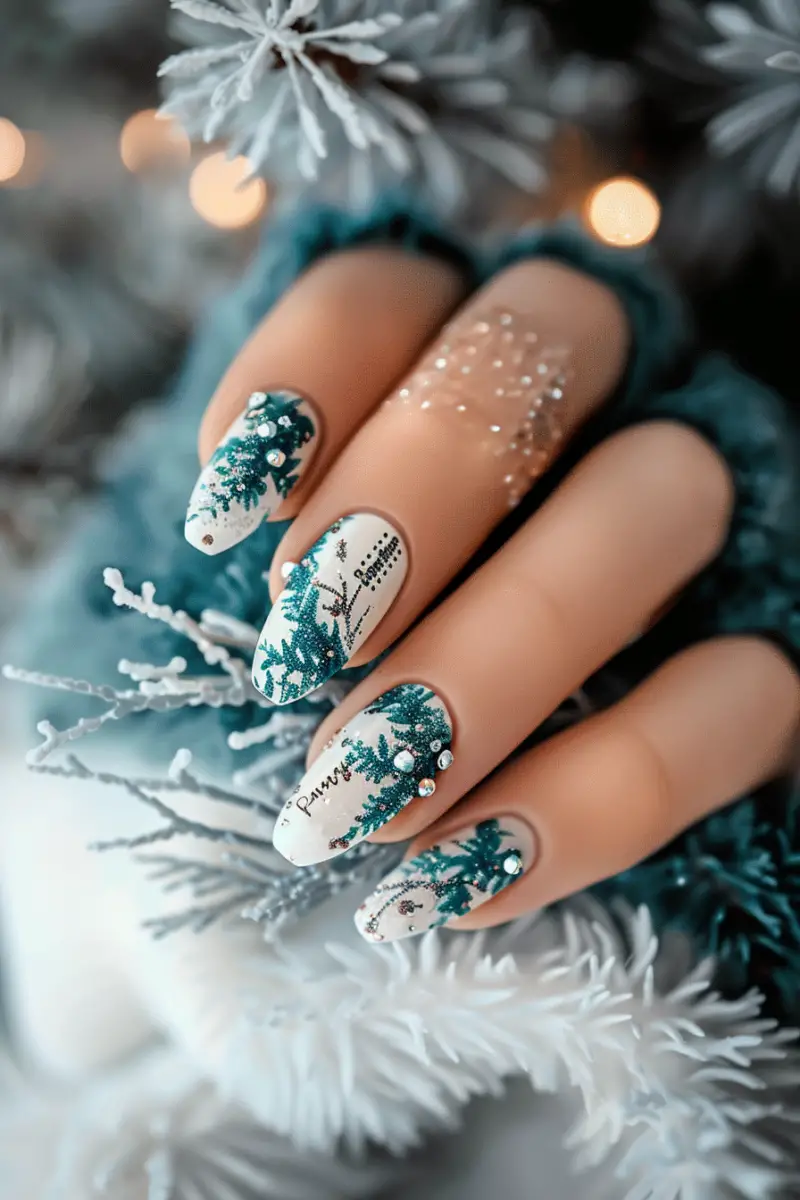
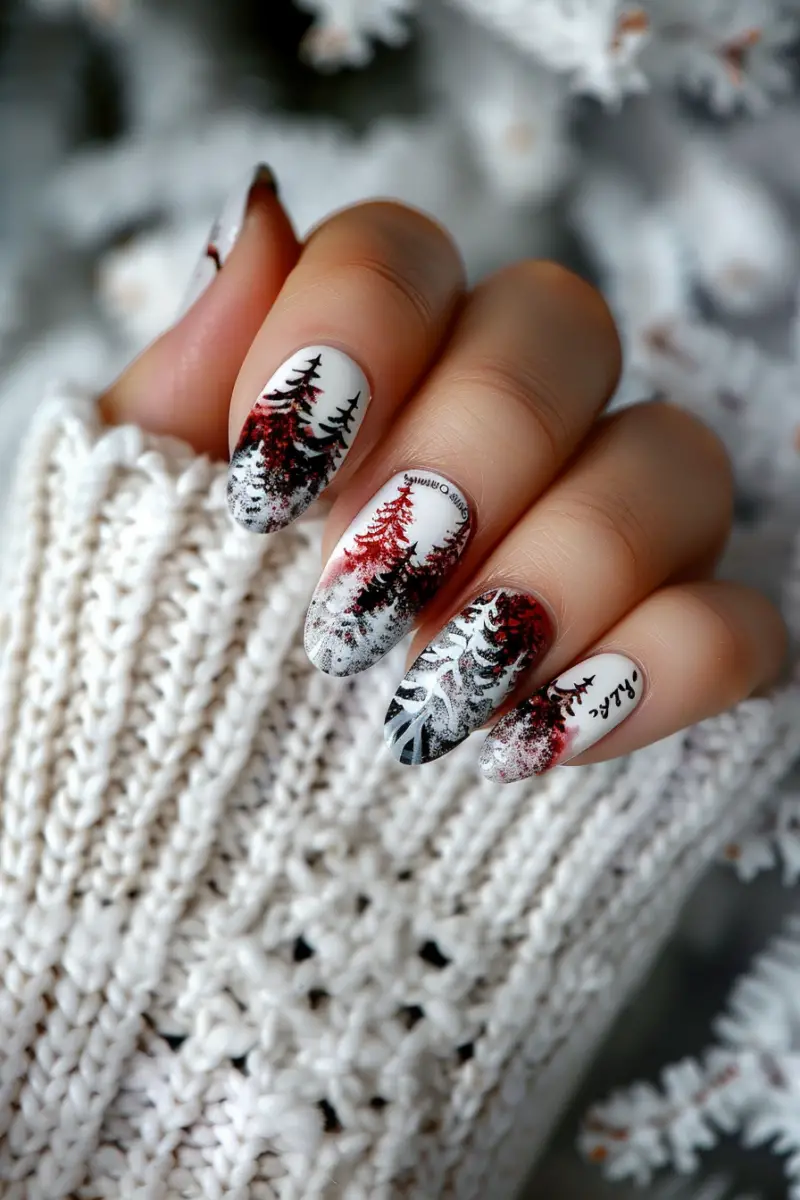
Evergreen Forest Nails
Capture the beauty of an evergreen forest in winter with these nature-inspired nails.
Use deep greens and accent with silvers and frosty blues.
Paint evergreen trees on one or two nails for the perfect woodsy touch.
I adore these magical winter forest nails because they make me feel like I’m walking through an enchanted, snow-covered woods.
Start by painting all your
nails a deep emerald green
creme base to mimic evergreen trees.
Once that’s dry, use a small brush dipped in white polish to paint the tree trunks and branches.
You can depict tall pine trees or cute snow-dusted bushes.
Add falling snowflakes with light blue glitter polish or cosmetic glitter and top coat.
On one accent nail, paint a winter sunset gradient using purples, pinks and periwinkle blue.
The bold nature theme of these nails makes me want to go on a peaceful winter stroll through the woods!
15.
Black and Gold Mosaic Nails
The black and gold mosaic trend is so hot right now.
Use tiny striping tape to create a chic mosaic motif in black and gold on one or two accent nails for that must-have modern glam look.
I’m completely obsessed with how luxe and edgy these black and gold mosaic nails are!
The geometric pattern is so eye-catching and on-trend.
Start by painting all your nails with 2 coats of black polish to create an opaque base.
Next, use the thinnest striping tape you can find to mask off tiny triangles, squares and lines in a mosaic pattern on the accent nail.
Paint over the exposed sections with a metallics gold polish.
Once dry, carefully peel off the striping tape to reveal precise mosaic shapes.
Finish with a fast-drying top coat for a smooth, glossy mani that dazzles.
These black and gold mosaic nails will glam up any winter outfit with serious style!
16.
Marbleized Winter Nails
Marble nails are a fun way to mix up your mani.
Paint on black polish first, then drop white and blue polish into the black and swirl to create a chic marbleized design with a winter color scheme.
I love how easy it is to recreate trendy marble nails at home.
The swirly painted look reminds me of glamorous winter swirls.
Start by painting all your nails with a dark black creme polish as the base.
While the black is still wet, drop dots of white and light blue creme polish onto the nails.
Use a skewer or toothpick to swirl the colors together, creating veiny marble patterns in the black.
Blur the edges for a seamless, blended marble look.
Finish with a glossy top coat to really make the icy colors pop against the dark background.
You can even add touches of holographic glitter over the design for extra sparkle.
I’m obsessed with how luxe and edgy these cold weather marble nails turn out!
17.
Metallic Line Nails
Minimal yet eye-catching, this wintry nail design features bold metallic lines.
Start with a nude base, then use striping tape and silver, gold or copper polish to paint on straight lines across your nails for an edgy modern look.
I love the minimalist yet glam vibe of these metallic striped nails.
The shiny lines remind me of glistening icicles lining winter rooftops.
Start by painting all your nails with two coats of a pale nude or light pink polish.
Make sure to let it dry fully before moving on.
Then take striping tape and place one piece diagonally across each nail to mask off a bold stripe.
Paint over the exposed stripe with metallic silver, gold or copper polish.
Carefully peel off the striping tape to reveal super sharp metallic lines.
Finish with a quick-dry glossy top coat to lock in the design.
These winter nail ideas are so simple yet make your mani look instantly cooler!
As you can see, winter nail trends are anything but boring this year!


