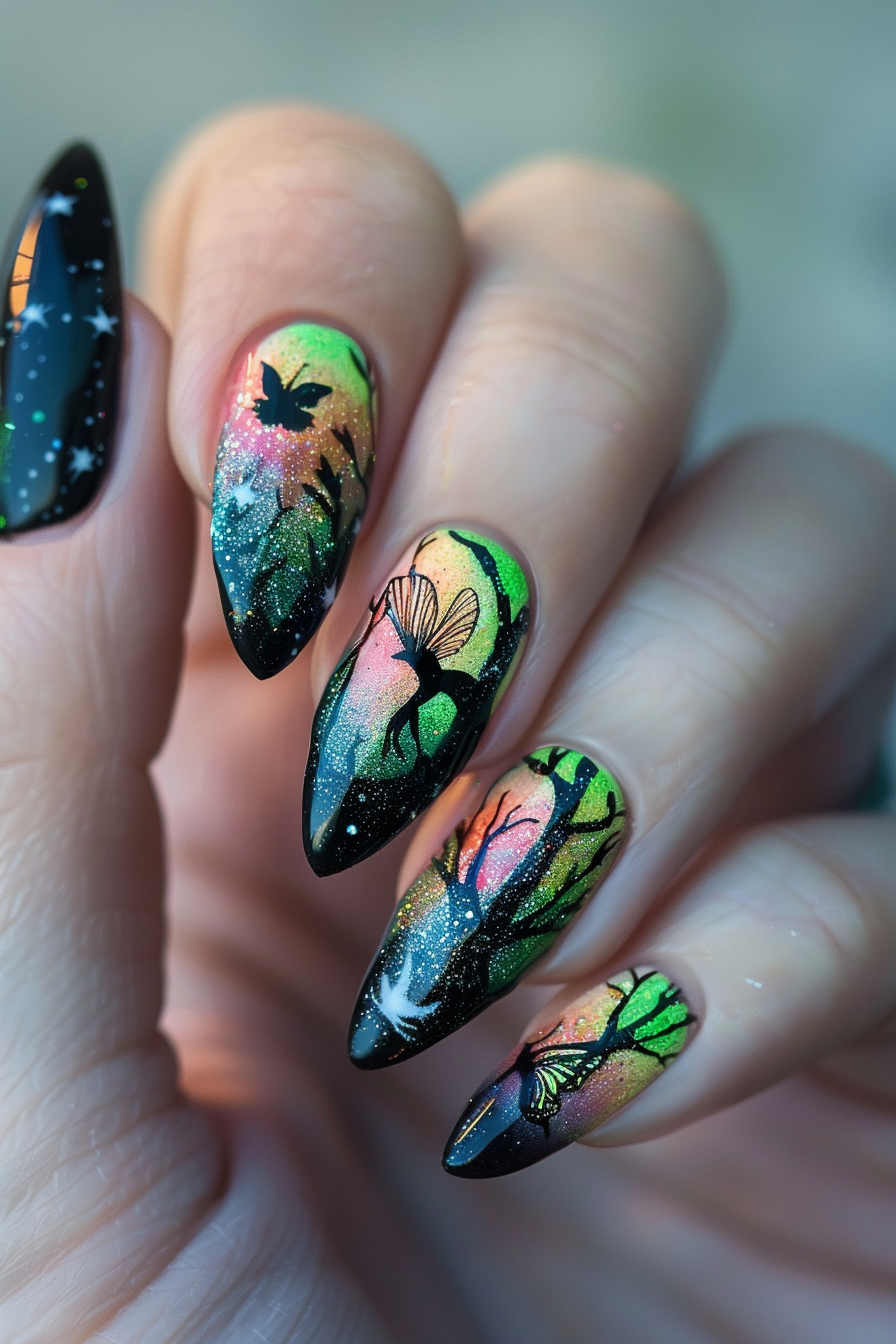
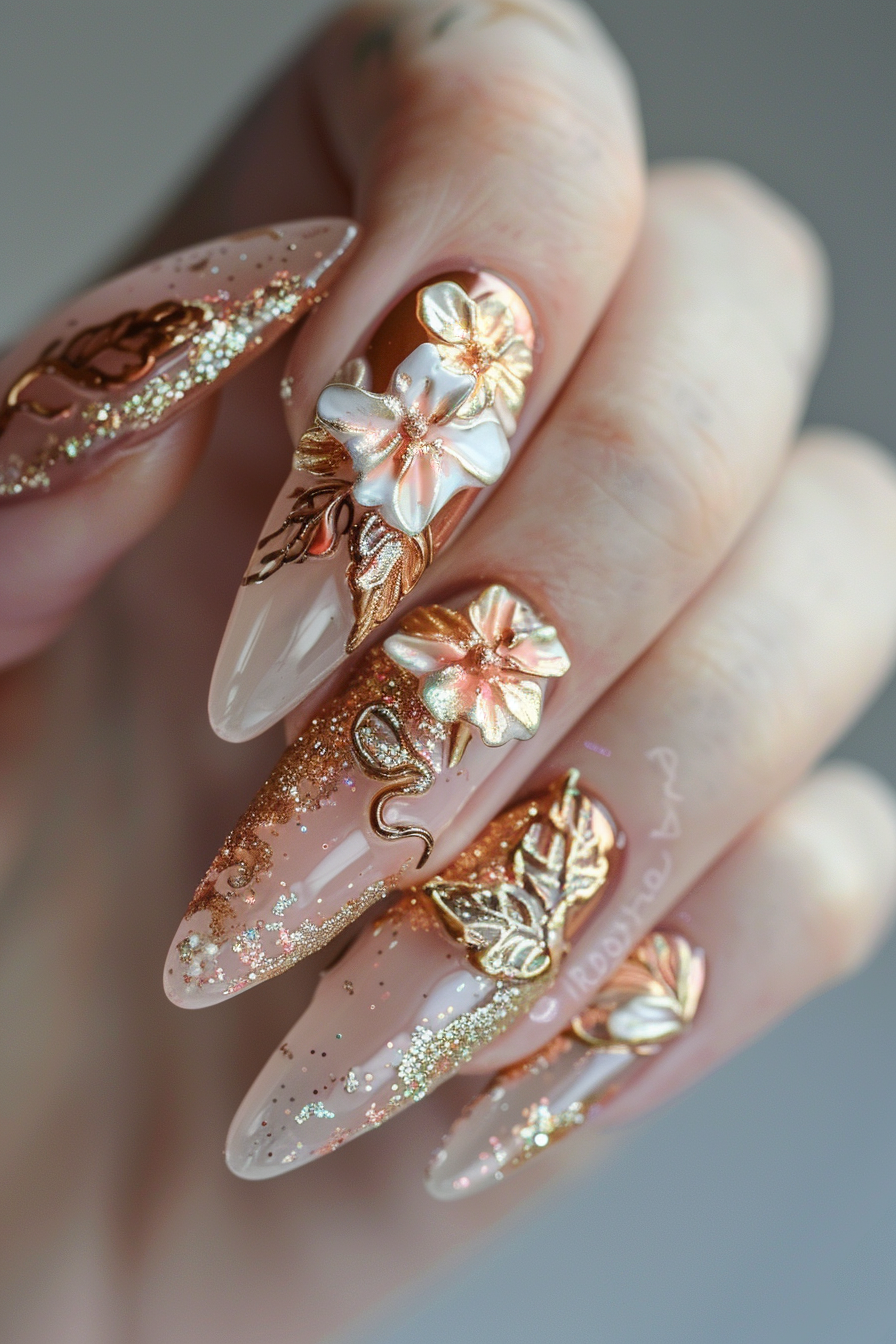
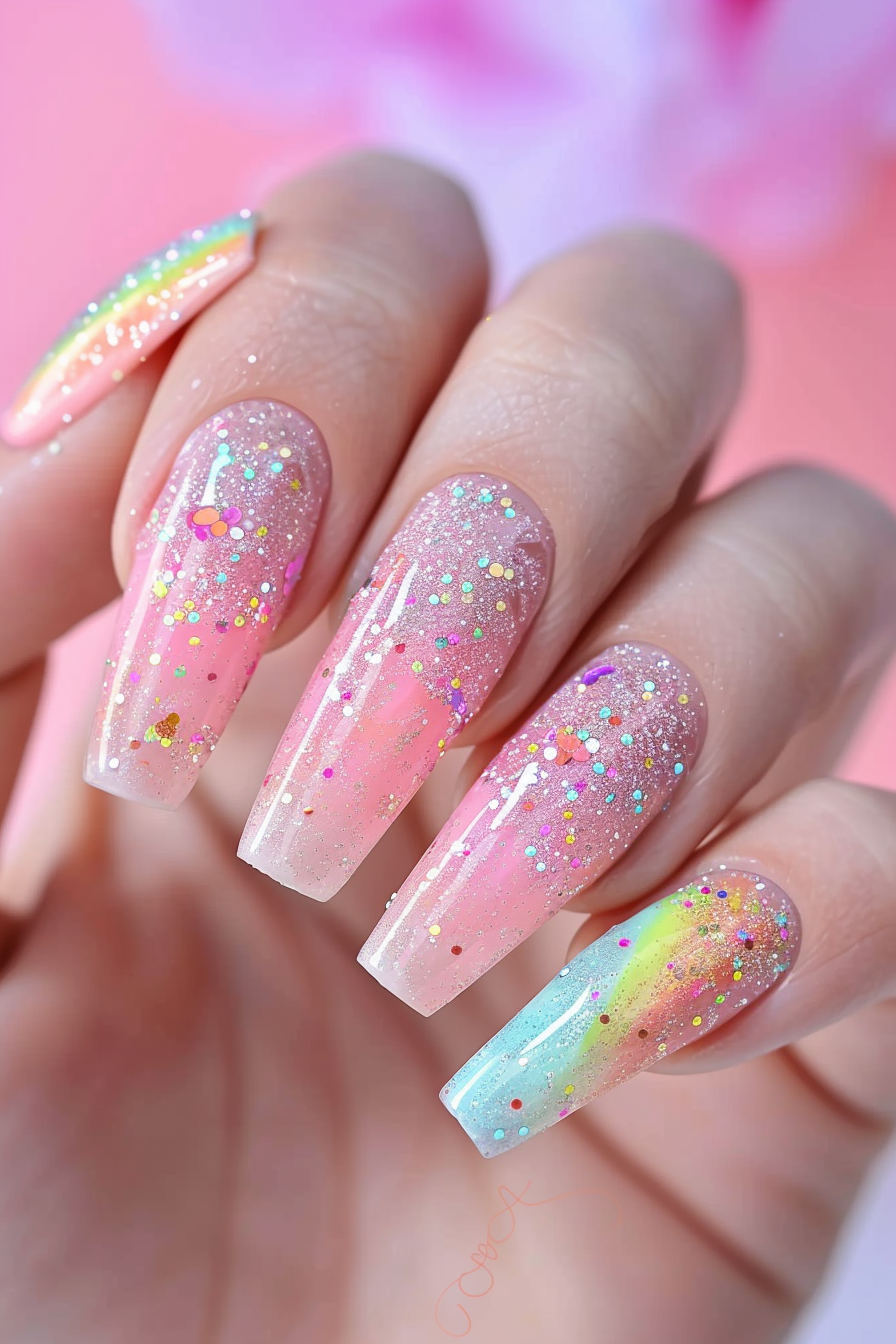
Fairies have always been a source of whimsy and magic in folklore and mythology.
Their delicate wings, glittery trails, and mystical powers inspire an ethereal beauty that is simply enchanting.
I find that fairy themes are a delightful way to create stunning nail art designs that are cute, girly, and full of fantasy.
Fairy nail art allows you to bring a touch of magic to your fingertips!
Let’s get started.
.
Rainbow Fairy Nail Art

The first fairy nail idea features a colorful rainbow fairy resting on a branch against a sparkling background.
This design is cheerful and vibrant, perfect for spring and summer.
Start by painting your nails with a clear base coat to protect your nails.
Paint 1-2 nails on each hand in different bright rainbow colors like red, orange, yellow, green, blue and purple.
On your accent nail, paint a sparkly silver or iridescent white background to represent fairy dust and magical light.
Once the backgrounds are dry, use a small detail brush to freehand paint a smiling fairy with rainbow butterfly wings on the accent nail.
Add swirls of rainbow colors in the wings so they ombré from one color to the next.
Paint a thin brown branch that she sits on.
Fill in the rest of the nail with dots of rainbow colors to look like sprinkled fairy dust.
Finish with a topcoat to smooth and seal the design.
The rainbow colors and shimmering fairy dust background create a playful, dreamy look.
Pink Rose Fairy Nail Art

Pretty in pink, this feminine fairy nail design pairs a delicate fairy with soft pink roses.
It’s fresh and romantic.
Start with a base coat, then paint your nails with a light pink cream polish as the background color.
Once dry, use a brush with white acrylic paint to draw a sweet fairy sitting amongst rose blooms on your accent nail.
Paint her dress white with rainbow ombré wings, long blonde hair, and dainty facial features.
Outline and fill in pink roses of varying sizes around her.
On the other nails, use nail stickers or freehand paint smaller white fairies floating near pink roses for a cohesive look.
Top it off with a glossy top coat to finish.
The pale pink with white and pink roses creates a very whimsical manicure perfect for date nights or weddings.
Mystical Forest Fairy Nail Art

This mysterious fairy nail idea brings mysticism and magic with an enchanted forest theme.
Begin with a base coat, then paint your nails a deep emerald green for a lush forest background.
Once dry, use a small brush to paint a moonlit sky with stars at the top of the accent nail.
Paint a large gray mushroom and use white to draw a tiny fairy sitting on top, complete with wings, flowing hair, and a mushroom top as her dress.
On the other nails, paint fairies peeking out from behind trees, mushrooms, and flowers using white acrylic paint.
You can also add fireflies, vines, and glitter details.
Finish with glossy topcoat.
The woodland theme with hidden fairies creates an otherworldly look perfect for fantasy lovers.
Tinkerbell Nail Art

For Disney fans, this Tinkerbell nail art is ultra girly and cute.
The famous fairy is an instantly recognizable character from Peter Pan.
Start by painting your nails mint green.
Once dry, use yellow and white acrylic paint on your accent nail to draw Tinkerbell hovering in the air with her blonde bun and bright green dress.
Paint yellow streaks and dots to look like fairy dust around her.
On your other nails, use Tinkerbell stickers or freehand paint her cute face to create a matching Disney-themed manicure.
You can even paint on some Peter Pan silhouette stickers.
Finish up with glossy topcoat.
This playful design is fun and youthful.
Rose Gold Flower Fairy Nail Art

Metallic and glamorous, this rose gold fairy nail idea is ultra feminine and chic.
The warm shimmery tones are perfect for date nights.
Begin with a base coat, then paint your nails with a shimmery rose gold polish as the background color.
Once dry, use a small brush with black acrylic paint to outline a floral fairy on your ring finger nail.
Fill it in with fine details like dainty facial features and leaf-like wings using white acrylic paint.
Use light pink to paint petite flowers in her dress and hair.
On your other nails, draw smaller flower fairies hovering near blooms for a cohesive look.
Apply topcoat to seal in the design.
The glistening rose gold polish paired with detailed flower fairies creates a very elegant, romantic manicure.
Winter Fairy Nail Art

This icy winter fairy nail idea is perfect for the holidays and snowy seasons.
The cool tones contrast beautifully with warm reds and gold for a festive manicure.
Start with a base coat, then paint most nails in shimmering icy blue and white for a snowy background.
On your accent nail, paint a red-haired fairy sitting atop a white snowflake using white acrylic paint.
Give her silver wings, fur-lined winter clothes, and a sparkling magic wand.
Use silver glitter polish on some nails to represent fairy dust or snow.
You can paint on snowflake nail stickers as well.
Finish with topcoat for a smooth, glossy finish.
The wintery wonderland with a touch of holiday red is magical.
Watercolor Fairy Silhouette Nail Art


For this breezy nail idea, use a watercolor technique to create a pretty fairy silhouette.
The soft pastels and flowing silhouette are ethereal.
Begin with a base coat, then paint each nail with a clear or very pale pink polish as the base.
While the polish is still wet, use a small detail brush dipped in light blue watercolor paint to draw a fairy profile on each nail, angled diagonally.
Paint flowing hair, large wings, and blowing dress shapes.
Let it dry.
Once the blue watercolor outlines are dry, fill in the silhouettes with various pastel pink, purple, teal and yellow watercolor paints using downward brushstrokes.
This will give the fairy a rainbow watercolor look.
Finish with glossy topcoat.
The layered watercolor effect is very angelic and artistic.
Glitter Fairy Wing Nail Art


Add some sparkle and shine with this glitter fairy wing nail idea.
The colorful wings pop against clean black nail polish.
Start by painting your nails black for the base color.
Once fully dry, use various iridescent fine glitter polishes in rainbow colors to freehand paint a pair of outstretched glittery fairy wings on each nail, angled diagonally.
You can find fairy wing outlines online for reference.
Let the wings dry fully before applying topcoat to smooth and seal.
The metallic rainbow wings over the deep black background create striking depth and dimension.
This glitter fairy nail art is festive and fun.
Pastel Rainbow Fairy Jars Nail Art


For a cute twist, try this fairy in a jar theme.
The pastel rainbow colors and miniature fairy jar designs are playful and unique.
Begin with a base coat, then paint each nail with alternating pastel colors – light pink, blue, purple, mint green, yellow, etc.
On your ring fingers, paint white acrylic French tips to accent.
Once dry, use a tiny detail brush and black acrylic paint to outline miniature fairy jars on each nail, with a fairy inside.
Paint the fairy’s bodies with rainbow dots and their wings in rainbow colors.
Add small flowers on the jars using different pastel colors.
Finish up with glossy topcoat to smooth and seal the design.
The colorful spectrum of pastels with the whimsical fairy jars is delightful.
Galaxy Fairy Nail Art

Reach for the stars with this magical galaxy fairy nail idea.
The cosmic design is out-of-this-world beautiful and mesmerizing.
Start by painting your nails black as the night sky base.
Once dry, use a cotton swab dipped in white acrylic paint to dot random stars across each nail.
On your accent nail, paint a sideways view of a fairy flying through the galaxy with her wings spread out.
Use glitter polish to give them an iridescent, cosmic look.
With a small brush, outline constellation designs like the Big Dipper on some nails using white acrylic paint.
Finish up with a topcoat for extra shine and protection.
The starry galaxies with a flying fairy create an otherworldly, sci-fi look.
Fairy Garden Nail Art

Bring a miniature fairy garden to life on your nails with this nature-inspired idea.
The colorful flowers and cute fairy home is playful and vivid.
Begin with a base coat, then paint your nails a light sunny yellow to represent sunshine.
Once dry, use white and green acrylic paint to freehand paint a sweet fairy home, mushroom houses, and grass on each nail, keeping the design small.
Add tiny flowers on the grass and around the homes using different colored polishes.
With a detail brush, paint a tiny fairy figure with wings near each house.
Outline stepping stone paths in white.
Finish it off with glossy topcoat to really make the colors pop.
The bright cheerful garden with hidden fairy homes creates a fun spring or summer manicure.
Retro Fairy Nail Art


Try a retro spin on fairy nail art using Pop Art style with bold black outlines and bright secondary colors.
The graphic look is fun and artsy.
Start with a base coat, then paint your nails a neutral beige or light pink.
Once dry, use black acrylic paint and a steady hand to outline a graphic fairy silhouette on each nail, facing different directions.
Fill them in with bright secondary colors like green, yellow, blue and red in solid blocks.
On your accent nails, paint large retro flowers with black outlines using the secondary colors as well.
Finish up with glossy top coat to smooth it out and make the colors stand out.
The bold retro style creates unique modern fairy nail art.
3D Fairy Nail Art with Charms

Elaborate fairy themes come to life in 3D with this nail idea using charms.
The sparkling crystals and dangling fairies add striking dimension.
Begin with a base coat.
Paint your nails light lilac purple, then adhere flat purple rhinestones near the base of the nail on each finger for a sparkling effect.
On your accent nails, glue a dangling fairy charm on one and decorate the other with small crystals using nail glue for a dazzling 3D fairy design.
You can also embellish with silver glitter polish.
Apply topcoat carefully around the 3D decorations to finish.
The crystals and dangling charms create an eye-catching fairy nail look.
Fairies represent magic, imagination and fantasy.
Recreate these exact designs or use them as inspiration for your own creative fairy manicures.
Which is your favorite fairy nail idea?
Do you prefer cute cartoon Tinkerbells or more elegant floral fairies?
Maybe sparkly galaxy designs or bold retro Pop Art styles?
With so many options, you can bring fairy tale magic to your manicures any time you need a touch of enchantment in your day!
Your fingertips will shine with pixie dust and whimsy.

