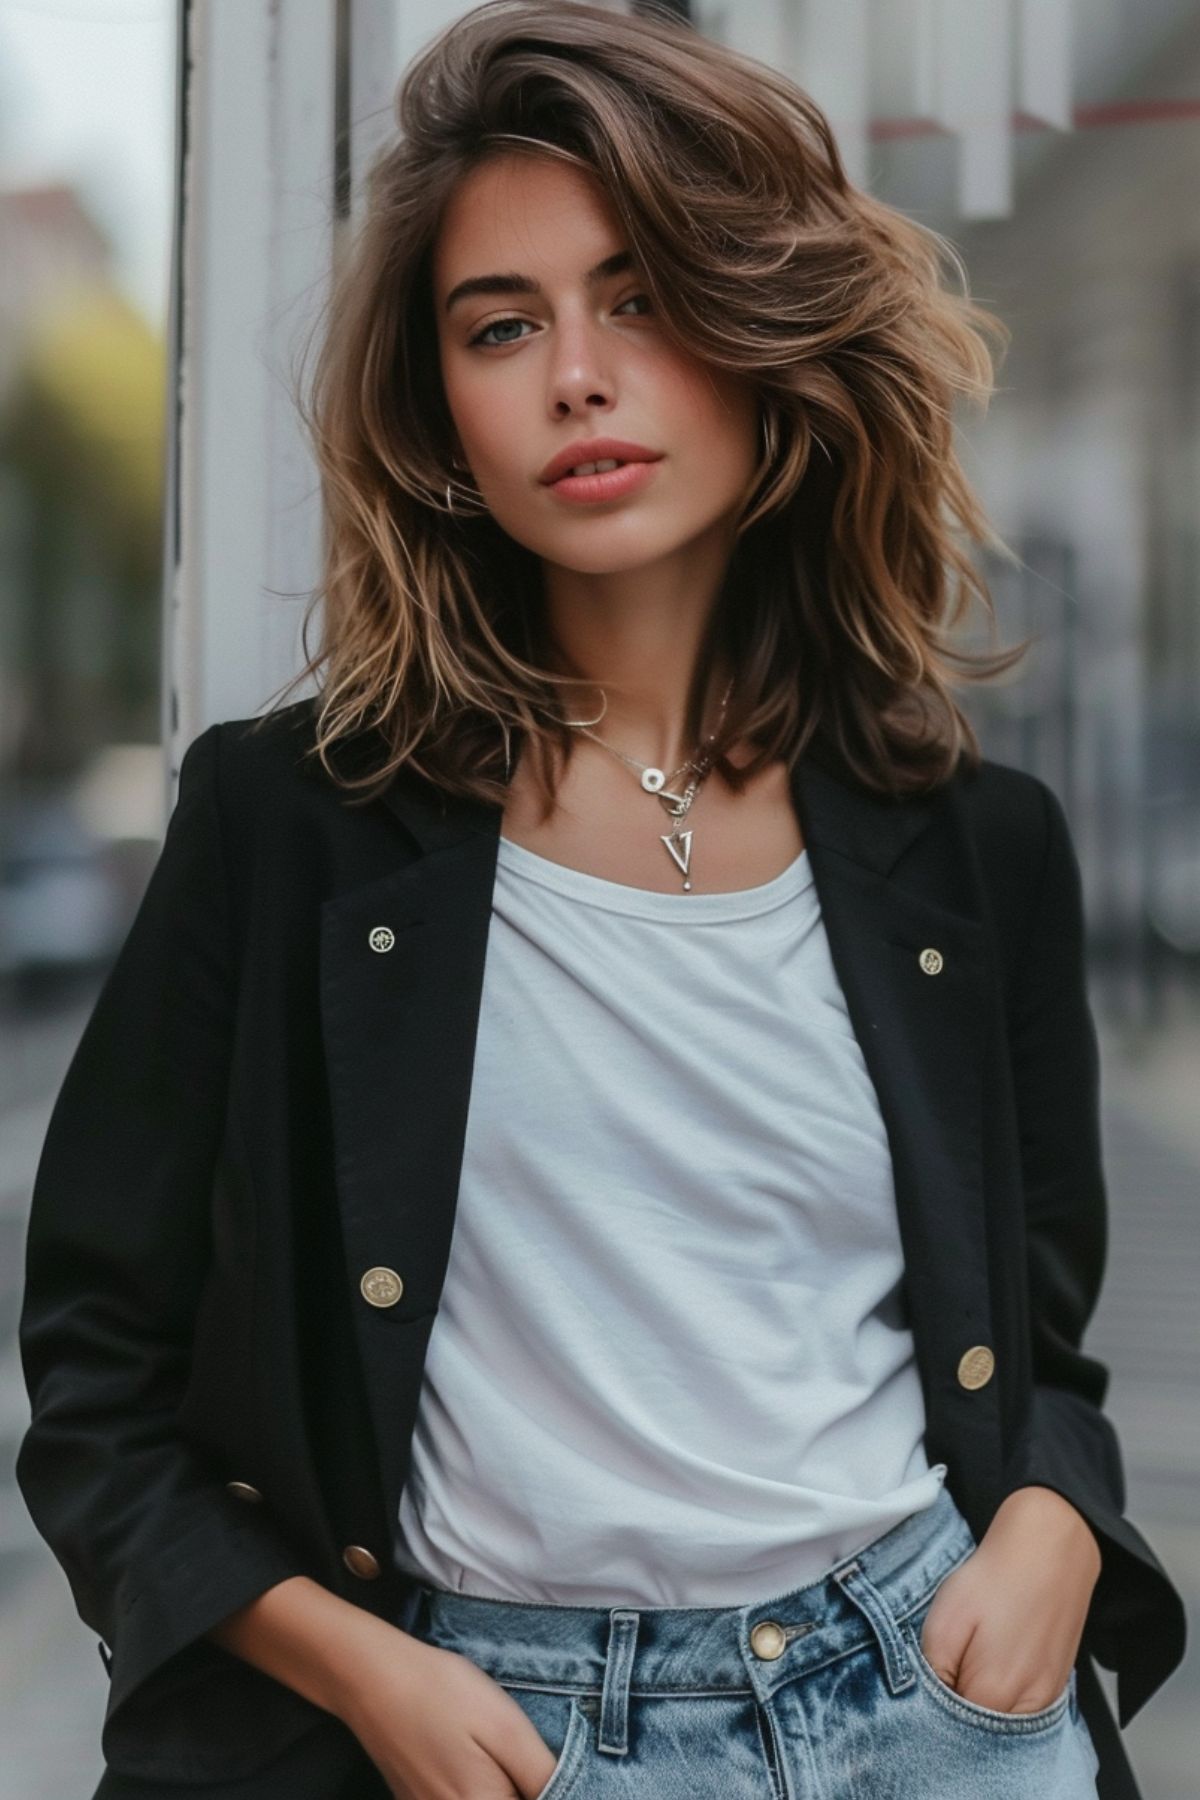
Buns are a classic, elegant hairstyle that can be dressed up or down for any occasion.
For black women, buns are an especially versatile look that can accentuate natural texture and show off beautiful twists, braids, and curls.
For each bun, we will go in-depth on how to create the look step-by-step, as well as tips for maintaining and accessorizing the style.
We’ll also suggest face shapes and hair lengths/textures each bun is best suited for.
Now get some inspiration and new ways to wear one of the most timeless updos!
The Classic Bun
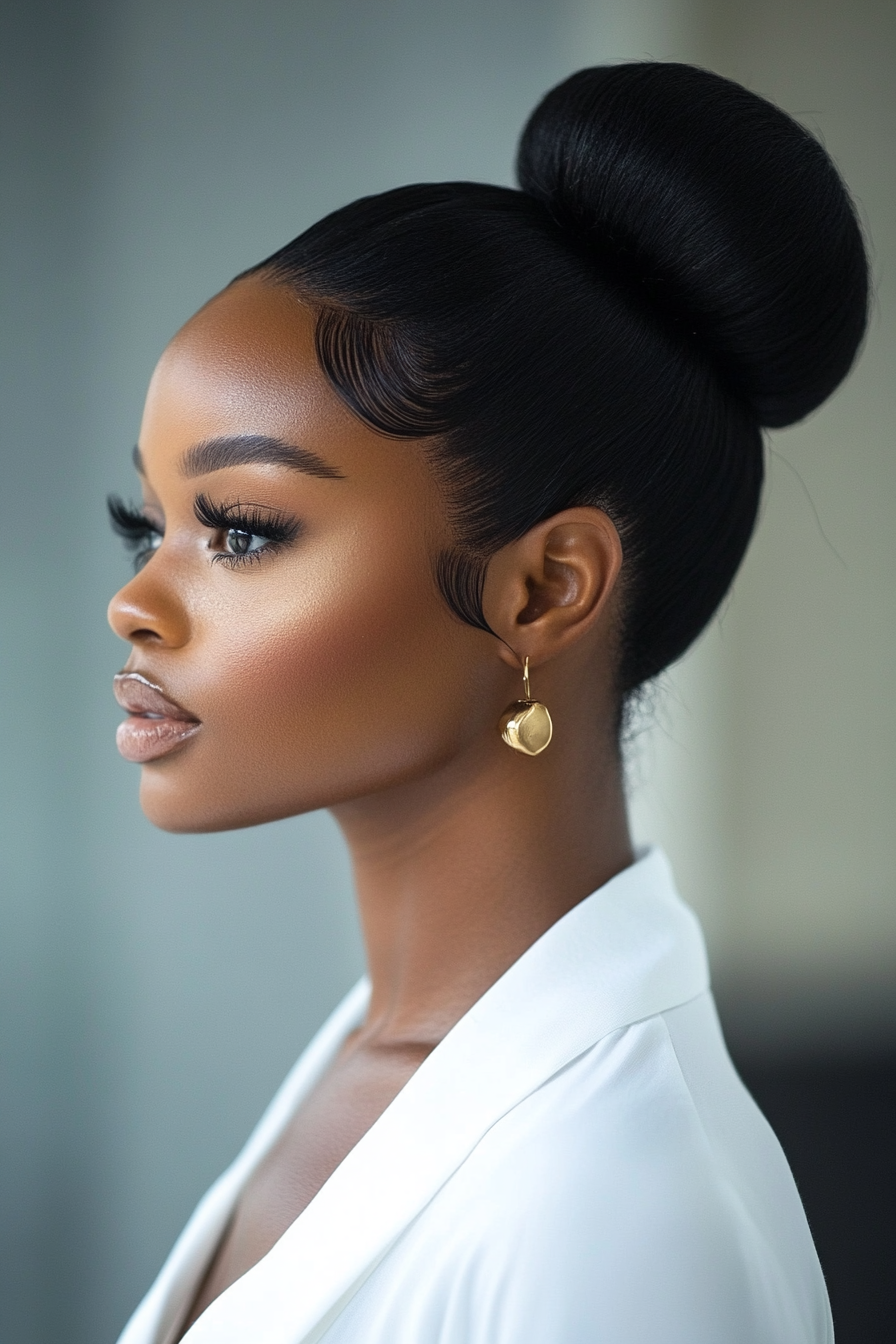
The classic bun is a simple, elegant choice that works for any hair length or texture.
It’s easy to do yourself at home and is a great go-to style for both casual everyday wear or dressed up for a formal occasion.
To create a classic bun:
1. Brush hair thoroughly to remove any tangles. Apply a smoothing hair product if desired.
2. Pull hair back tightly into a ponytail. Secure with an elastic hair tie that matches your hair color.
3. Twist the ponytail around itself to form a bun shape.
4. Use bobby pins to secure the bun in place. Insert pins in an X shape for maximum hold.
5. For extra polish, wrap a small section of hair around the hair tie and pin in place to hide the elastic.
6. Set the style with a light hold hairspray.
This simple, neat bun is versatile for any hair length or texture. It works well on natural hair when set with products like gel or setting lotion.
For added fullness and shape, insert a sock bun or add clipping hair extensions that match your texture. This bun is well-suited for oval, heart, and diamond face shapes.
The Top Knot Bun

A top knot bun gathered at the crown of the head has an elegantly undone, casual vibe. It’s perfect for running errands or relaxed weekends.
To make a top knot bun:
1. Part hair down the center and brush each section smooth. Apply a anti-frizz serum or oil if desired.
2. Take a section of hair from each side of the part and pull back to the crown area. Smooth any bumps as you pull hair up.
3. Tie the two sections together in a loose knot at the crown. Don’t wrap hair all the way through a ponytail.
4. Gently tug on the ends to loosen the bun into a round shape.
5. Wrap any loose ends under the know and pin in place with bobby pins.
6. Mist with a flexible hold hairspray.
For looser, messier texture, insert a couple of bobby pins horizontally into the bun instead of tightly pinning ends into place. Let pieces fall around the face. Top knot buns pair well with casual outfits like jeans and t-shirts. This style works best on oval, long, and heart shaped faces.
The Messy Bun

As its name suggests, the messy bun is an intentionally undone, loose style. Natural texture and flyaway strands are encouraged for an effortlessly cool look.
Follow these steps to create a messy bun:
1. Mist damp hair with a sea salt spray to boost texture. Scrunch into hair.
2. Pull hair up into a very high, loose ponytail atop your head. Secure sloppily with an elastic.
3. Twist the ponytail and coil it into a bun shape, leaving ends loose.
4. Lightly pancake the bun wider and pull strands down around the edges.
5. Secure only with 2-3 bobby pins at the base of the bun. Do not tightly pin flyaway ends.
6. Finish with a flexible hold hairspray.
For thick or curly hair, skip the ponytail and pile hair directly into a bun shape instead. The messier the better! This casual bun pairs perfectly with jeans, shorts, or summer dresses. It’s ideal for oval, round, and heart shaped faces.
The Ballerina Bun
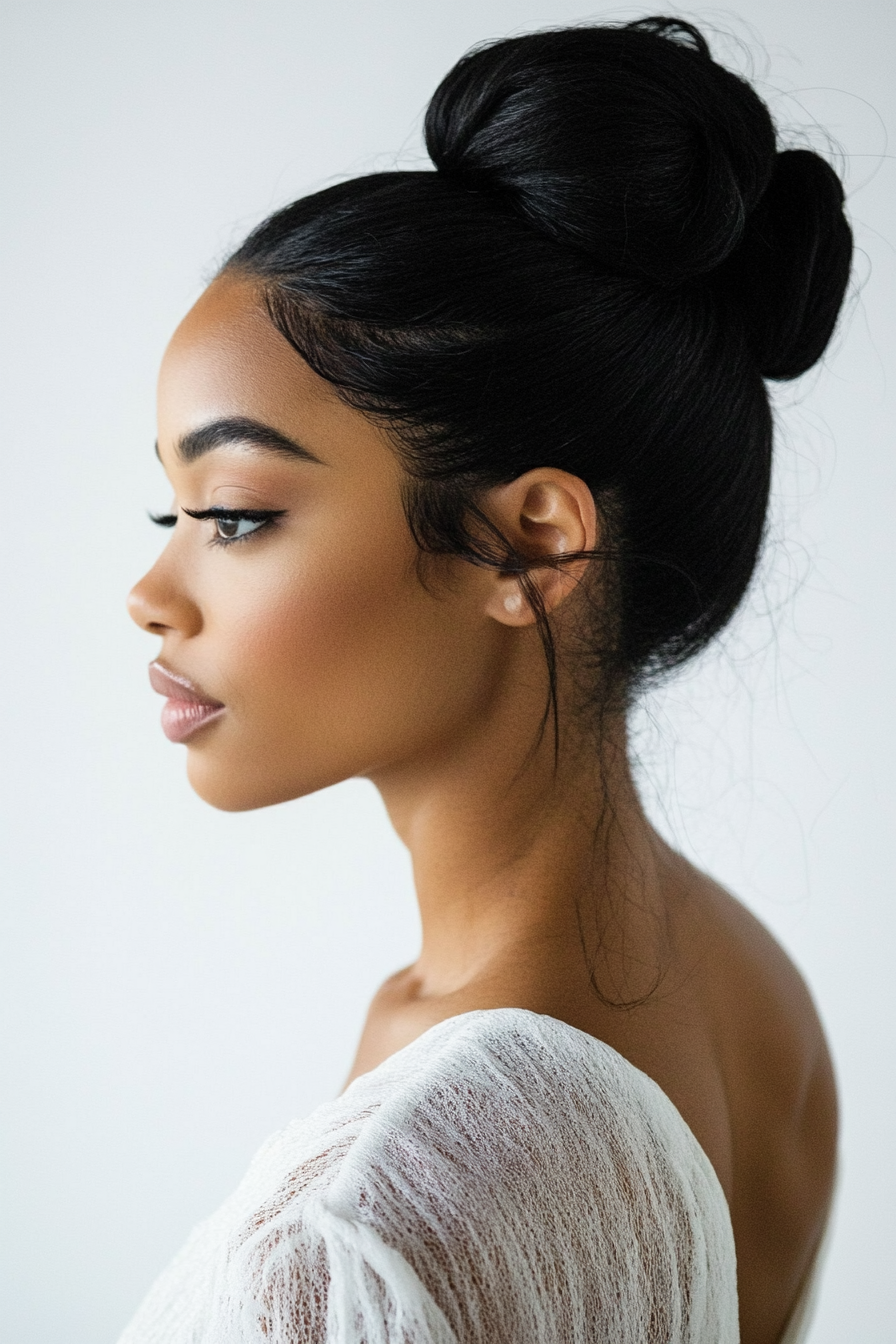
This graceful, flat bun is a staple in the dance world. It creates an elongated neckline and polished finish. Though traditionally worn for ballet, this bun style makes an elegant choice for formal events or weddings too.
Follow these tips to master the ballerina bun:
1. Part hair down the center and smooth into a low ponytail at the nape of your neck.
2. Wrap the ponytail into a flat, disc-like bun shape. Make sure no volume puffs up.
3. Take a hair net that matches your hair color and place over the bun. Smooth over any bumps.
4. Carefully tuck ends under the bun or fan them across the hair net.
5. Mist the perimeter with firm hold hairspray.
6. Add sparkling hair pins or decorative bun accessories.
This strict bun commands grace and poise. For a modern take, leave strands out to frame the face. The ballerina bun flatters heart, oval, long face shapes with its slimming effect.
The Twisted Bun
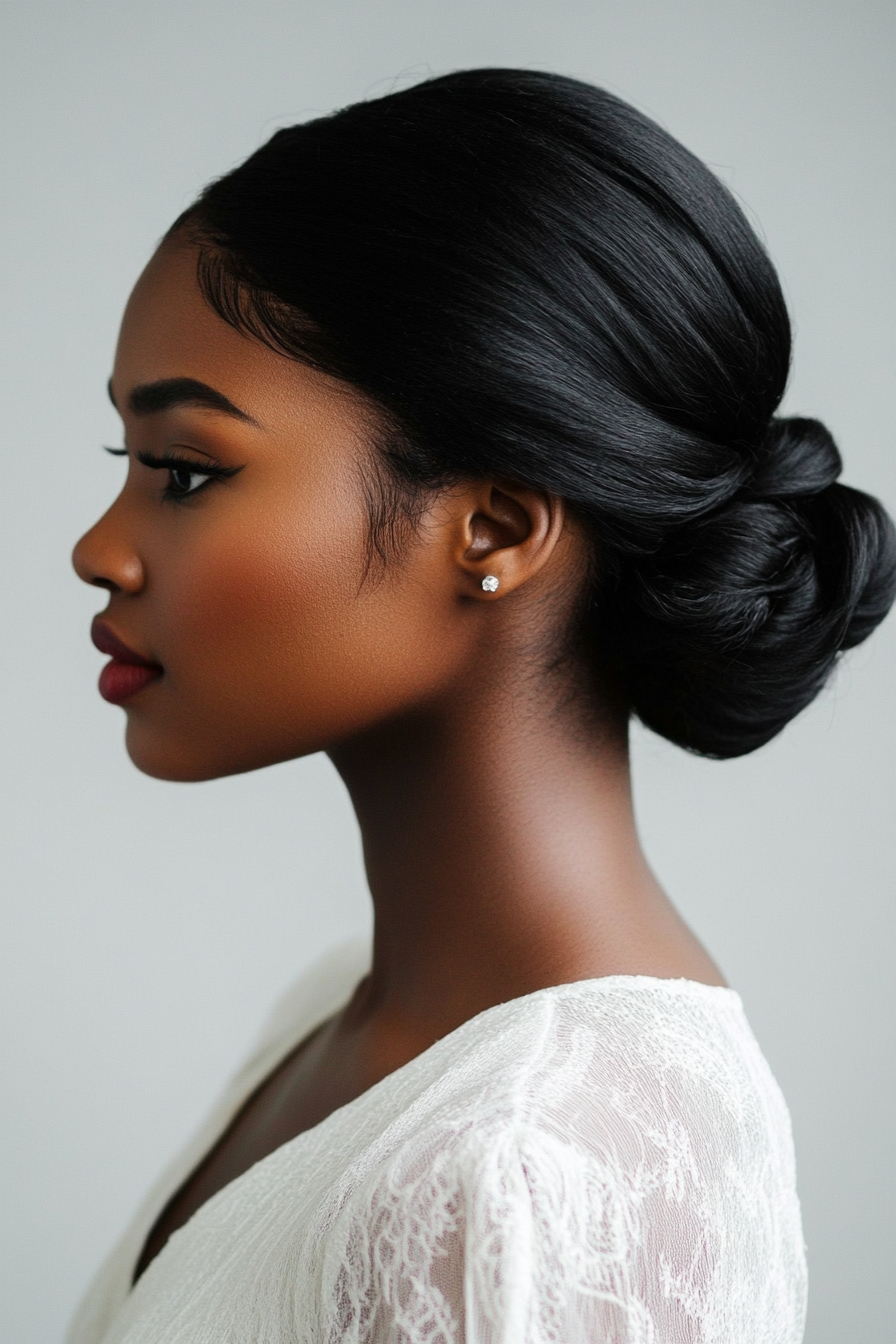
Twisting hair before coiling into a bun adds eye-catching texture and dimension. This style is great for making a statement.
Follow these steps to achieve the look:
1. Part dry hair into four sections. Mist hair with thermal protectant spray.
2. Clip three sections up and out of the way. Curl one section with a curling wand.
3. Once the section is curled, twist hair around itself to form spirals.
4. Repeat on the other three sections, curling hair and twisting into spirals.
5. With all four sections complete, gather hair into a ponytail.
6. Coil the ponytail into a round bun shape, tucking ends under to secure.
7. Use bobby pins to lock twisted hair in place. Finish with firm hold hairspray.
Feel free to leave curly ends sticking out for extra style. This textured bun is great for making braids, twists, and curls stand out. It’s ideal for heart and oval face shapes.
The Braided Bun

Incorporating braids into a bun combines two beautiful textures in one gorgeous updo. Dutch, French, or fishtail braids all look stunning wrapped neatly into a bun.
Here’s how to create a braided bun:
1. Part dry hair down the center. Smooth each section with anti-frizz serum.
2. Starting at the temples, French braid or Dutch braid a section on each side of the part.
3. Braid hair close to the scalp along the hairline back toward the nape of the neck.
4. Secure braids together into a low ponytail with an elastic match to your hair color.
5. Pancake the braids slightly wider. Coil the ponytail into a round bun.
6. Tuck any loose ends under the bun and pin securely.
7. Mist with firm hold hairspray.
Feel free to leave braid tails loose for an undone look. You can also crisscross the braids atop your head before forming the bun. This elegant braided bun is gorgeous for homecoming, weddings, or date nights. It flatters oval and heart shaped faces.
The Bubble Ponytail Bun
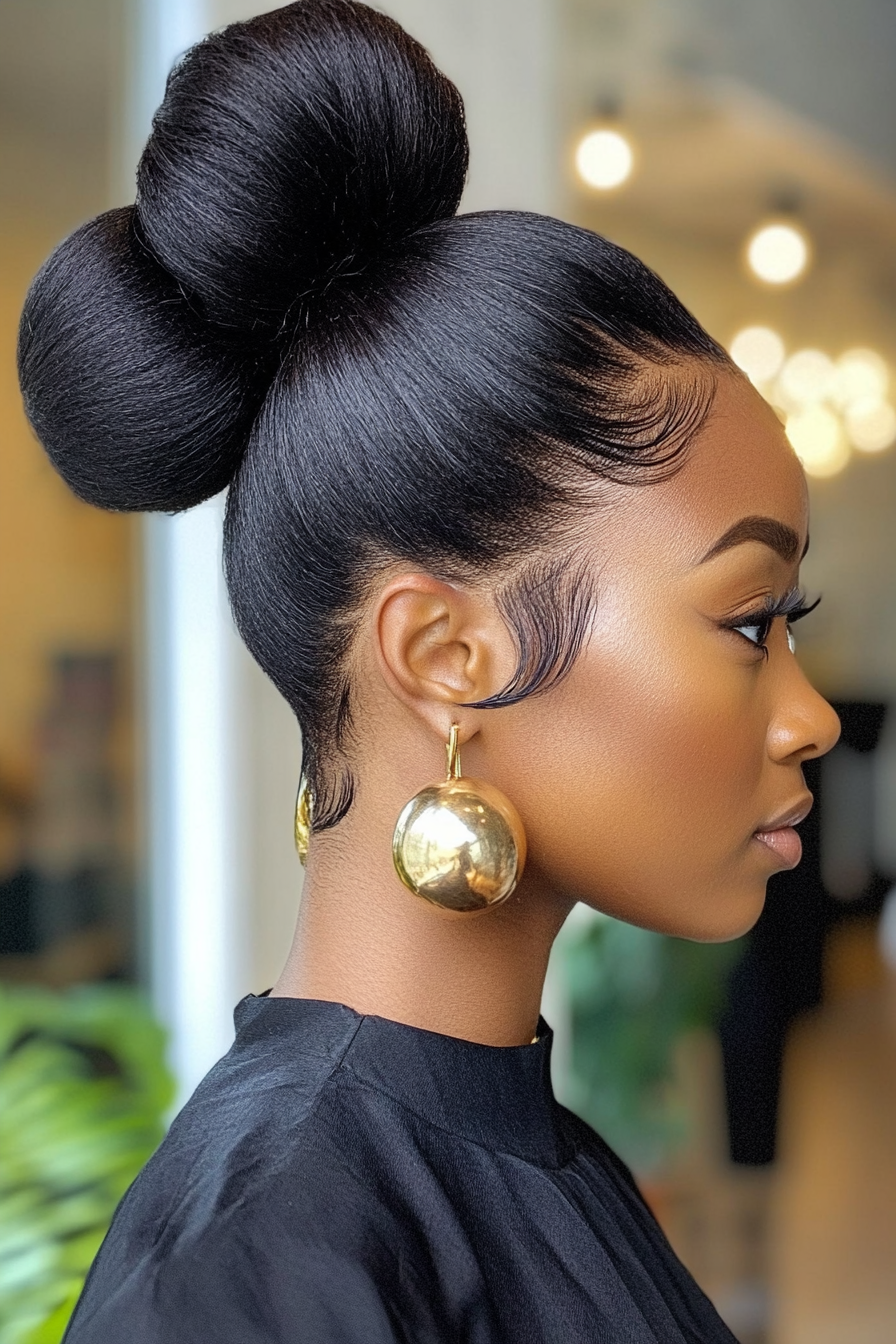
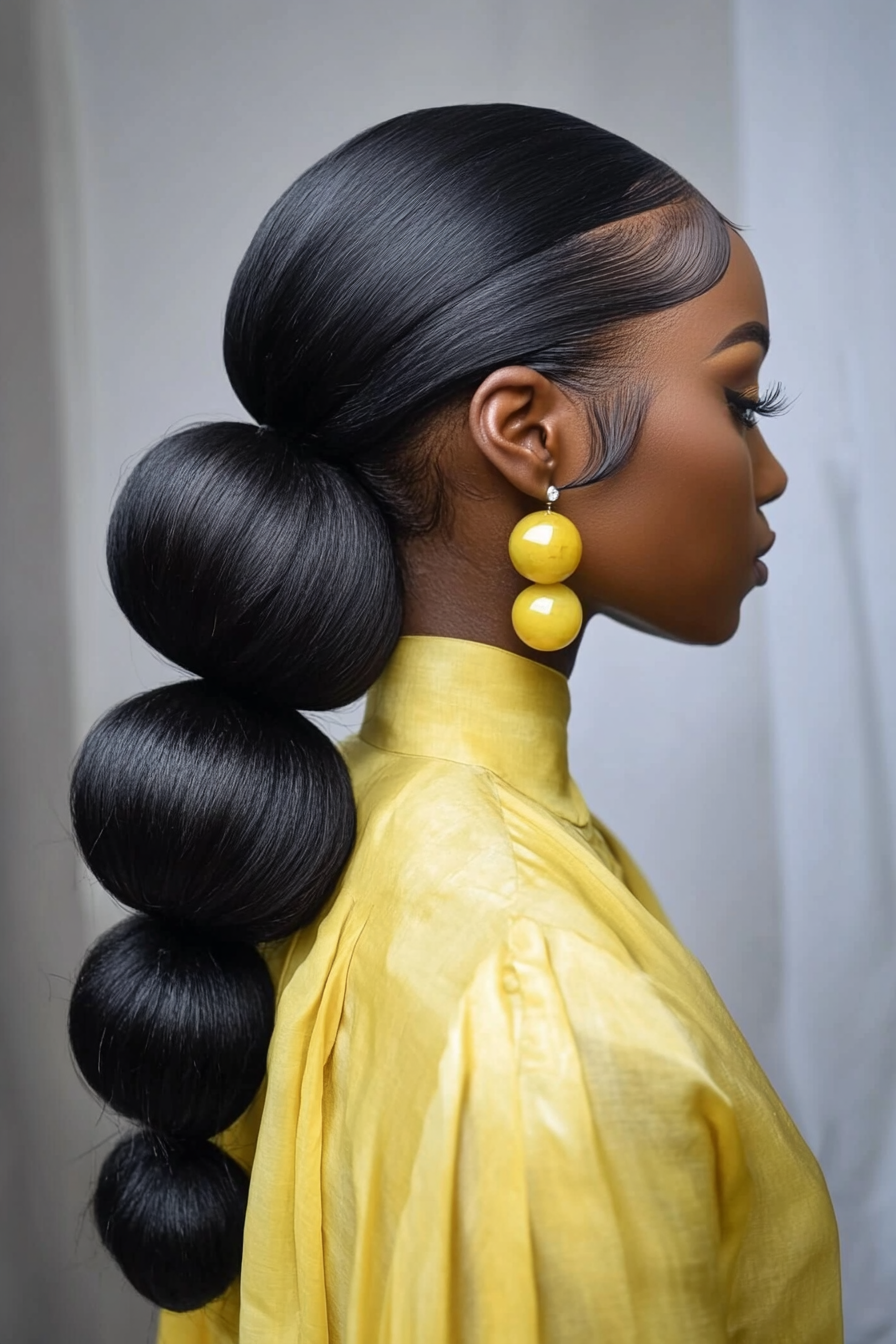
Bubble ponytails put a fun, voluminous spin on the standard top knot. This bun makes a cute style for dance performances, birthday parties, or brunches with friends.
Follow these steps to bubblicious bun:
1. Part dry hair down the center and mist with heat protectant spray. Smooth into a high ponytail.
2. Separate ponytail into 5 even sections. Tie the first section about 1 inch from the hair tie to create your first bubble.
3. Continue tying the remaining sections into individual bubbles every 1-2 inches down the length of the ponytail.
4. Fan out the bubbled ponytail to create volume. Tie it into a bun shape.
5. Wrap a thin section of hair around the hair tie and pin it underneath the bun to hide elastic.
6. Finish with a firm hold hairspray.
Have fun mixing up the size and placement of bubbles. This cute bun pairs perfectly with casual daytime or party outfits. It looks great on round, heart and diamond face shapes.
The Faux Hawk Bun
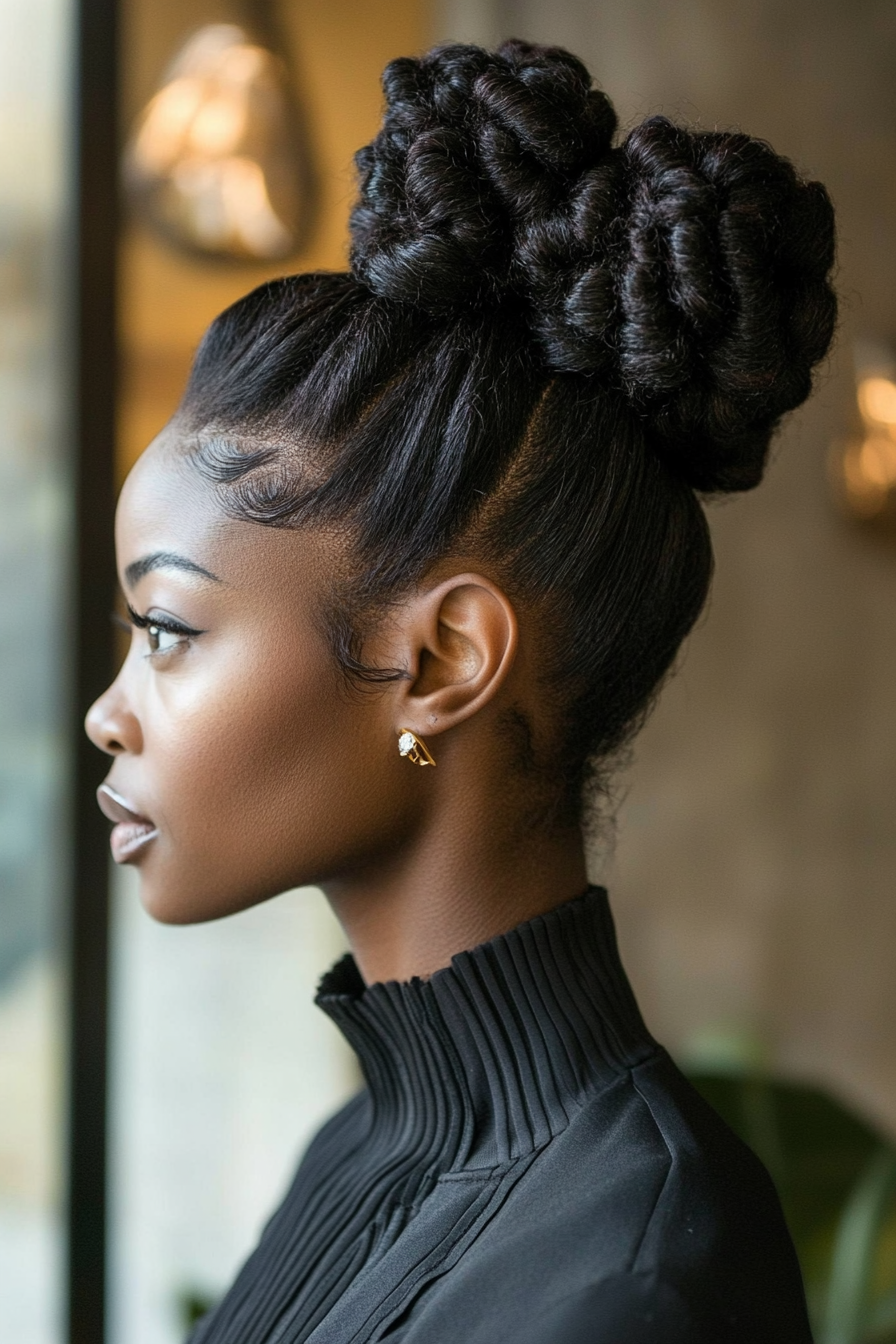
Give your bun an edgy upgrade with a faux mohawk braid running through the center. It’s perfect for adding some urban style and sass to your look.
To make a faux hawk bun:
1. Create a deep side part. Secure one section out of the way.
2. Mist the other section with firm hold hairspray to smooth. Brush it upward toward the part.
3. Starting at your hairline, do a French braid along the side of the part brushing hair up.
4. Secure the end of the braid at the crown. Repeat braid on the other side.
5. Cross the two braids over each other at the crown.
6. Gather remaining hair into a ponytail positioned low at the nape of your neck.
7. Wrap the length of the ponytail into a large, round bun.
8. Finish by misting bun with strong hold hairspray.
Make this style your own by braiding cornrows or adding beads to the faux hawk. Pair it with rocker vibes or edgy streetwear. The faux hawk bun looks great on oblong, oval and diamond face shapes.
The Fulani Bun

Take inspiration from traditional African cornrow styles to create a stunning Fulani bun. Intricate braids accented with cowrie shells make a regal statement.
Follow these steps to achieve the look:
1. Part hair into a square or triangle sectioning pattern for cornrows.
2. Moving clockwise, complete cornrow braids close to the scalp around the part.
3. Attach cowrie shells near the ends of select cornrows.
4. Gather cornrows into a high bun at the top of your head.
5. Wrap hair smoothly around into a round bun shape.
6. Use bobby pins to secure in place.
7. Tie a matching satin scarf around bun if desired.
Customize this powerful style by using beads, rings or cuffs in place of shells. Thicker cornrows amplified with hair extensions create a dramatic effect. Finish with bold makeup and accessories. This bun flatters heart, oval and diamond face shapes beautifully.
The Double Bun

Double buns layered on top of each other add fun height and dimension. The contrast of textures also helps emphasize beautiful curls, coils and waves.
Here’s how to create stacked double buns:
1. Part damp hair into two sections. Apply a nourishing curl cream to each.
2. Smooth one section into a high ponytail atop your head.
3. Coil the ponytail into a round bun shape. Pin it in place.
4. Repeat the ponytail and bun with the bottom section, positioning it directly under the first bun.
5. Mist the stacked buns with firm hold hairspray.
For sleek buns, brush hair tightly into ponytails first. For messy texture, scrunch and diffuse natural curls before bunning. Accessorize double buns with satin scrunchies or ribbons. This fun style looks fabulous on heart, oval and round face shapes.
The Low Chignon Bun

A chignon describes a wide, flat bun shape positioned at the nape of the neck. This graceful low bun makes a romantic choice for date nights or formal events like weddings.
Follow these tips to create the look yourself:
1. Brush dry hair back with a boar bristle brush until super smooth.
2. Mist hair with shine spray and twist into a flat, low bun at the nape of your neck.
3. Wrap ends tightly underneath the bun and pin securely with bobby pins in an X formation.
4. Mist perimeter of bun with firm hold hairspray.
5. Tuck a pretty clip or floral accessory into the chignon.
For volume, tease hair at the crown before twisting into the bun shape. Or, backcomb sections before rolling into the chignon. This elegant bun flatters oval, heart and long face shapes beautifully. Show it off with drop earrings.
The Faux Bob Bun

Longing for short hair? This faux bob bun tricks everyone into thinking you chopped your locks. It’s a stylish way to test drive the cropped look for a night.
Here’s how to fake a bob bun:
1. Create a side part in dry hair. Smooth each section with anti-frizz balm.
2. Loosely twist one section forward into a vertical roll along the hairline. Pin flat against the side of your head.
3. Repeat on the other side.
4. Smooth remaining hair at the nape of your neck into a flat low bun.
5. Mist twisted sections and bun perimeter with firm finishing spray.
For volume, backcomb the sections before rolling them under. Or, curl them with a wand first. This faux bob pairs well with chandelier earrings and bold lipstick. Try it with round, oval or heart shaped faces.
The Half-Up Bun

This half-up style is a pretty compromise between having your hair all up or all down. The half bun in back shows off gorgeous face-framing locks in front.
To create this easy style:
1. Part dry hair down the center. Set one section aside.
2. Brush the other section smooth. Gather it into a ponytail slightly above the crown.
3. Twist the ponytail into a round bun shape. Pin securely in place with a bobby pin X.
4. Leave the remaining hair section down to frame your face. Curl or style as desired.
5. Finish with a flexible hold hairspray.
For volume, backcomb at the crown before making the half bun. This versatile half-up style complements oval, long, diamond and heart shaped faces. Dress it up with pretty earrings and a cocktail dress or wear casually with jeans and a tee.
The Ballerina Wrap Bun

This gorgeous ballet-inspired bun elongates the neck for a graceful look. Hair is wrapped smoothly around the head almost like a turban.
Follow these instructions to achieve the style:
1. Section dry hair into three pieces. Brush each one smooth.
2. Mist hair with anti-frizz serum. Starting at one side, wrap hair across the back of your head toward the opposite side.
3. Continue wrapping hair round and round until you reach the end.
4. Tuck the ends into the wrapped hair and pin securely just above one ear.
5. Finish with firm hold hairspray to set the wrap.
Customize this bun to suit your hair length and texture. Keep wraps tight and sleek or loose with wispy tendrils left out. Accessorize minimally to let this sculptural bun shine. It complements oval, long and heart shaped faces wonderfully.
As you can see, buns come in endless gorgeous styles for black hair.
Experiment with braids, twists and texture to make each bun your own.
Forget messy top knots every day – try out some of these unique bun ideas to refresh your look! Which was your favorite from this list?

