Braids are one of the most fun and stylish hairstyle options for babies and young girls.
They keep hair neatly styled while allowing child-friendly play and activities.
Today I will cover 14 of the top and most popular baby braid styles that are simple for parents to replicate at home.
From basic French braids to intricate fishtail plaits, I’ve selected styles suitable for any hair length or texture that are both beautiful and practical for busy babies and toddlers.
Now before I dive in, let’s start with some photo Inspiration:
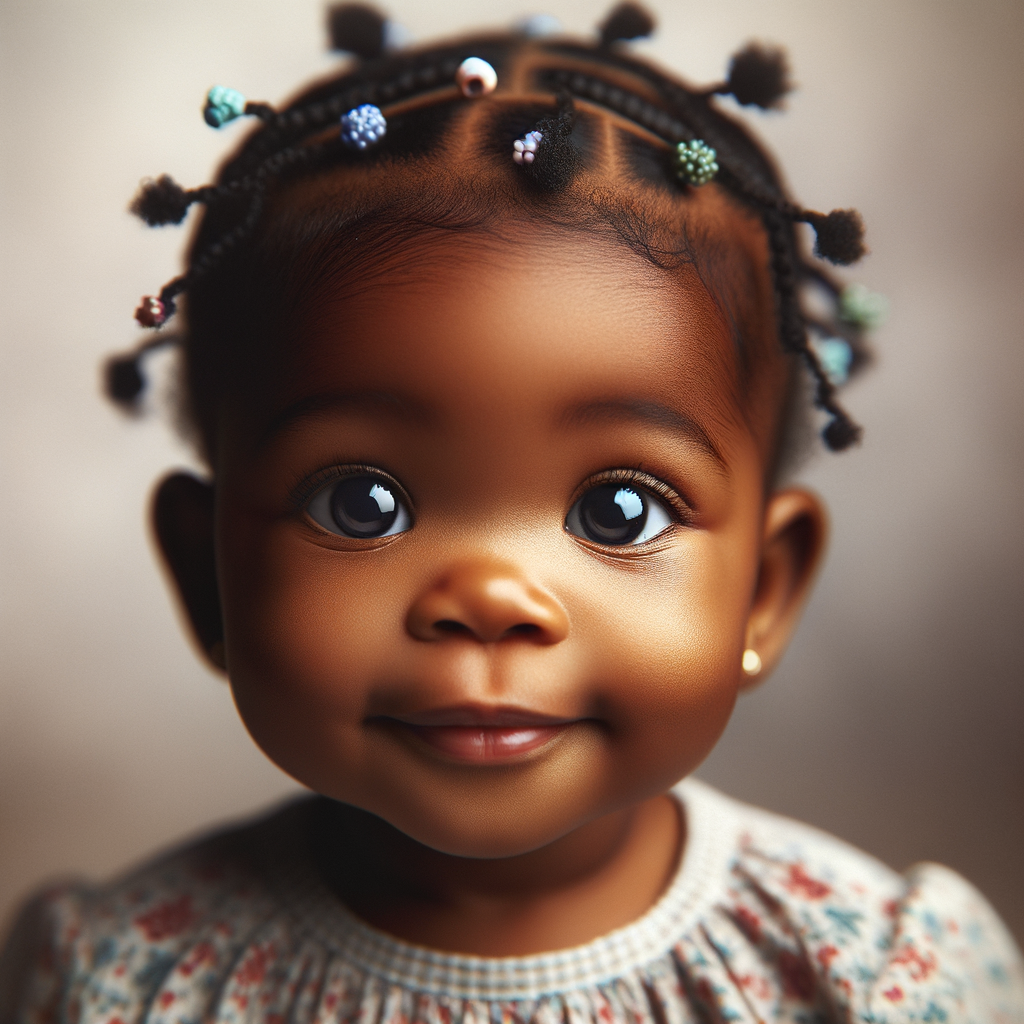
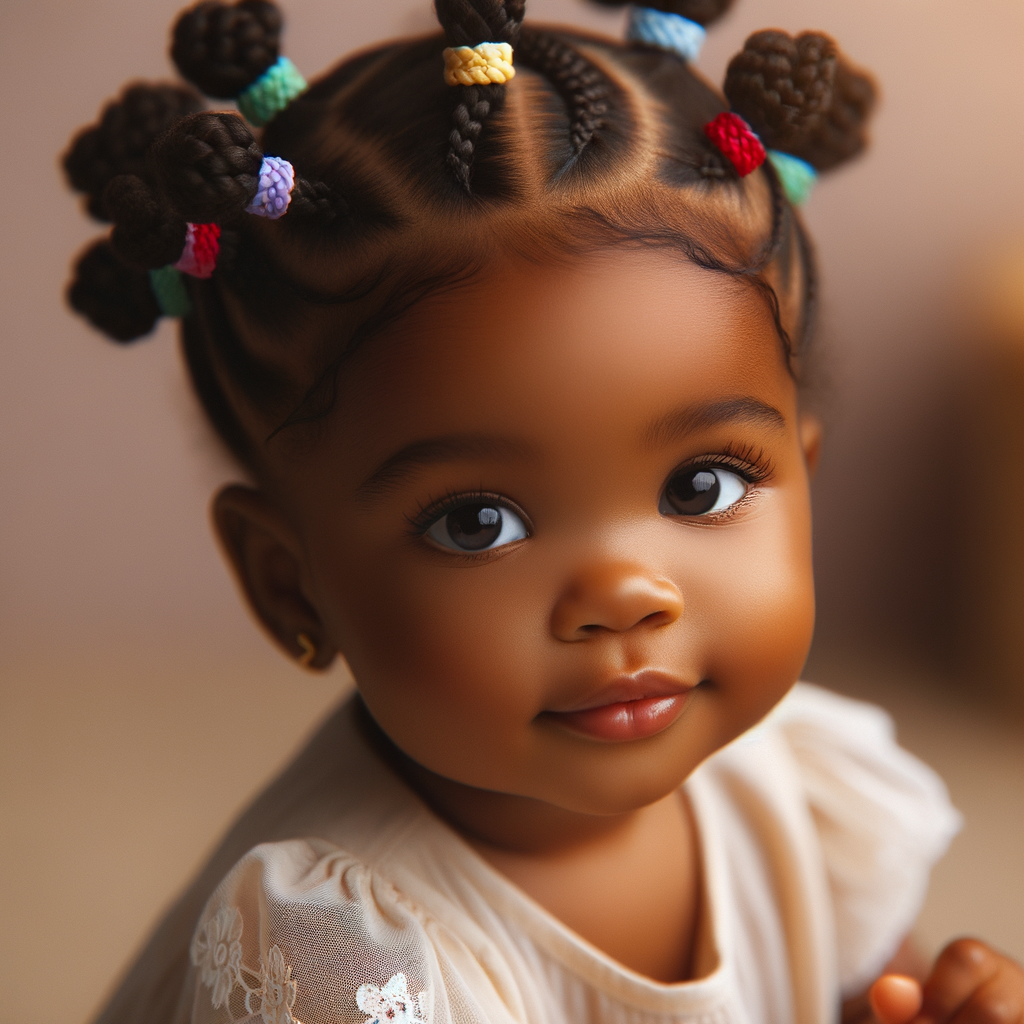
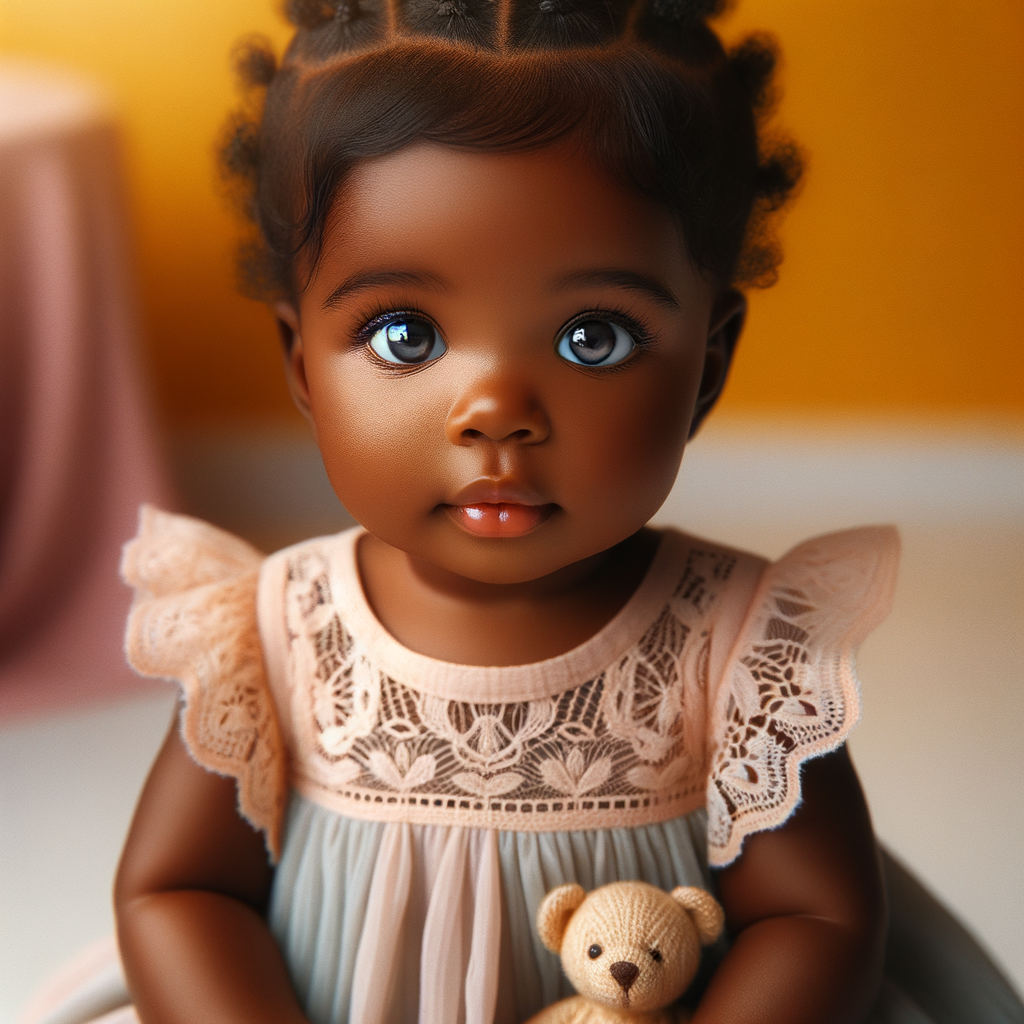
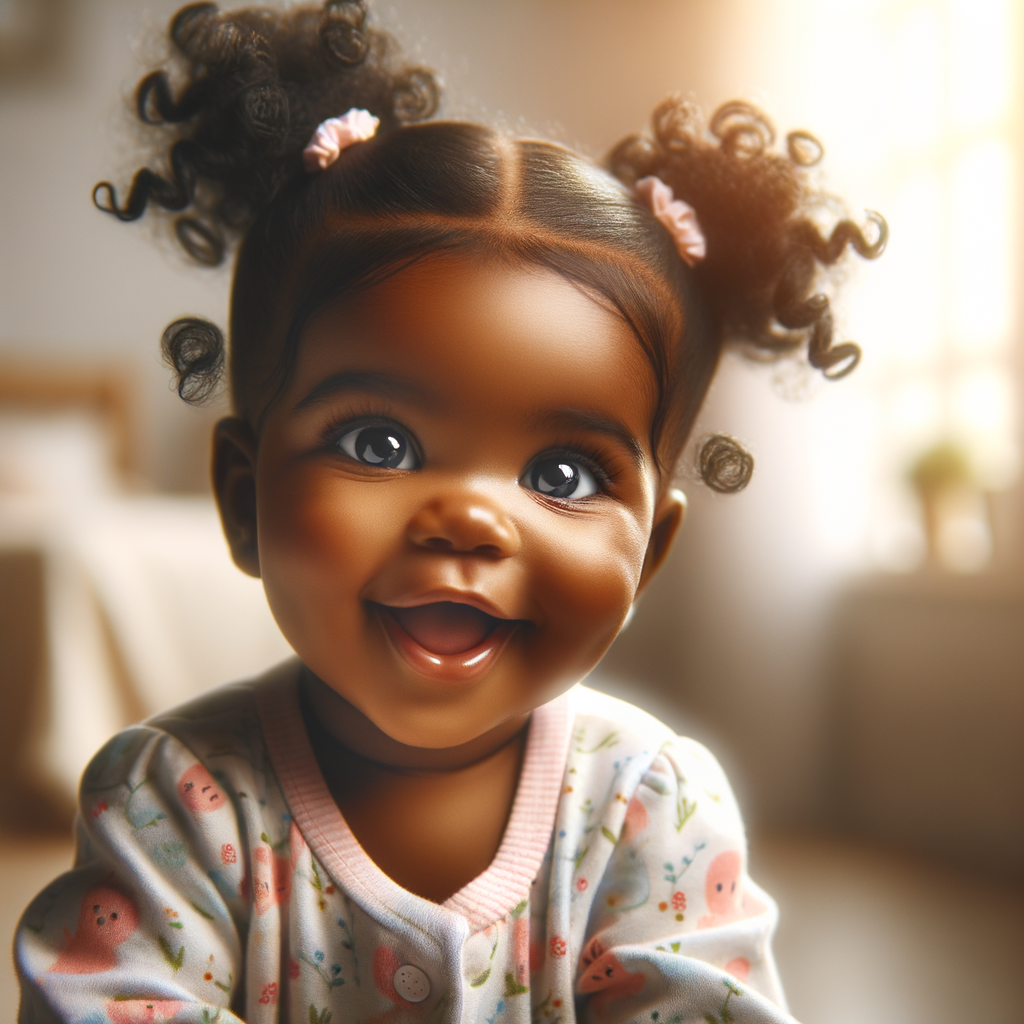
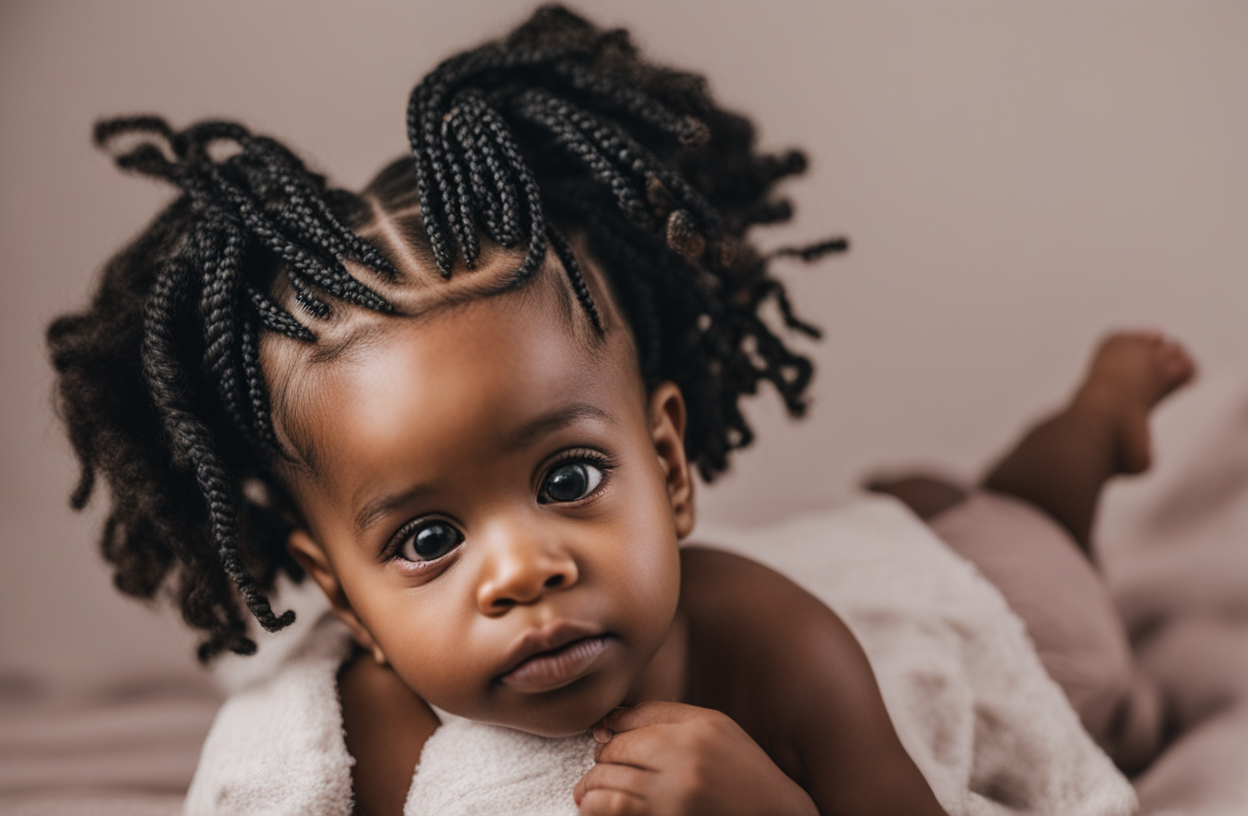
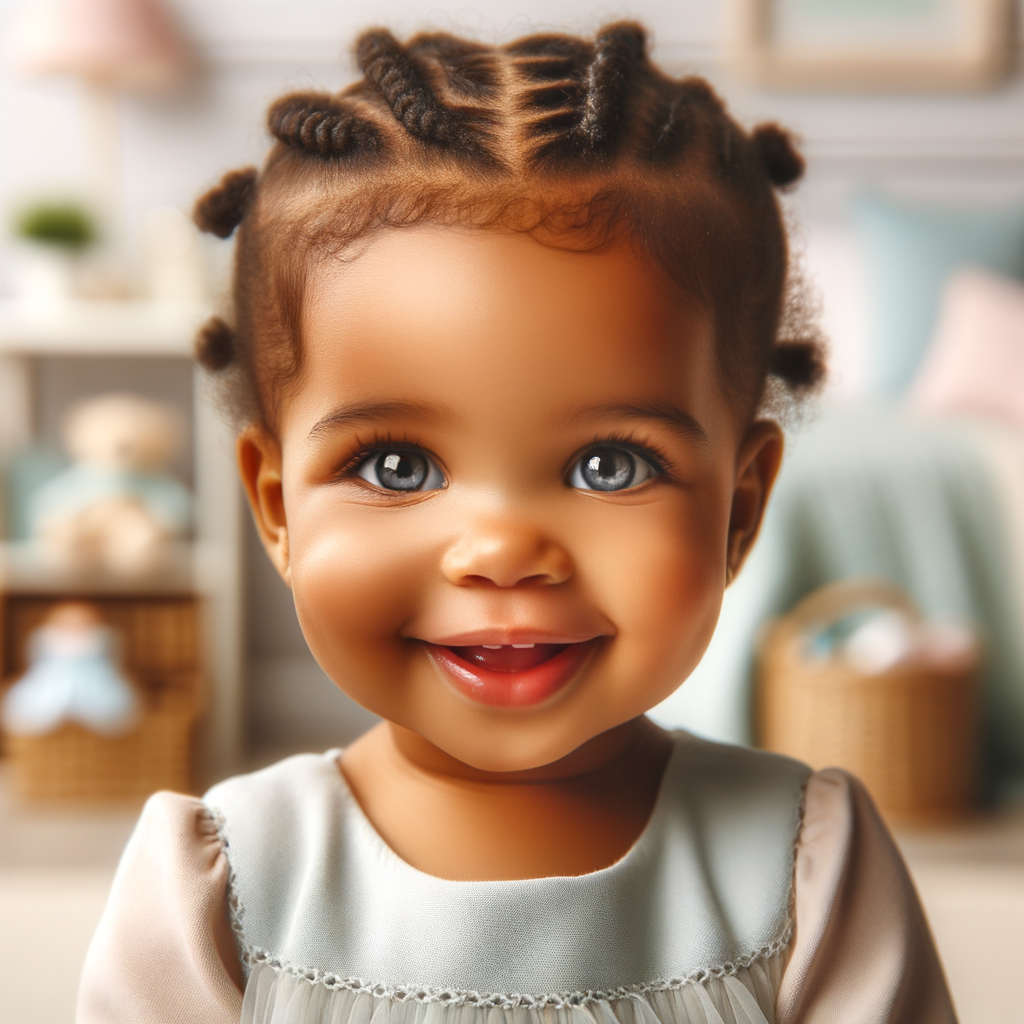
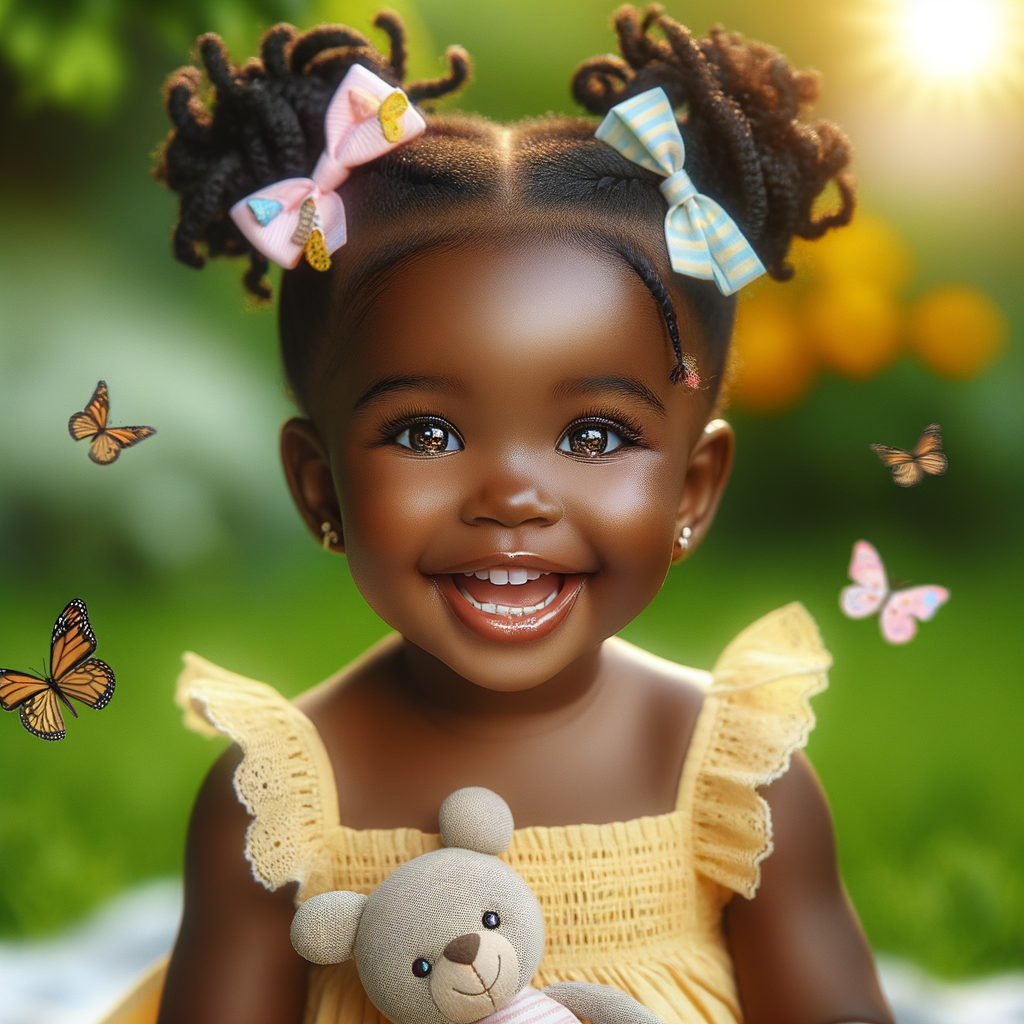
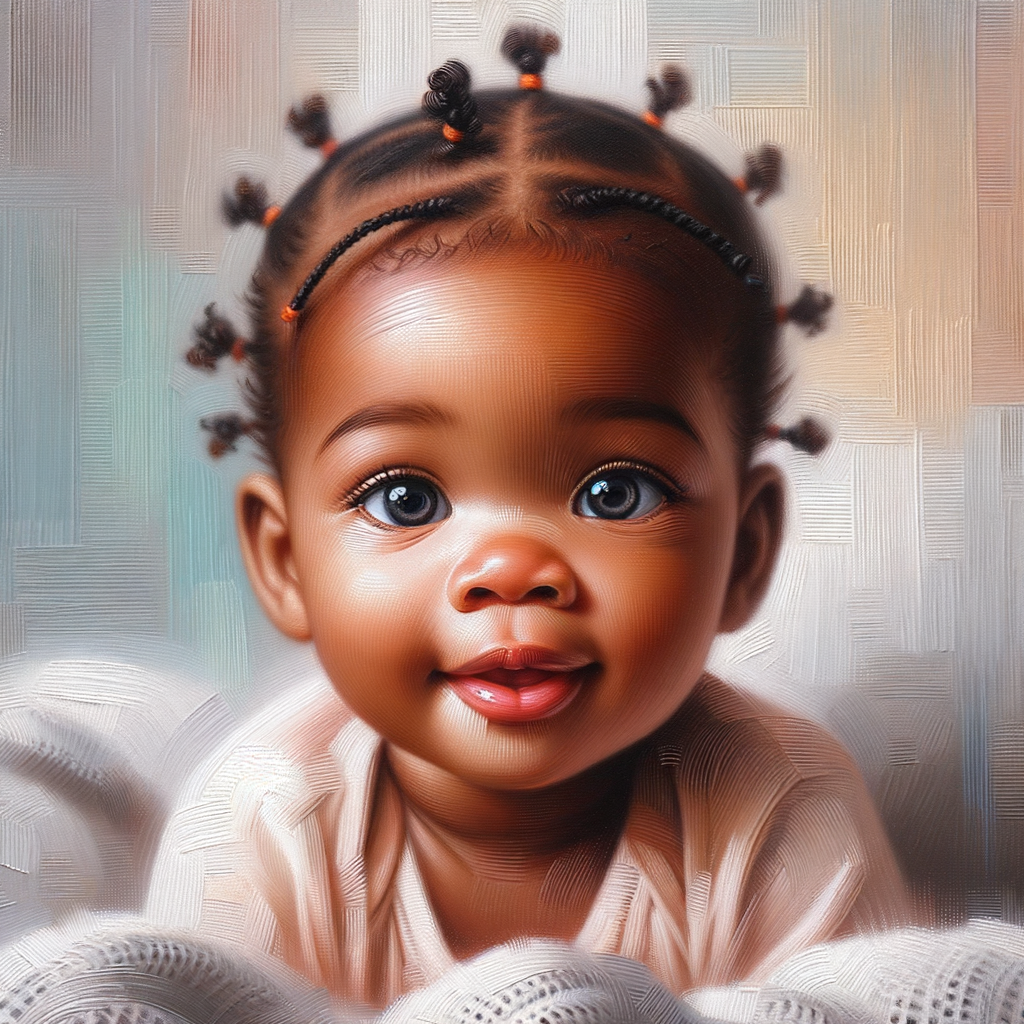
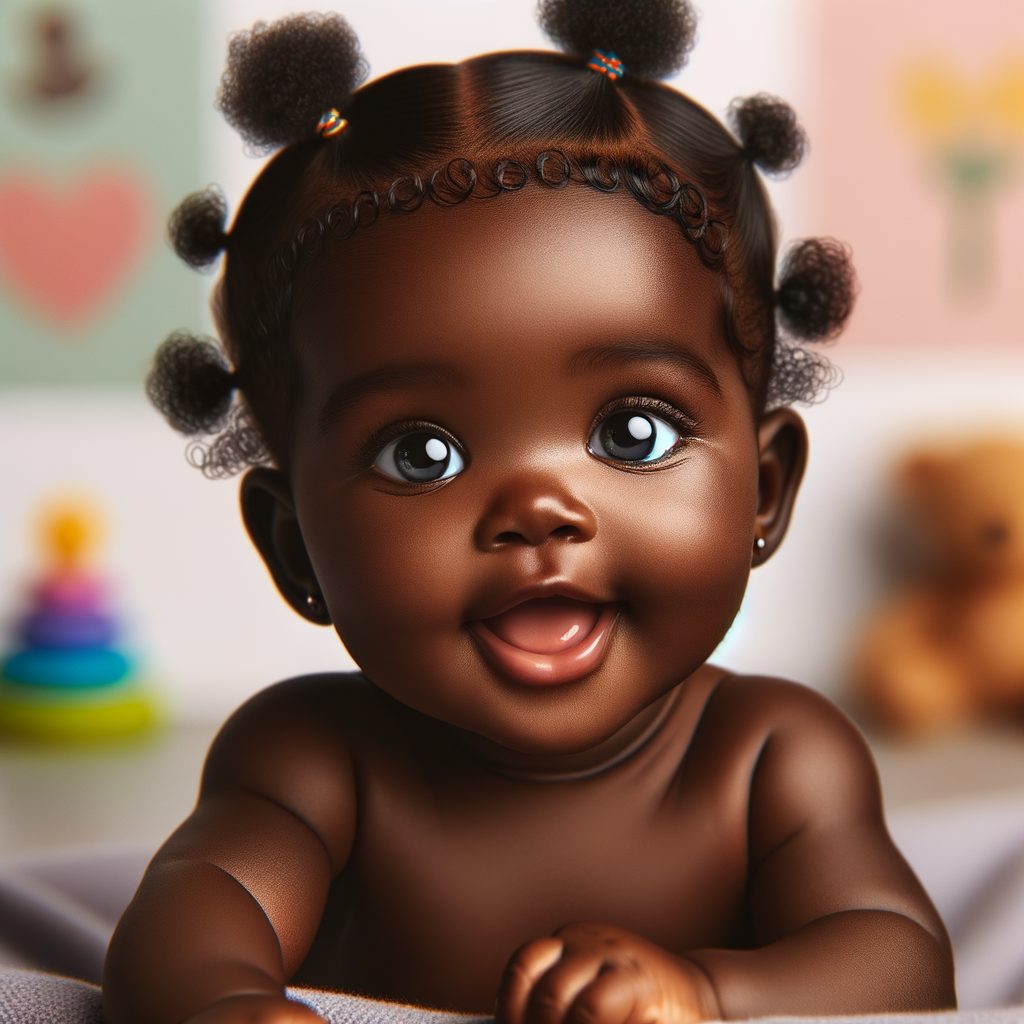
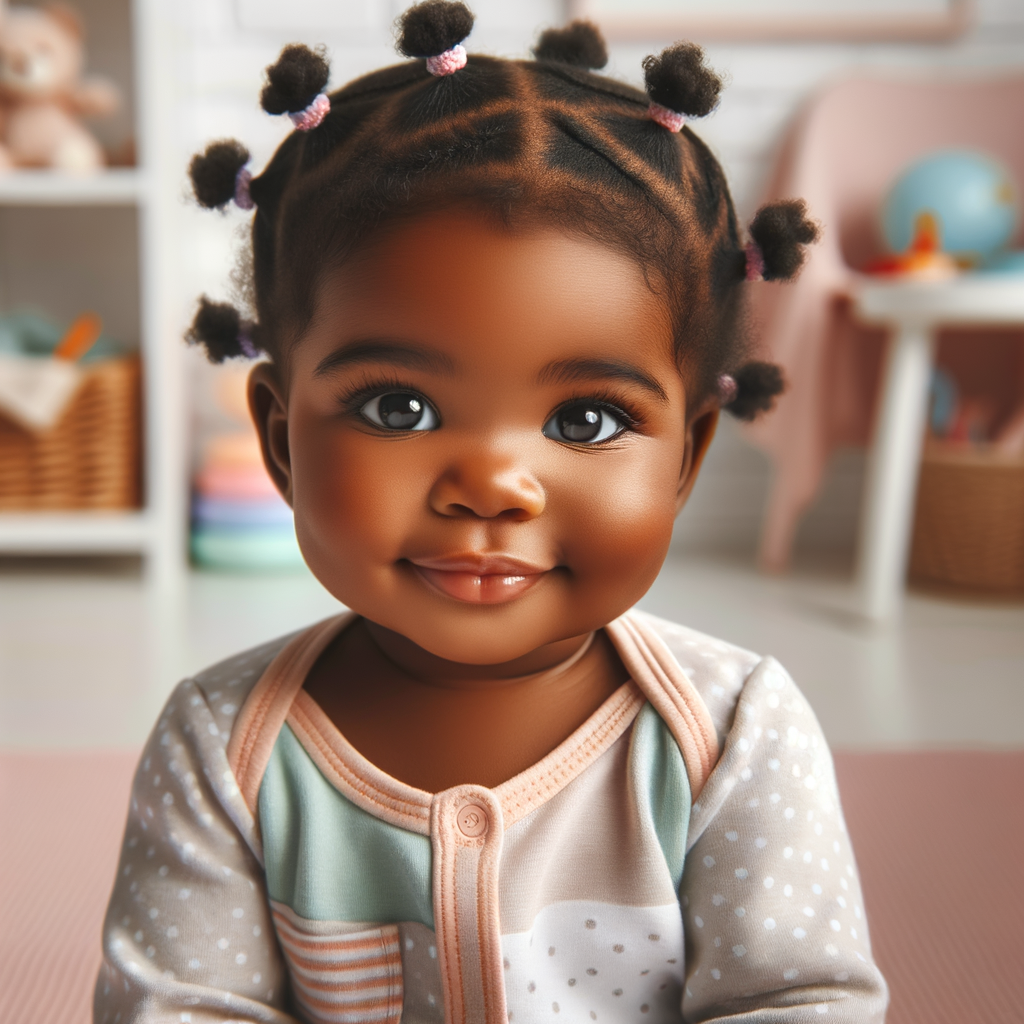
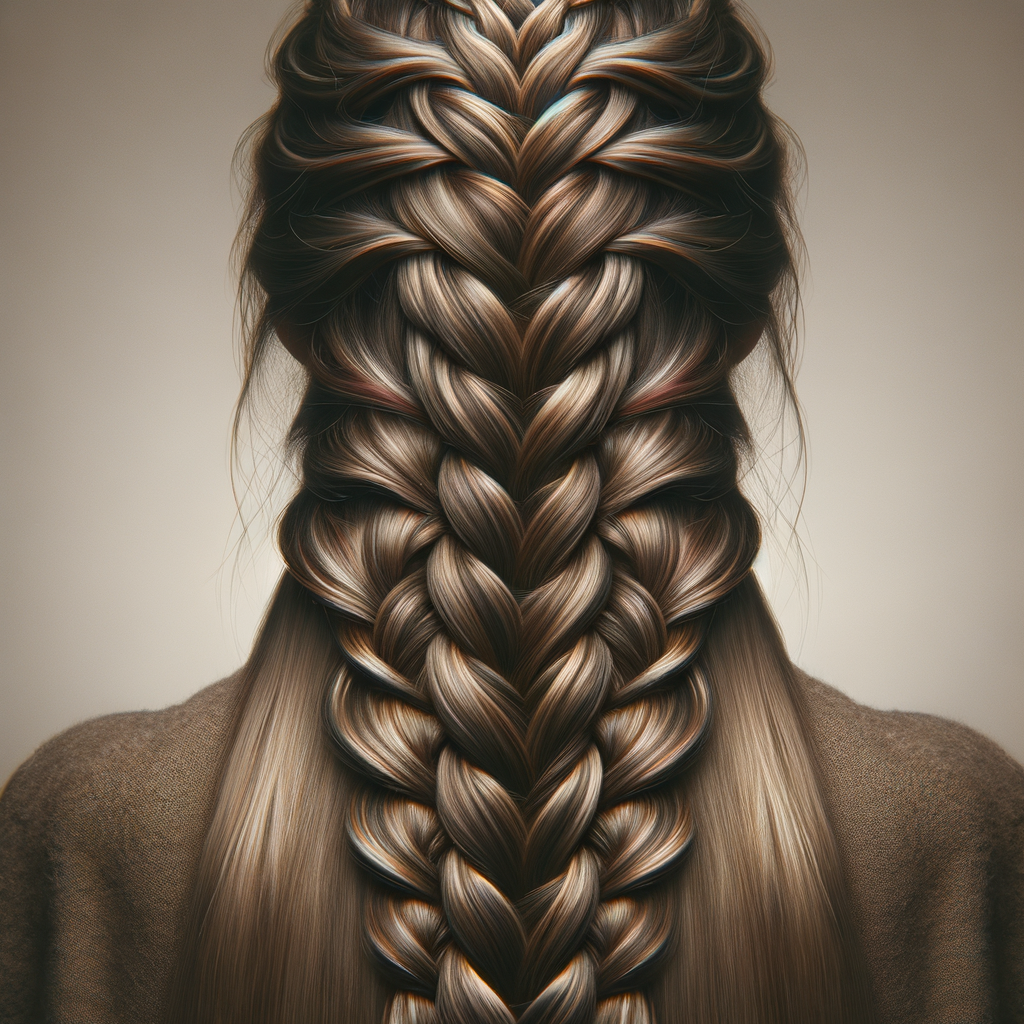
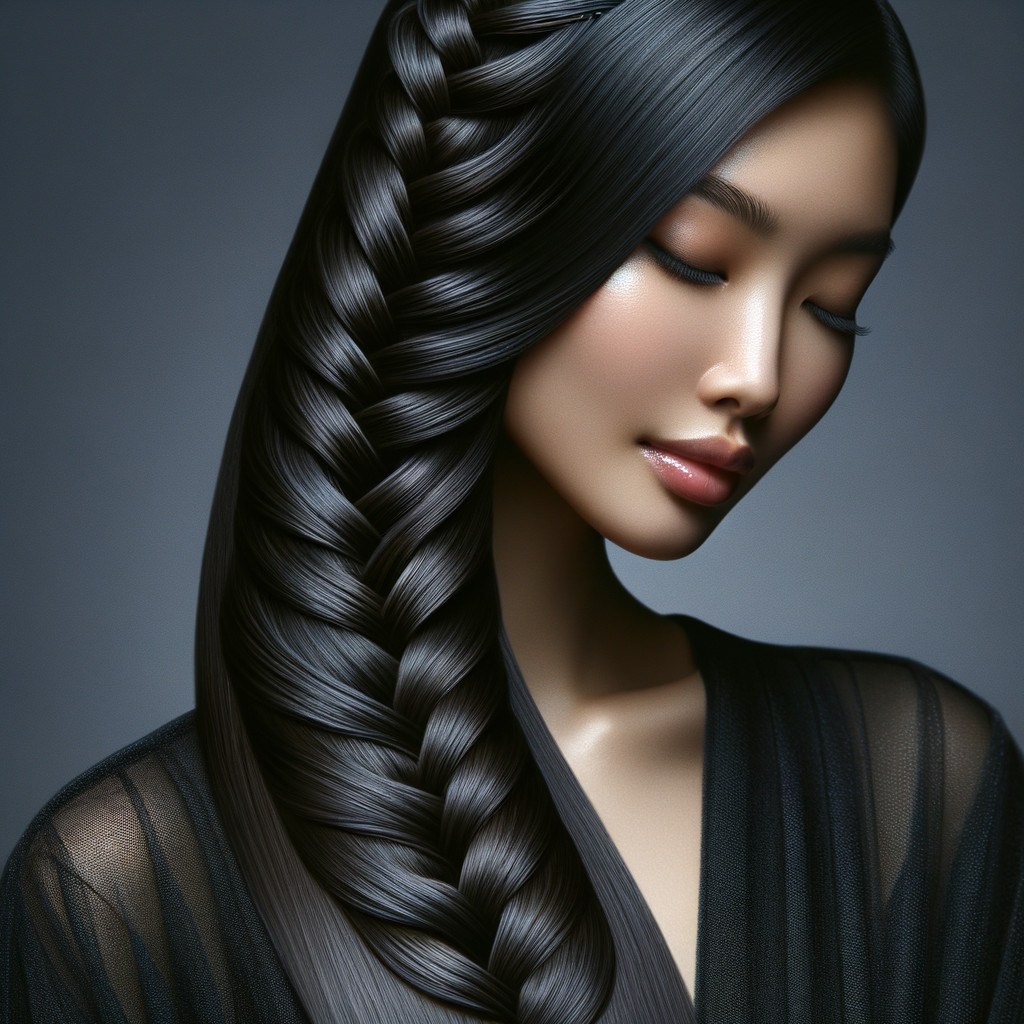
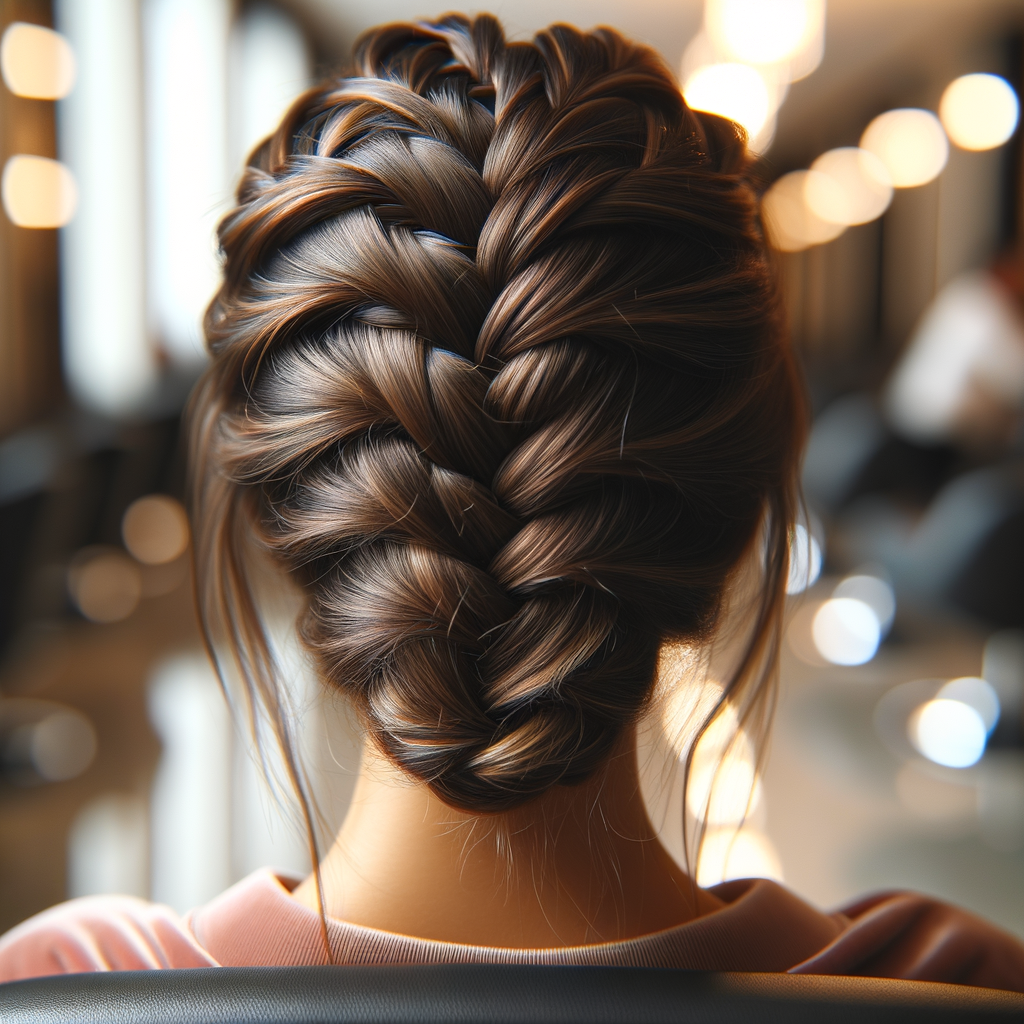
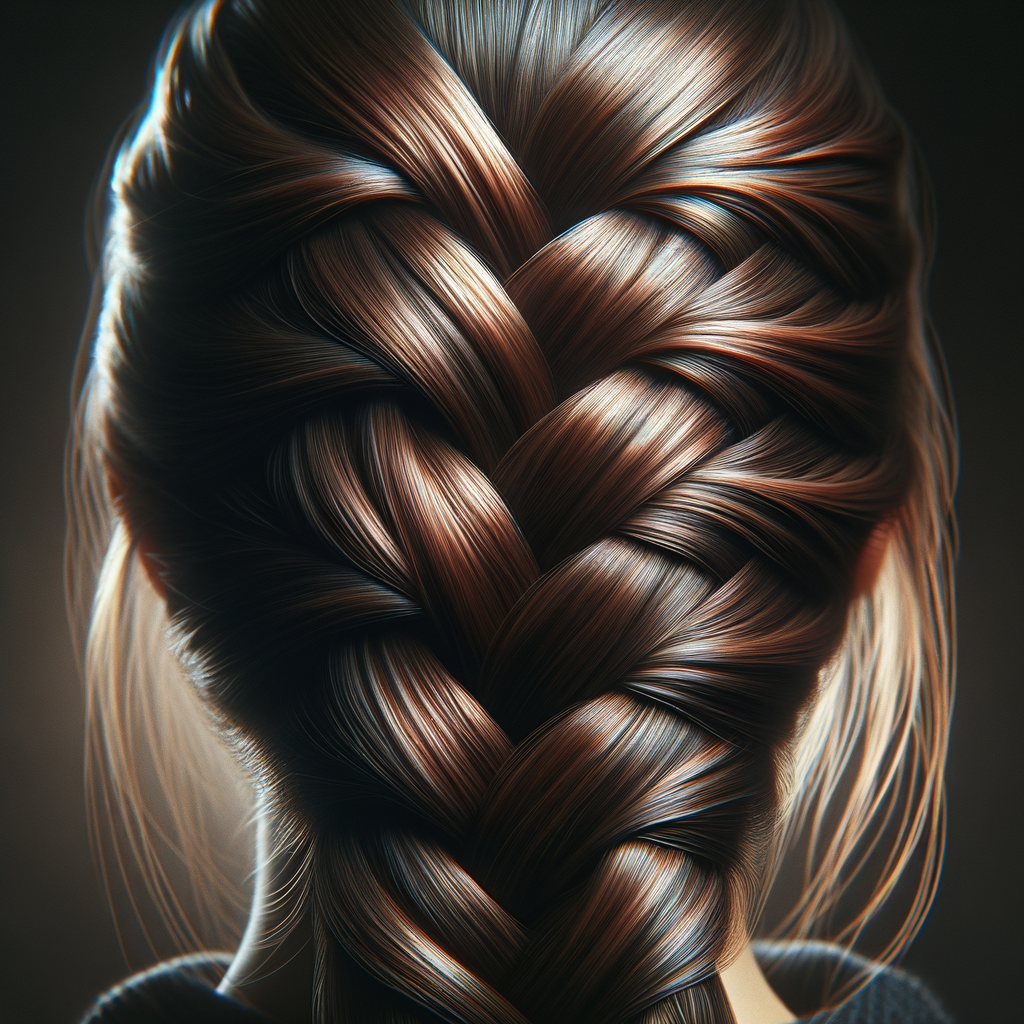
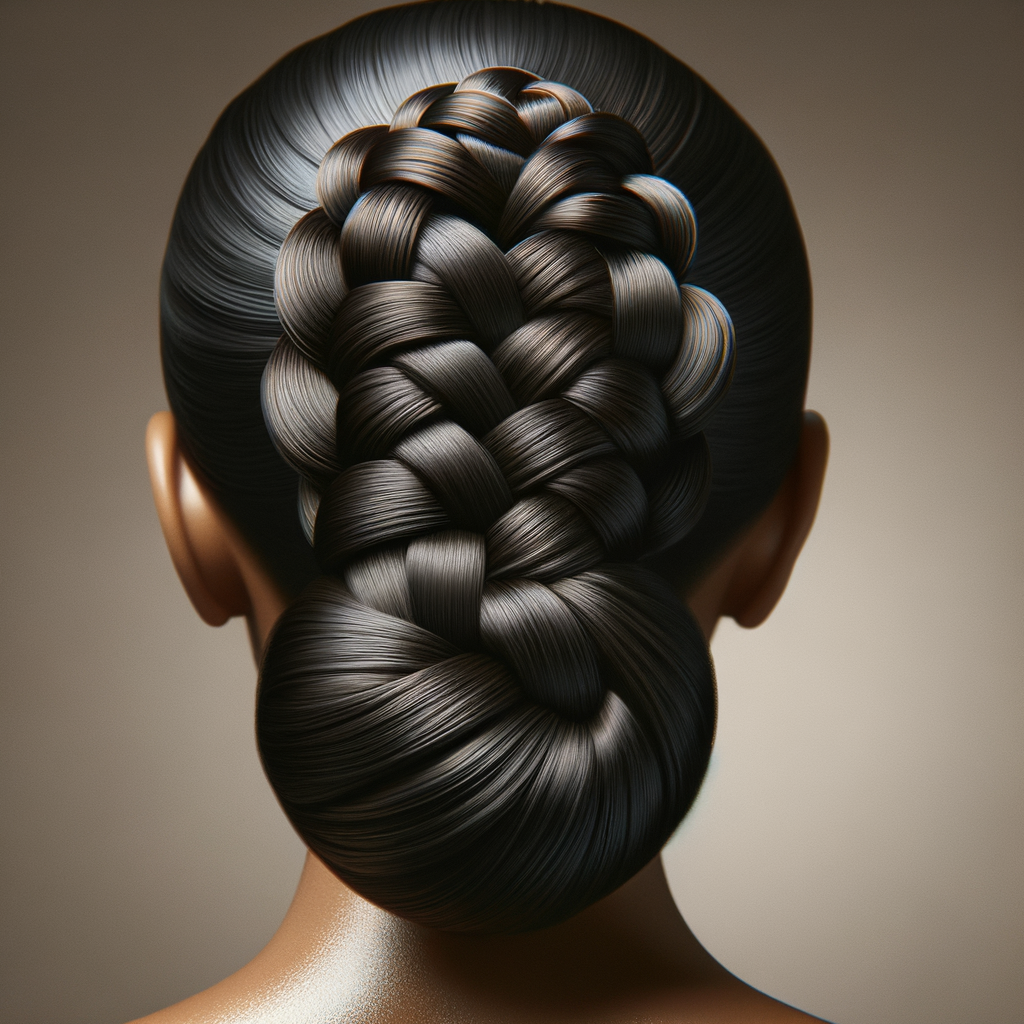
Baby Braid Hairstyles Gallery : 10+ Picks





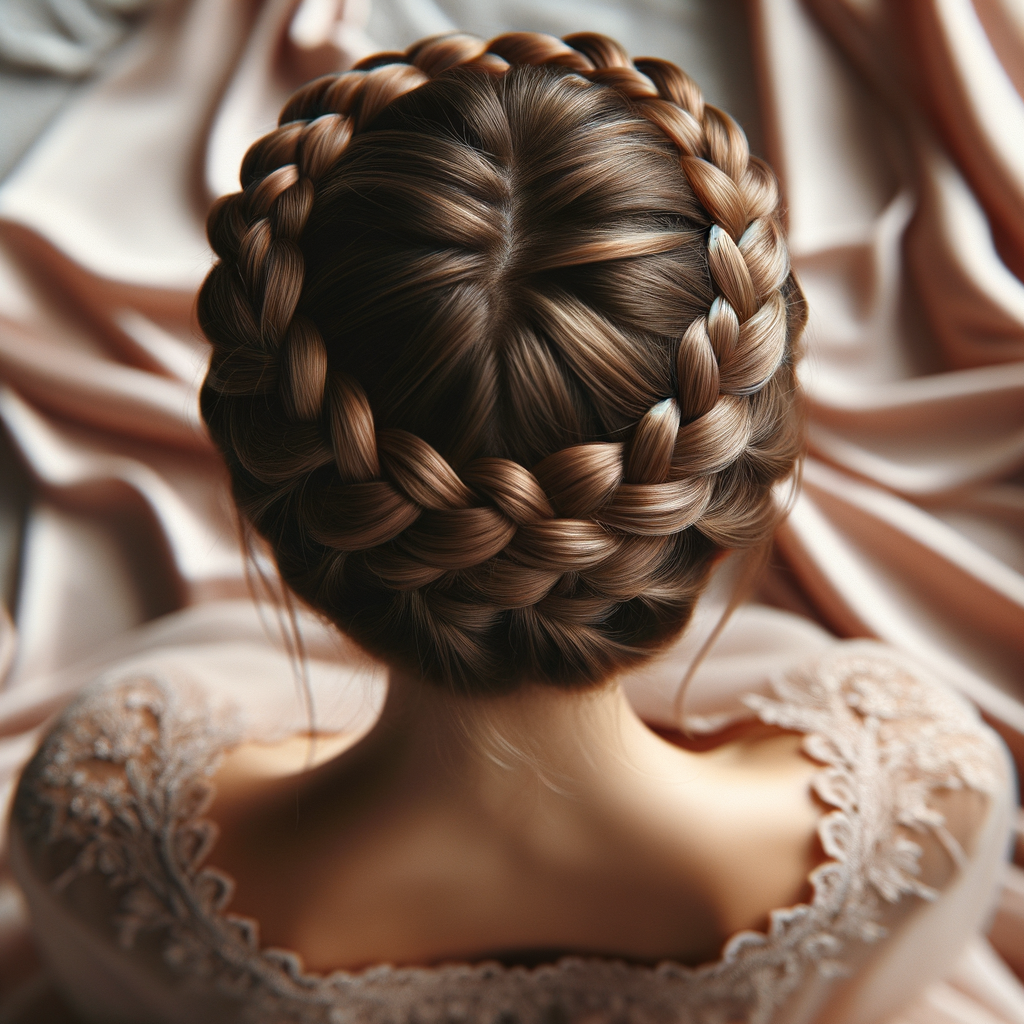
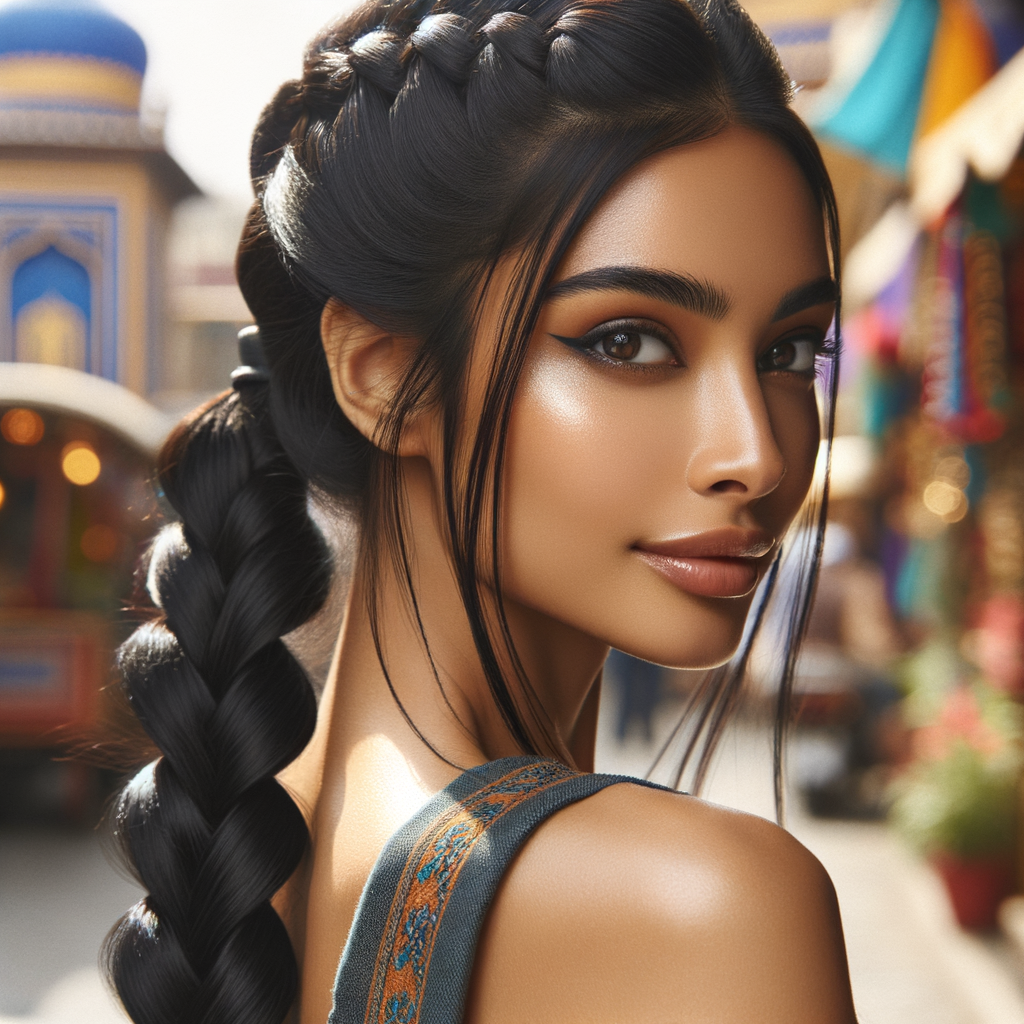


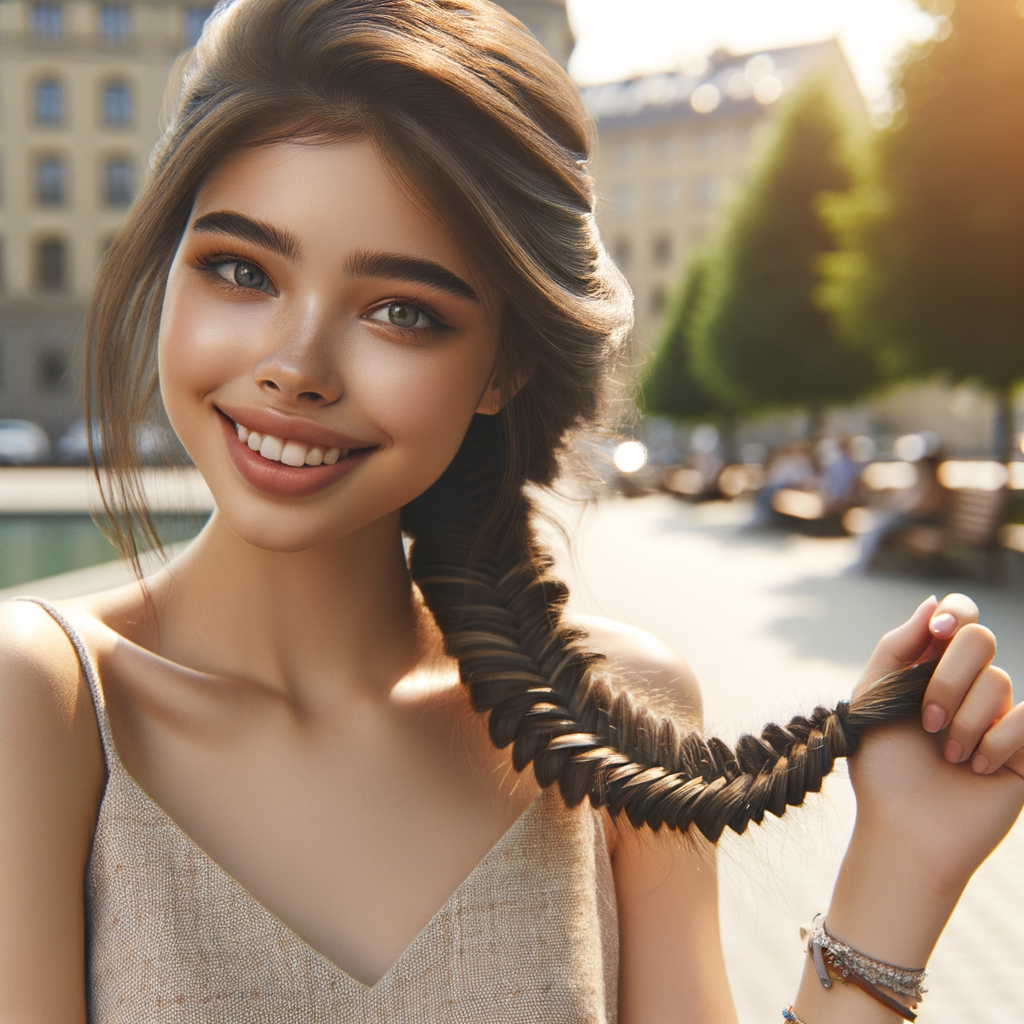


Basic French Braid

The basic French braid is one of the first braiding techniques babies and toddlers learn. It helps develop their fine motor skills.
It keeps hair neatly styled out of the face during mealtimes, play, and nap time when messes are more likely.
French braiding allows hair to be parted on different sides each time for variety. Part to one side one day, down the middle the next.

Use your fingernails to help neatly separate the hair into three even strands as you braid. Go slowly and carefully for small sections.
Secure the end with an elastic hair tie, bobby pin, or hair ribbon matching your child’s outfit.
To maintain the style overnight, spritz with a gentle hair spray before bed to prevent frizzing.
You can braid all the way to the end or stop mid-shaft to wear with hair falling loose in back.
The basic French braid works for most hair lengths from shoulder-length down to pixie cuts.
It’s a braid parents can master quickly to make styling their baby’s hair hassle-free on busy mornings.
Braided Pigtails

Braided pigtails are a cute and playful style that works for girls and boys with shorter or medium length hair.
To do braided pigtails, start by parting the hair down the center into two even sections. Gently gather each section into a short ponytail near the crown of the head, securing with an elastic.
Divide each small ponytail into three even strands and begin French braiding each section away from the face, incorporating all the hair as you braid towards the end of the ponytail.
Make sure to braid each section tightly so the pigtails stay neatly in place during active play. Braid each one all the way to the elastic.
For thicker hair that is prone to bulking, braid each section partially then gently twist the remaining hair and wrap it around the base of the braid before securing with bobby pins.
You can add hair accessories like bows, beads or clips near the elastic or woven into the braids for extra flair. Pick colors that match your child’s outfit.
Braided pigtails tend to stay snug all day long and look cute from the front or back. They work well for photos!
At bedtime, spritz the braids lightly with detangle to prevent frizzing while your little one sleeps.
In the morning, simply fluff out the braids with your fingers for an instant cuteness boost!
Fishtail Braid

The fishtail braid is a favorite for thick, full hair as it creates a loose, breezy braid that isn’t tight against the scalp.
To start, divide the hair evenly into two sections and have your child sit with their back to you. Hold one section in each hand near the top of the head.
Take a small piece from the outer edge of one section and add it to the inner part of the other section. Then do the reverse – taking a small piece from the outer edge of the other section and adding it to the inner part of the first section.
Continue this over-under motion, adding hair evenly from both sides and incorporating new hair as you braid down towards the bottom. Go slowly for younger ones.
For longest wear, braid all the way to the ends then secure with an elastic. Or braid partially and wrap the remaining hair around the base to maintain fullness.
This braid style works well for babies with thicker, wavier or curly hair that doesn’t like to stay in tight plaits.
It adds lovely movement and swish to longer hair lengths past the shoulders.
Accessorize with coordinating hair clips, ribbons or ties woven into the braid if desired.
Spritz lightly with detangle before bed to prevent frizzing overnight.
Multiple French Braids

A side French braid is a classic braided style that begins above one ear and braids back towards the opposite hairline.
Gently brush the hair to one side and select a small to medium section above the ear to braid. Hold the hair taut to keep the parting neat.
Starting at the hairline, French braid the section by incorporating small bits of hair from the sides into the three-strand plait.
Braid fairly tightly, going diagonally backwards towards the opposite side hairline.
For very short hair that hits shoulder level or below, braid all the way to the end and secure.
On longer hair past shoulders, braid halfway then gently twist the remaining hair and wrap it around the base of the braid, securing discreetly with bobby pins.
You can accessorize the braid with hair accessories pinned near the hairline like beads, bows or flowers.
This style stays neat even during active play as the braid is swept to the side and off the back of the neck.
Looks cute from the front or back! A good choice for photos or an everyday style.
Incorporate a deep side-part on non-braided hair for an polished finish.
Side French Braid

A side French braid is a classic braided style that begins above one ear and braids back towards the opposite hairline.
Gently brush the hair to one side and select a small to medium section above the ear to braid. Hold the hair taut to keep the parting neat.
Starting at the hairline, French braid the section by incorporating small bits of hair from the sides into the three-strand plait.
Braid fairly tightly, going diagonally backwards towards the opposite side hairline.
For very short hair that hits shoulder level or below, braid all the way to the end and secure.
On longer hair past shoulders, braid halfway then gently twist the remaining hair and wrap it around the base of the braid, securing discreetly with bobby pins.
You can accessorize the braid with hair accessories pinned near the hairline like beads, bows or flowers.
This style stays neat even during active play as the braid is swept to the side and off the back of the neck.
Looks cute from the front or back! A good choice for photos or an everyday style.
Incorporate a deep side-part on non-braided hair for an polished finish.
Waterfall Braid

The waterfall braid creates a cascading effect down the back of the head that is lovely for portraits.
Start with hair parted down the middle and gathered into a low ponytail at the top of the head.
Divide the ponytail evenly into three sections. Begin braiding downwards by passing the outer strands over the middle one.
As you braid, gently pull each new section through the braid so it falls longer than the section above it, creating a “waterfall” effect.
Braid 3/4 of the way down and then back-comb the remaining hair to add volume before securing with an elastic.
This style works well for medium to long hair that reaches the shoulders or below.
It adds beautiful movement and layers to the hair without being too tight.
Make sure to pull sections loosely through so the braid has a loose, flowing look.
You can accessorize the ends with beads, ribbons or flowers pinned into the braid.
It photographs especially well from behind to showcase the cascading braid effect down the back.
Braided Ponytail

The braided ponytail is a versatile style that can be worn casually or dressed up with accessories.
Start by gathering all of the hair at the top of the head into a high ponytail position, securing it tightly with an elastic.
Split the ponytail evenly into three sections and begin a standard braid all the way to the elastic.
For shorter hair, braid the full length of the ponytail. For longer hair past shoulders, braid halfway then twist the remaining hair and coil it around the base of the braid.
You can add hairpins, bows or elastics in a coordinating color near the elastic or woven into the braid.
This style is perfect for busy mornings as it only requires one simple braid and is very secure.
It works well for most hair types from straight to wavy textures.
The braid portion can be looser or tighter depending on the look desired.
At night, spritz the braid lightly to preserve its shape while sleeping.
In the morning, gently fluff out the braid with your fingers.
Adds polish to any outfit! Great for school, playdates or everyday wear.
Crown Braid

The crown braid concentrates the braiding up high around the head like a headband.
Start by backcombing or teasing the hair around the crown/forehead area to add volume and lift.
Gather this section of hair into a tiny ponytail at the very top center of the head.
Divide the ponytail into three equal strands and begin a classic French braid wrapping completely around the head.
Braid snugly all the way around into a continuous circle, incorporating small bits of hair as you go.
When you meet the starting point, secure it with an elastic or bobby pins underneath.
The rest of the hair is left down in soft waves or curls.
Looks adorable from all angles – front, sides and back!
Works well for mid-length to longer hair that provides enough volume around the crown.
A delicate style that’s perfect for special occasions or dress up play.
You can add beaded hair pins or ribbons worked into the braid.
Sets off beautiful portraits of your little royal or fairy princess!
Braided Bun

The braided bun incorporates multiple braids that are then coiled into a tight, neat bun shape high on the head.
Start by gathering the hair into a low ponytail. Split it evenly into 2-4 sections, depending on hair thickness.
French braid each section halfway down, then secure with an elastic.
Gently gather the braided sections on top of the head into a loose donut shape.
Once the braids are arranged into a circle, begin coiling any remaining hair or end pieces in toward the center to conceal them.
Secure tightly with bobby pins all around until a solid bun is formed.
This style works well for medium to long hair that extends past the shoulders.
It keeps hair neatly styled off the neck for baby’s comfort.
Looks polished from the back but still has dimension and layers from the braids.
Stayed tucked in all day even during active play.
A multi-tasking hairstyle for busy caregivers!
Consider adding decorative accessories pinned into the bun.
Dutch Braid

A Dutch braid is similar to a French braid but incorporates hair from the opposite side as you braid towards the hairline.
Starting at the top of one side of the head, gather a small section of hair and split it into three equal strands.
Begin braiding the strands in a standard three-strand braid pattern. However, each time you add a new bit of hair, add it from the opposite side across the face rather than the side you just braided from.
This causes the braid to grow out diagonally as you work your way towards the opposite hairline.
Braid all the way to the end and secure with an elastic. Repeat on the other side of the head.
Works well for shoulder-length hair or longer to accommodate the diagonal braid path.
Adds interest and dimension to straight or wavy hair textures.
Great for photos or dressing up everyday styles. Can accessorize braids too.
Stays neatly braided through active play once secured tightly at the ends.
Looks cute from the front or back of the head!
Milkmaid Braid

The milkmaid braid is a loose, messy braid style that is perfect for cute, casual looks.
Start with wet or damp hair to make it easier to style. Comb through and leave it down naturally without any parting.
Gather a small section of hair from one side of the forehead and begin a loose braid without separating the hair fully into even strands.
Add hair sporadically from around the face and sides as you braid loosely towards the back of the head.
Continue braiding all or partway down one side, then repeat on the other side, leaving hair out of the braids around the crown for a tousled look.
Gently fluff out the braids with your fingers when finished to make them even looser and wavier.
Works well for shoulder-length or longer hair that can hold the loose braids.
Adds beachy texture and bounce without being too structured.
Great for casual days, playing outside or bedtime without needing a tight style.
Photographs cute from the front or sides showing off the messy braids.
No elastics or pins needed – just air dry for ultimate comfort.
Inverted Fishtail

An inverted fishtail braid is a variation of the classic fishtail braid, with the strands situated differently.
Start with hair parted down the center. Take two sections of hair on either side of the parting and cross them over each other, rather than taking small pieces from the outside edges like a regular fishtail.
Work the two sections underneath each other as you braid, adding in hair from the underside portions rather than the top edges of hair.
This causes the braid to build inward rather than extending outward like a typical fishtail braid.
You can braid the full length of the hair or create two braided sections meeting at the back of the head.
It adds an intricate-looking texture to straight or wavy hair.
Styles like this take braiding technique to another level and look beautiful in photos.
Works well for shoulder-length or longer hair that provides enough to braid.
An interesting twist on the standard fishtail that’s great for special occasions or showing off braiding skills.
Waterfall Wrapped Braid

A waterfall wrapped braid combines elements of a waterfall braid with a wrapped braid.
Start with a center part and do two loose waterfall braids on either side of the part, pulling strands through unevenly for texture.
Bring the braids to the back and gently wrap them around each other, securing with bobby pins.
You can leave the ends sticking out like ribbons or wrap them all the way up into the braid.
Loose tendrils and flyaways soften the look compared to a tight braid.
Works well for mid-back or longer hair to have enough length for braiding and wrapping.
Adds beautiful layered texture and movement to straight or wavy hair.
Photographs nicely showing off the cascading braided wraps.
No elastics needed for a soft, come-down-able style that’s great for updos, special occasions or photos.
Combines the appeal of waterfall and wrapped braids into one stunning hairstyle.
Triple Dutch Braid

A waterfall wrapped braid combines elements of a waterfall braid with a wrapped braid.
Start with a center part and do two loose waterfall braids on either side of the part, pulling strands through unevenly for texture.
Bring the braids to the back and gently wrap them around each other, securing with bobby pins.
You can leave the ends sticking out like ribbons or wrap them all the way up into the braid.
Loose tendrils and flyaways soften the look compared to a tight braid.
Works well for mid-back or longer hair to have enough length for braiding and wrapping.
Adds beautiful layered texture and movement to straight or wavy hair.
Photographs nicely showing off the cascading braided wraps.
No elastics needed for a soft, come-down-able style that’s great for updos, special occasions or photos.
Combines the appeal of waterfall and wrapped braids into one stunning hairstyle.
There are many beautiful and unique baby braid styles that can be used to create cute and fun hair looks.
From classic French braids to more intricate styles like the waterfall braid or inverted fishtail, braiding is a great way to dress up a baby’s hair in a comfortable and secure way.
Whether looking for everyday casual looks or special occasion styles, braids offer versatility and creative possibilities.
With practice, parents can learn new techniques to continuously surprise their little one with adorable braided designs.
Most importantly, braids allow sweet baby expressions and smiles to shine through no matter the hairdo.

